As a photographer, it is very important to set yourself apart from other competitors, especially these days, when ordinary people purchase a camera and consider themselves a photographer. Obviously, that is far away from the truth: Spending lots of money on camera gear makes you as much a photographer, as purchasing good expensive kitchen utilities makes you a good cook. ;) But how should ordinary people know the difference? That’s why I find it very important to make my work process as transparent as possible, to exactly show my clients - who aren’t professional photographers - how I work and what to expect from me. it is easy to impress people with a crazily big amount of expensive gear. Instead, I impress my clients in a different way: e.g. “When I heard, you’re arriving by train to the shoot, I really wondered how you would fit in all your gear into your luggage.” but once they see me work, they quickly find it out that it is way more important to bring the gear you really need. They also see that I use many tools, but they are small and handy instead of big and heavy: “Wow, you really know every trick in the book! We had many photographers here, but I have never seen anyone working the way you work. Impressive!”
In this article, I am going to show you, how I use an LED-video light to light any sort of room in a luxurious hotel. To this shoot, I brought the Interfit Badger Beam 60w LED Video Lighting Monolight, with a Standard 18cm (7″) Reflector and a yellow CTO gel. The Badger Beam is a compact, light-weight and versatile 60W battery powered video & photo light that perfectly fits into my luggage to travel smart and super lightweight. With its 60 W power output, it provides a big amount of light that can be used in an ambient exposure lighting set-up, to add additional light to the ambient light emphasizing certain design elements of the room.
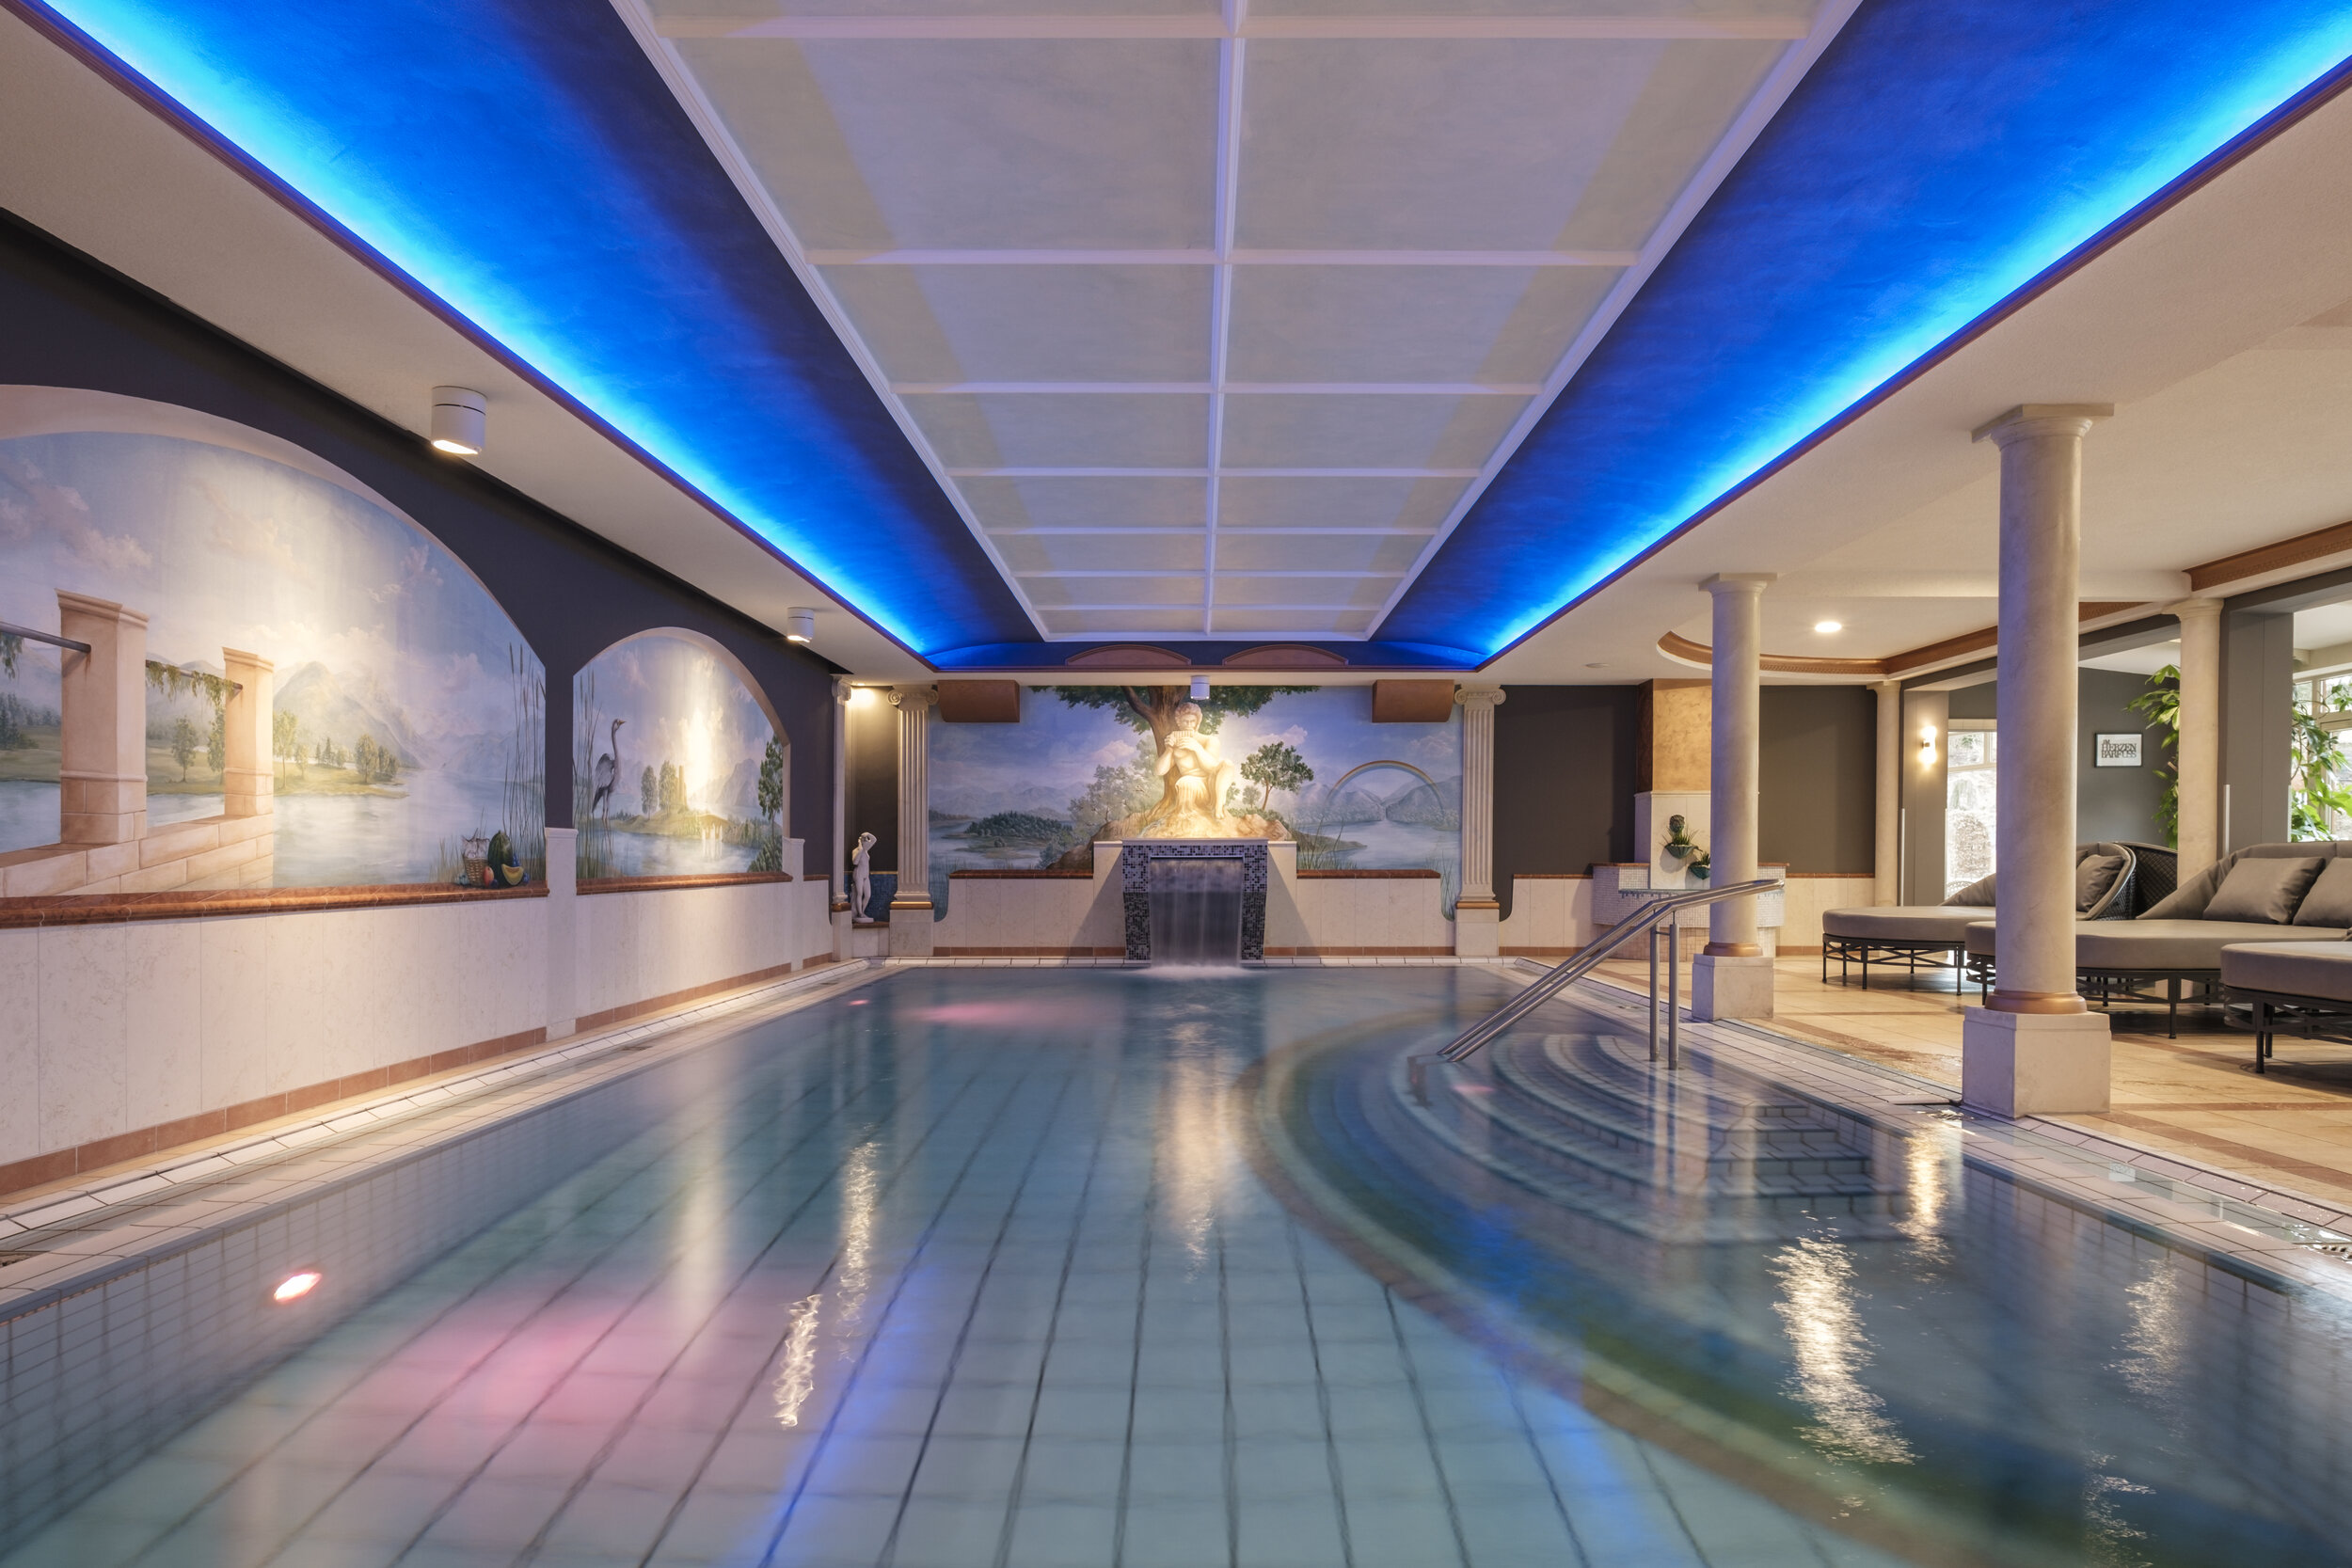
In this first scenario, I took two different shots:
1) An ambient shot with all interior lights turned on
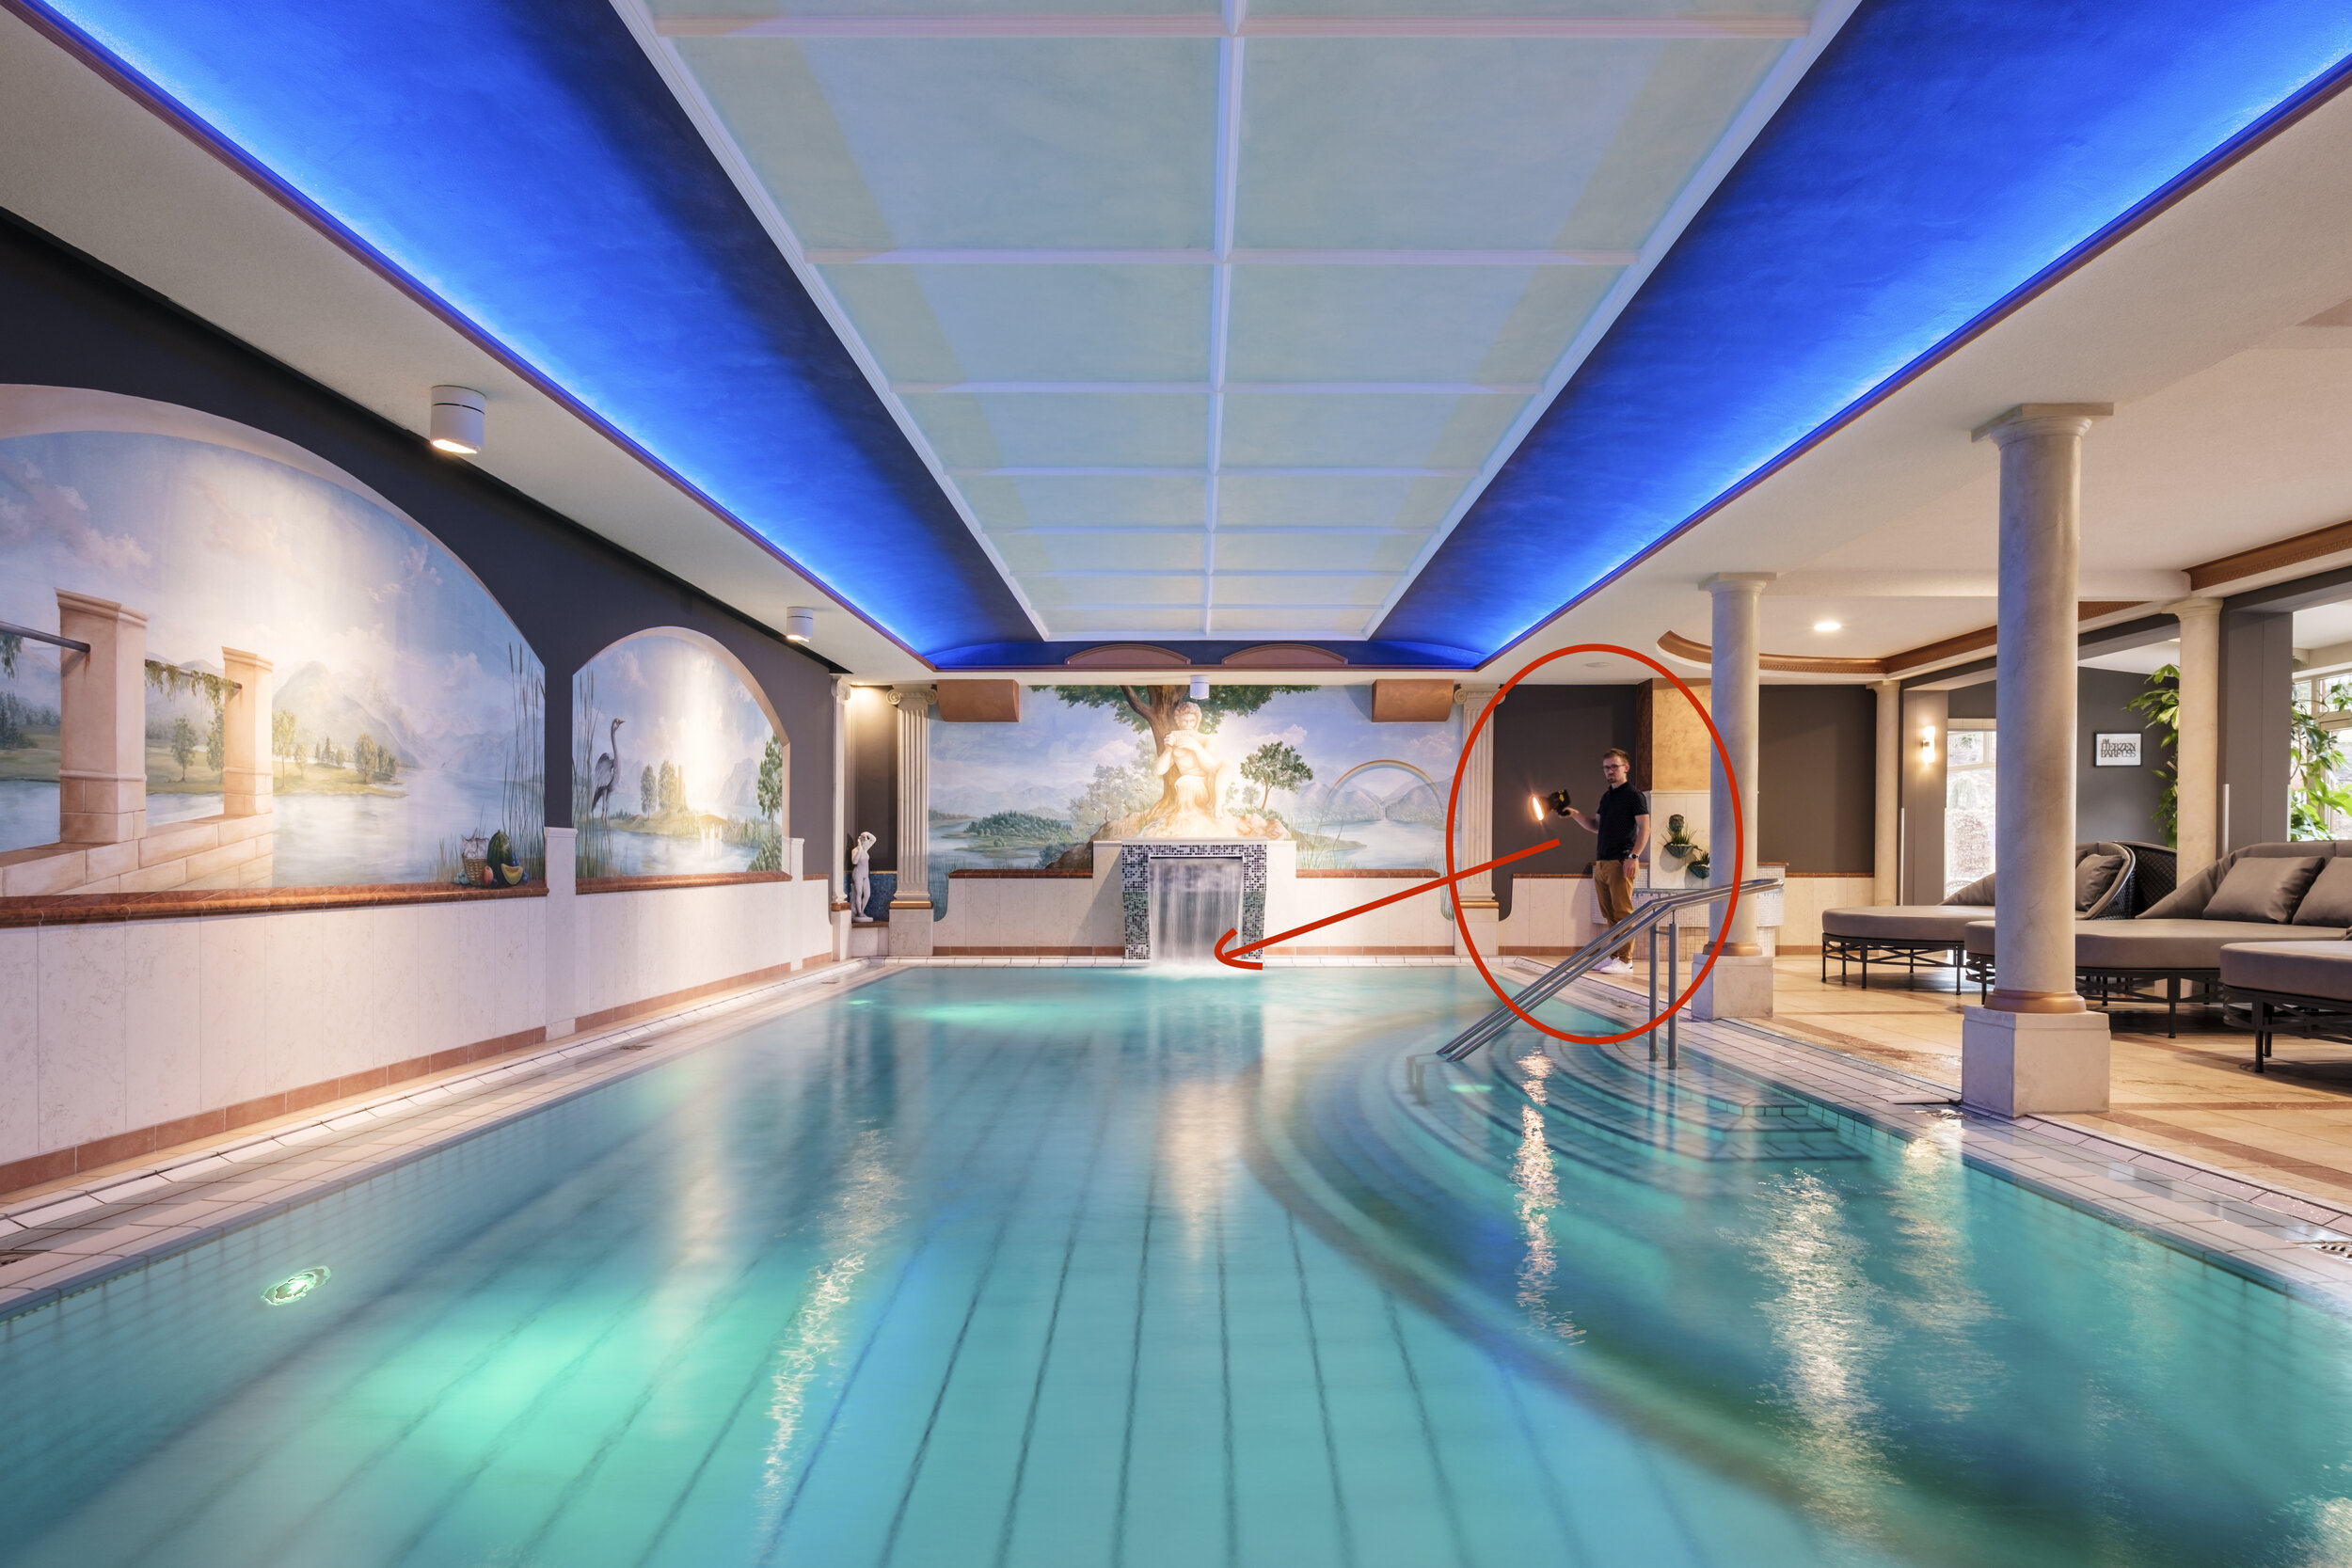
2) A second shot with all interior lights turned on, including myself pointing the Badger beam light at the waterfall.
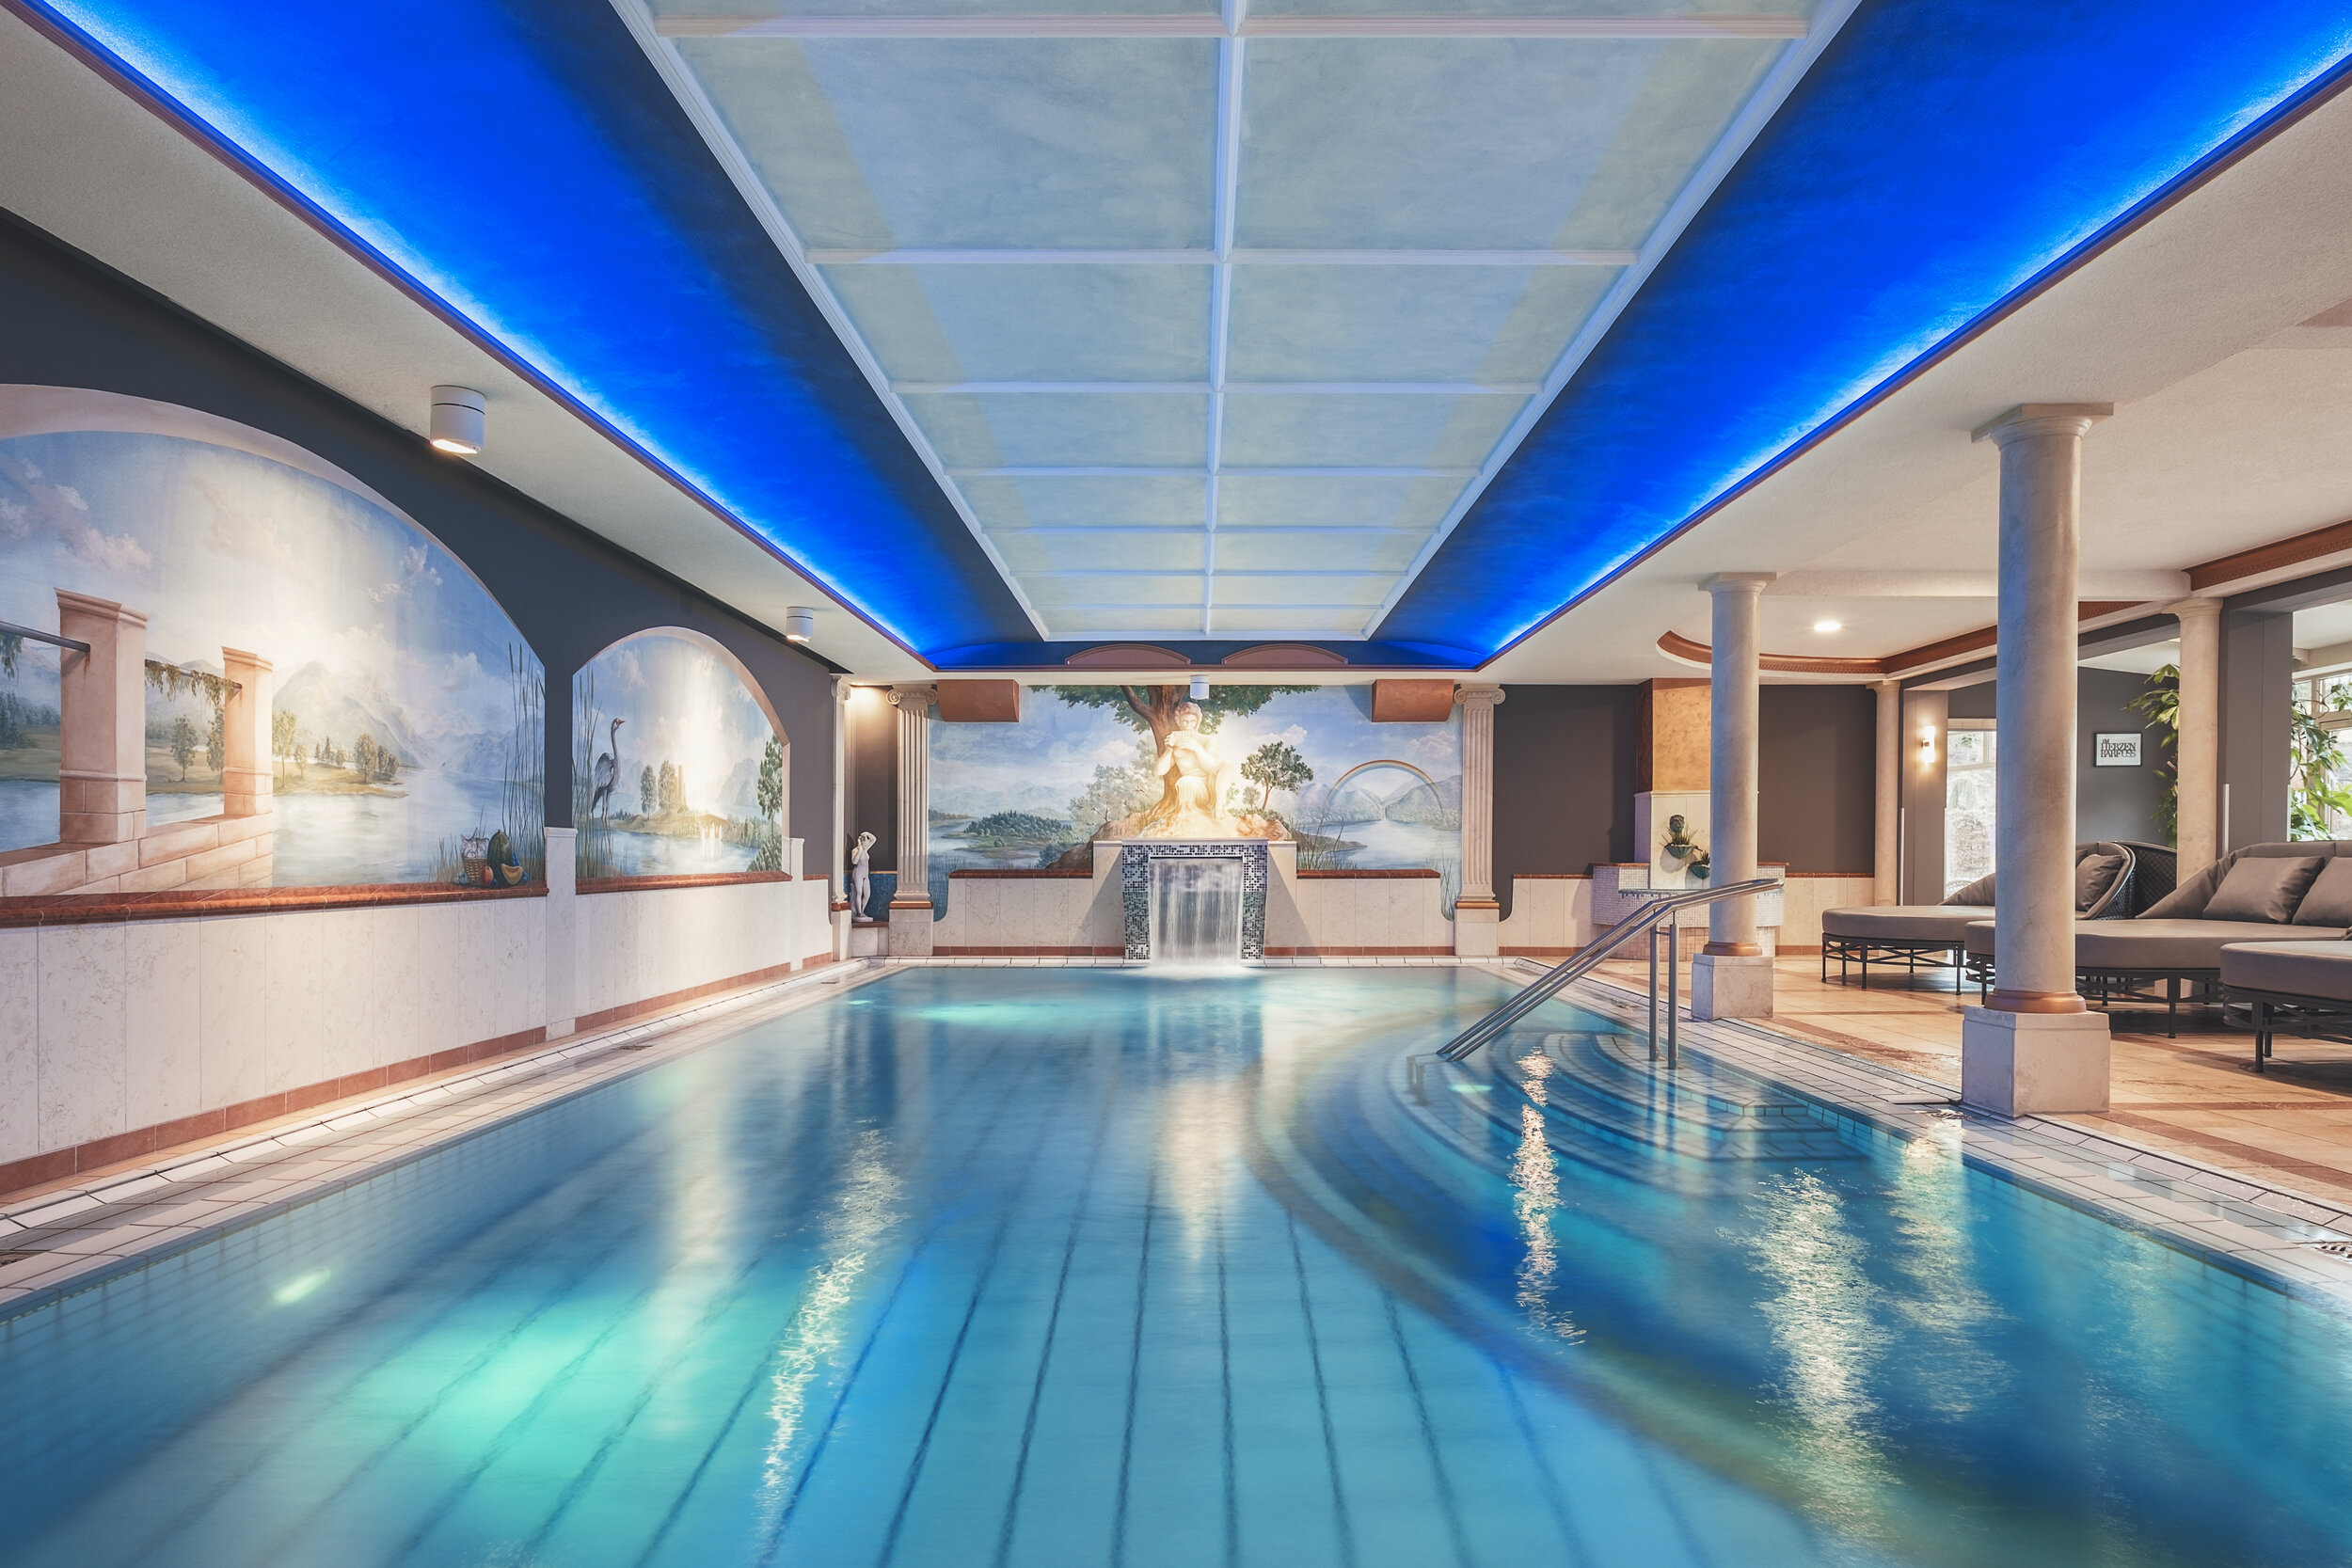
In Photoshop, I combined both images to have a perfectly lit picture, with a clearly visible and well-lit waterfall in the center of the frame that would have been way too dark without any additional light.
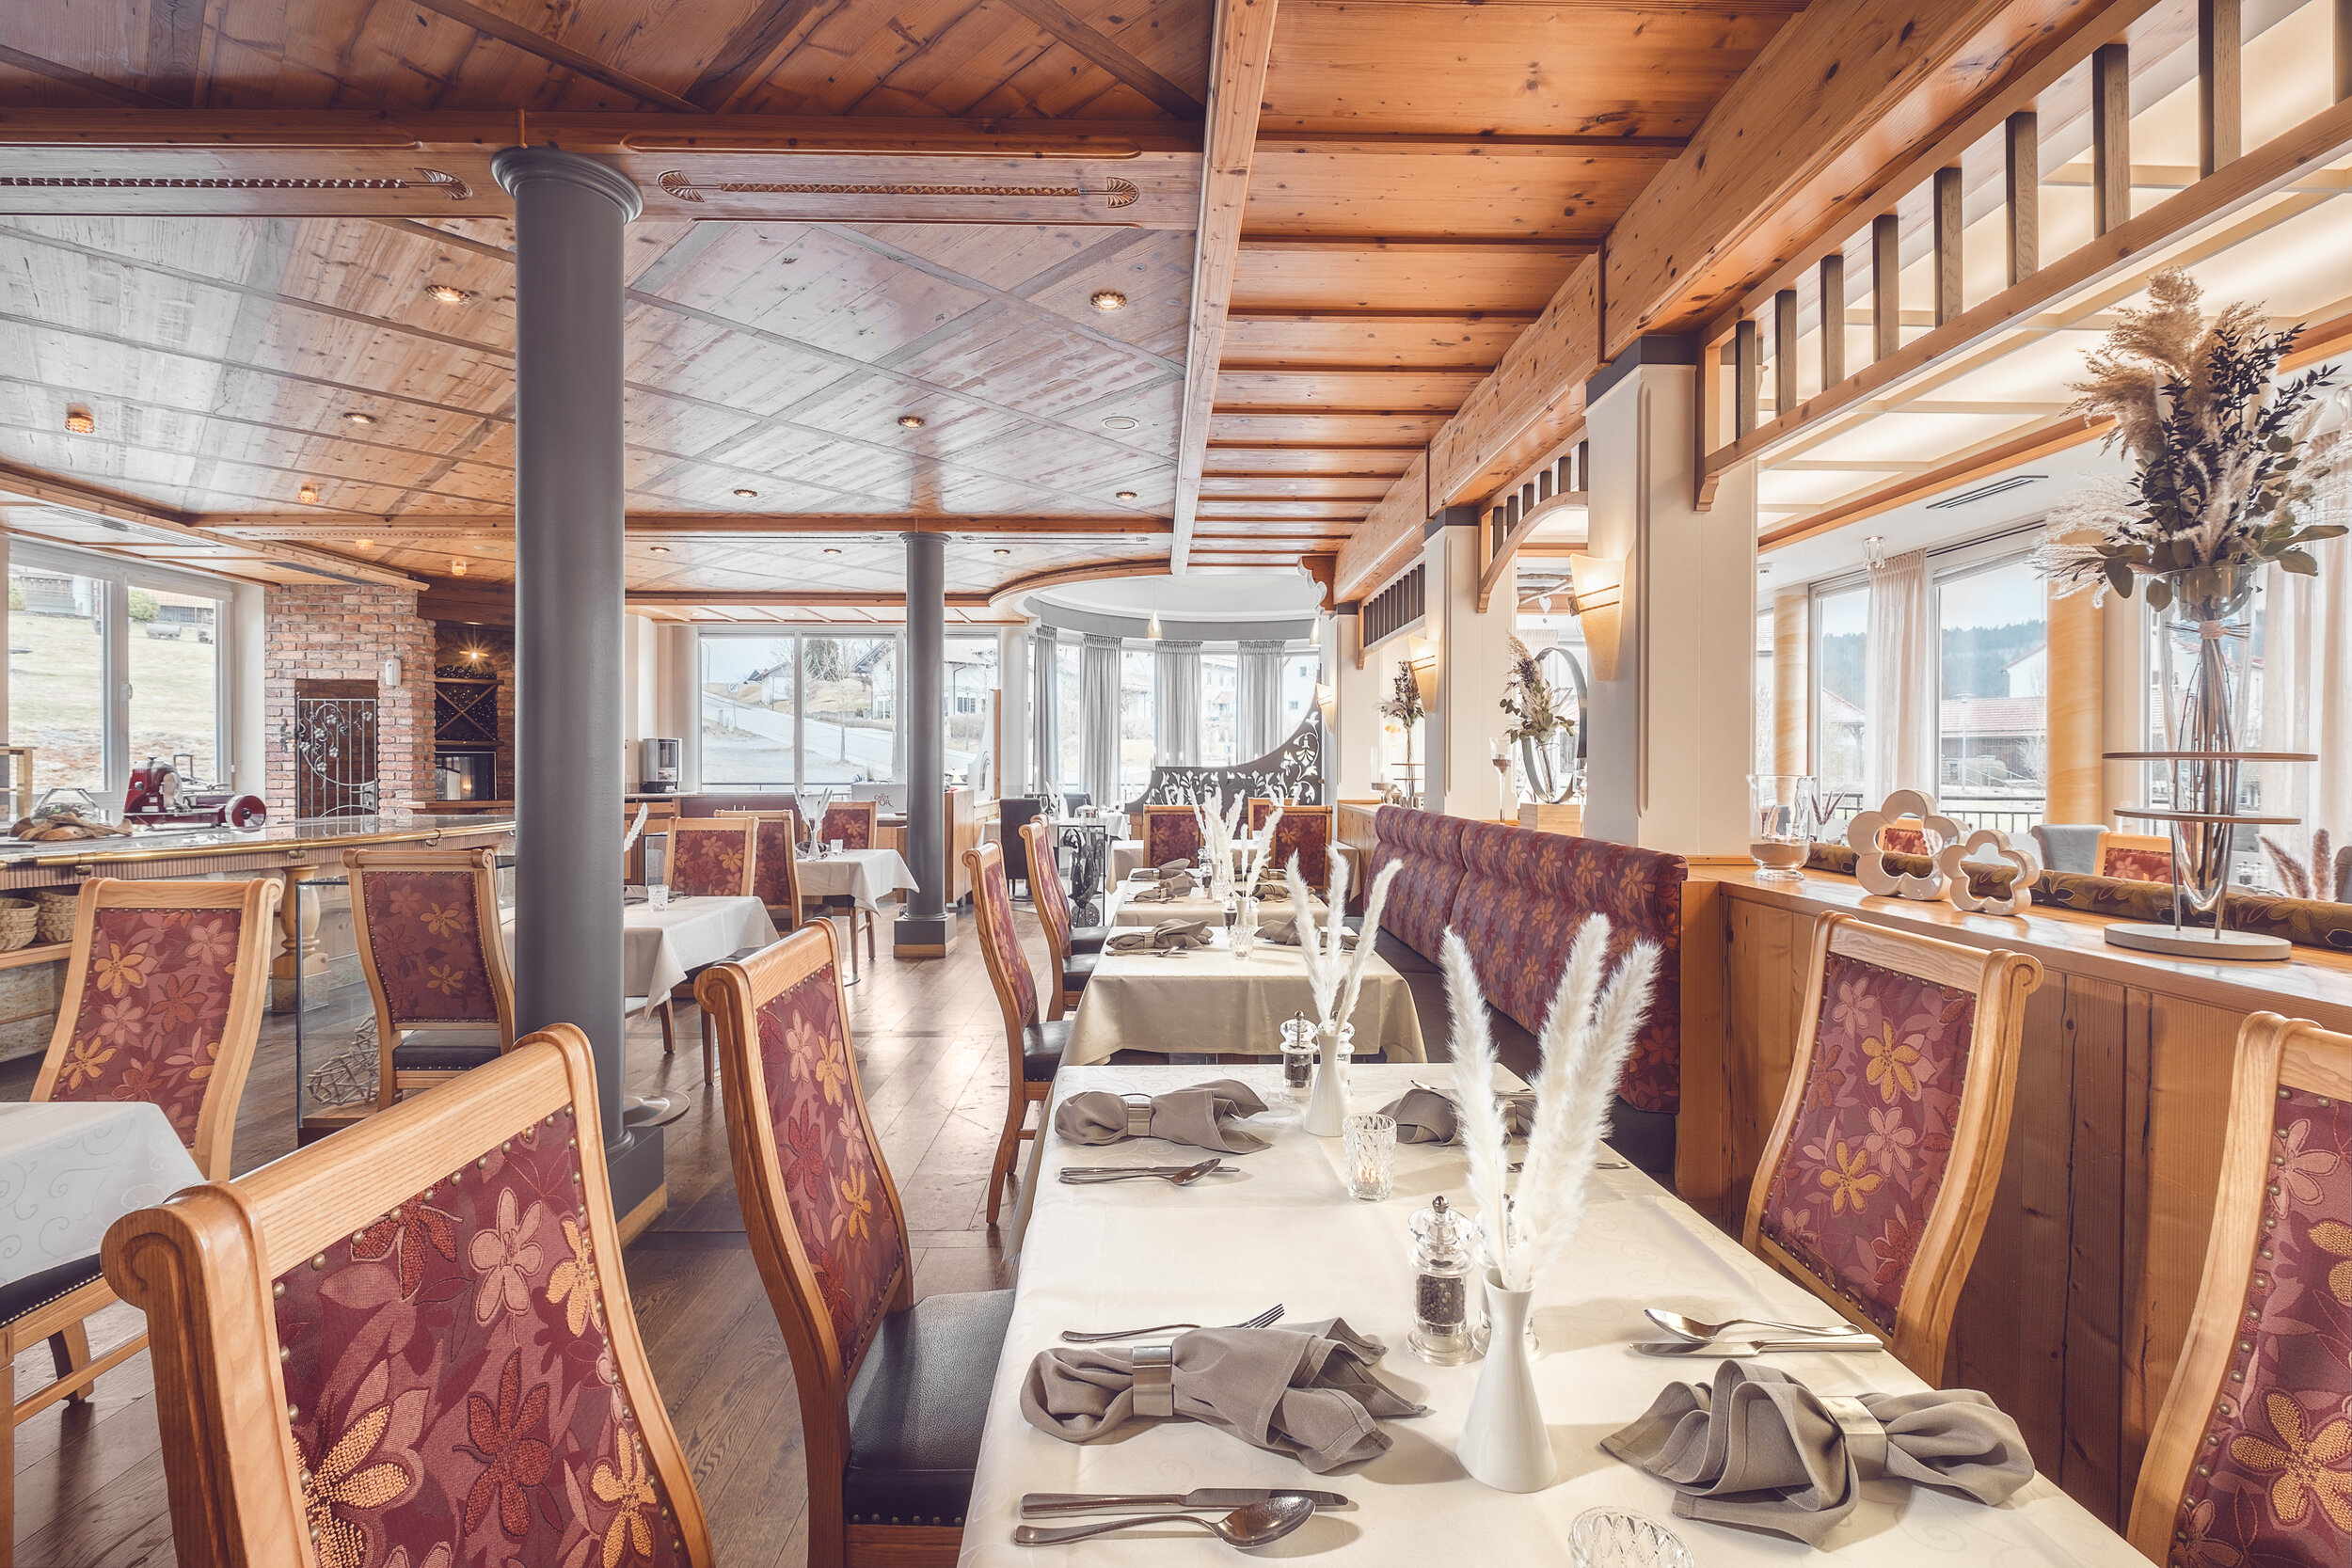
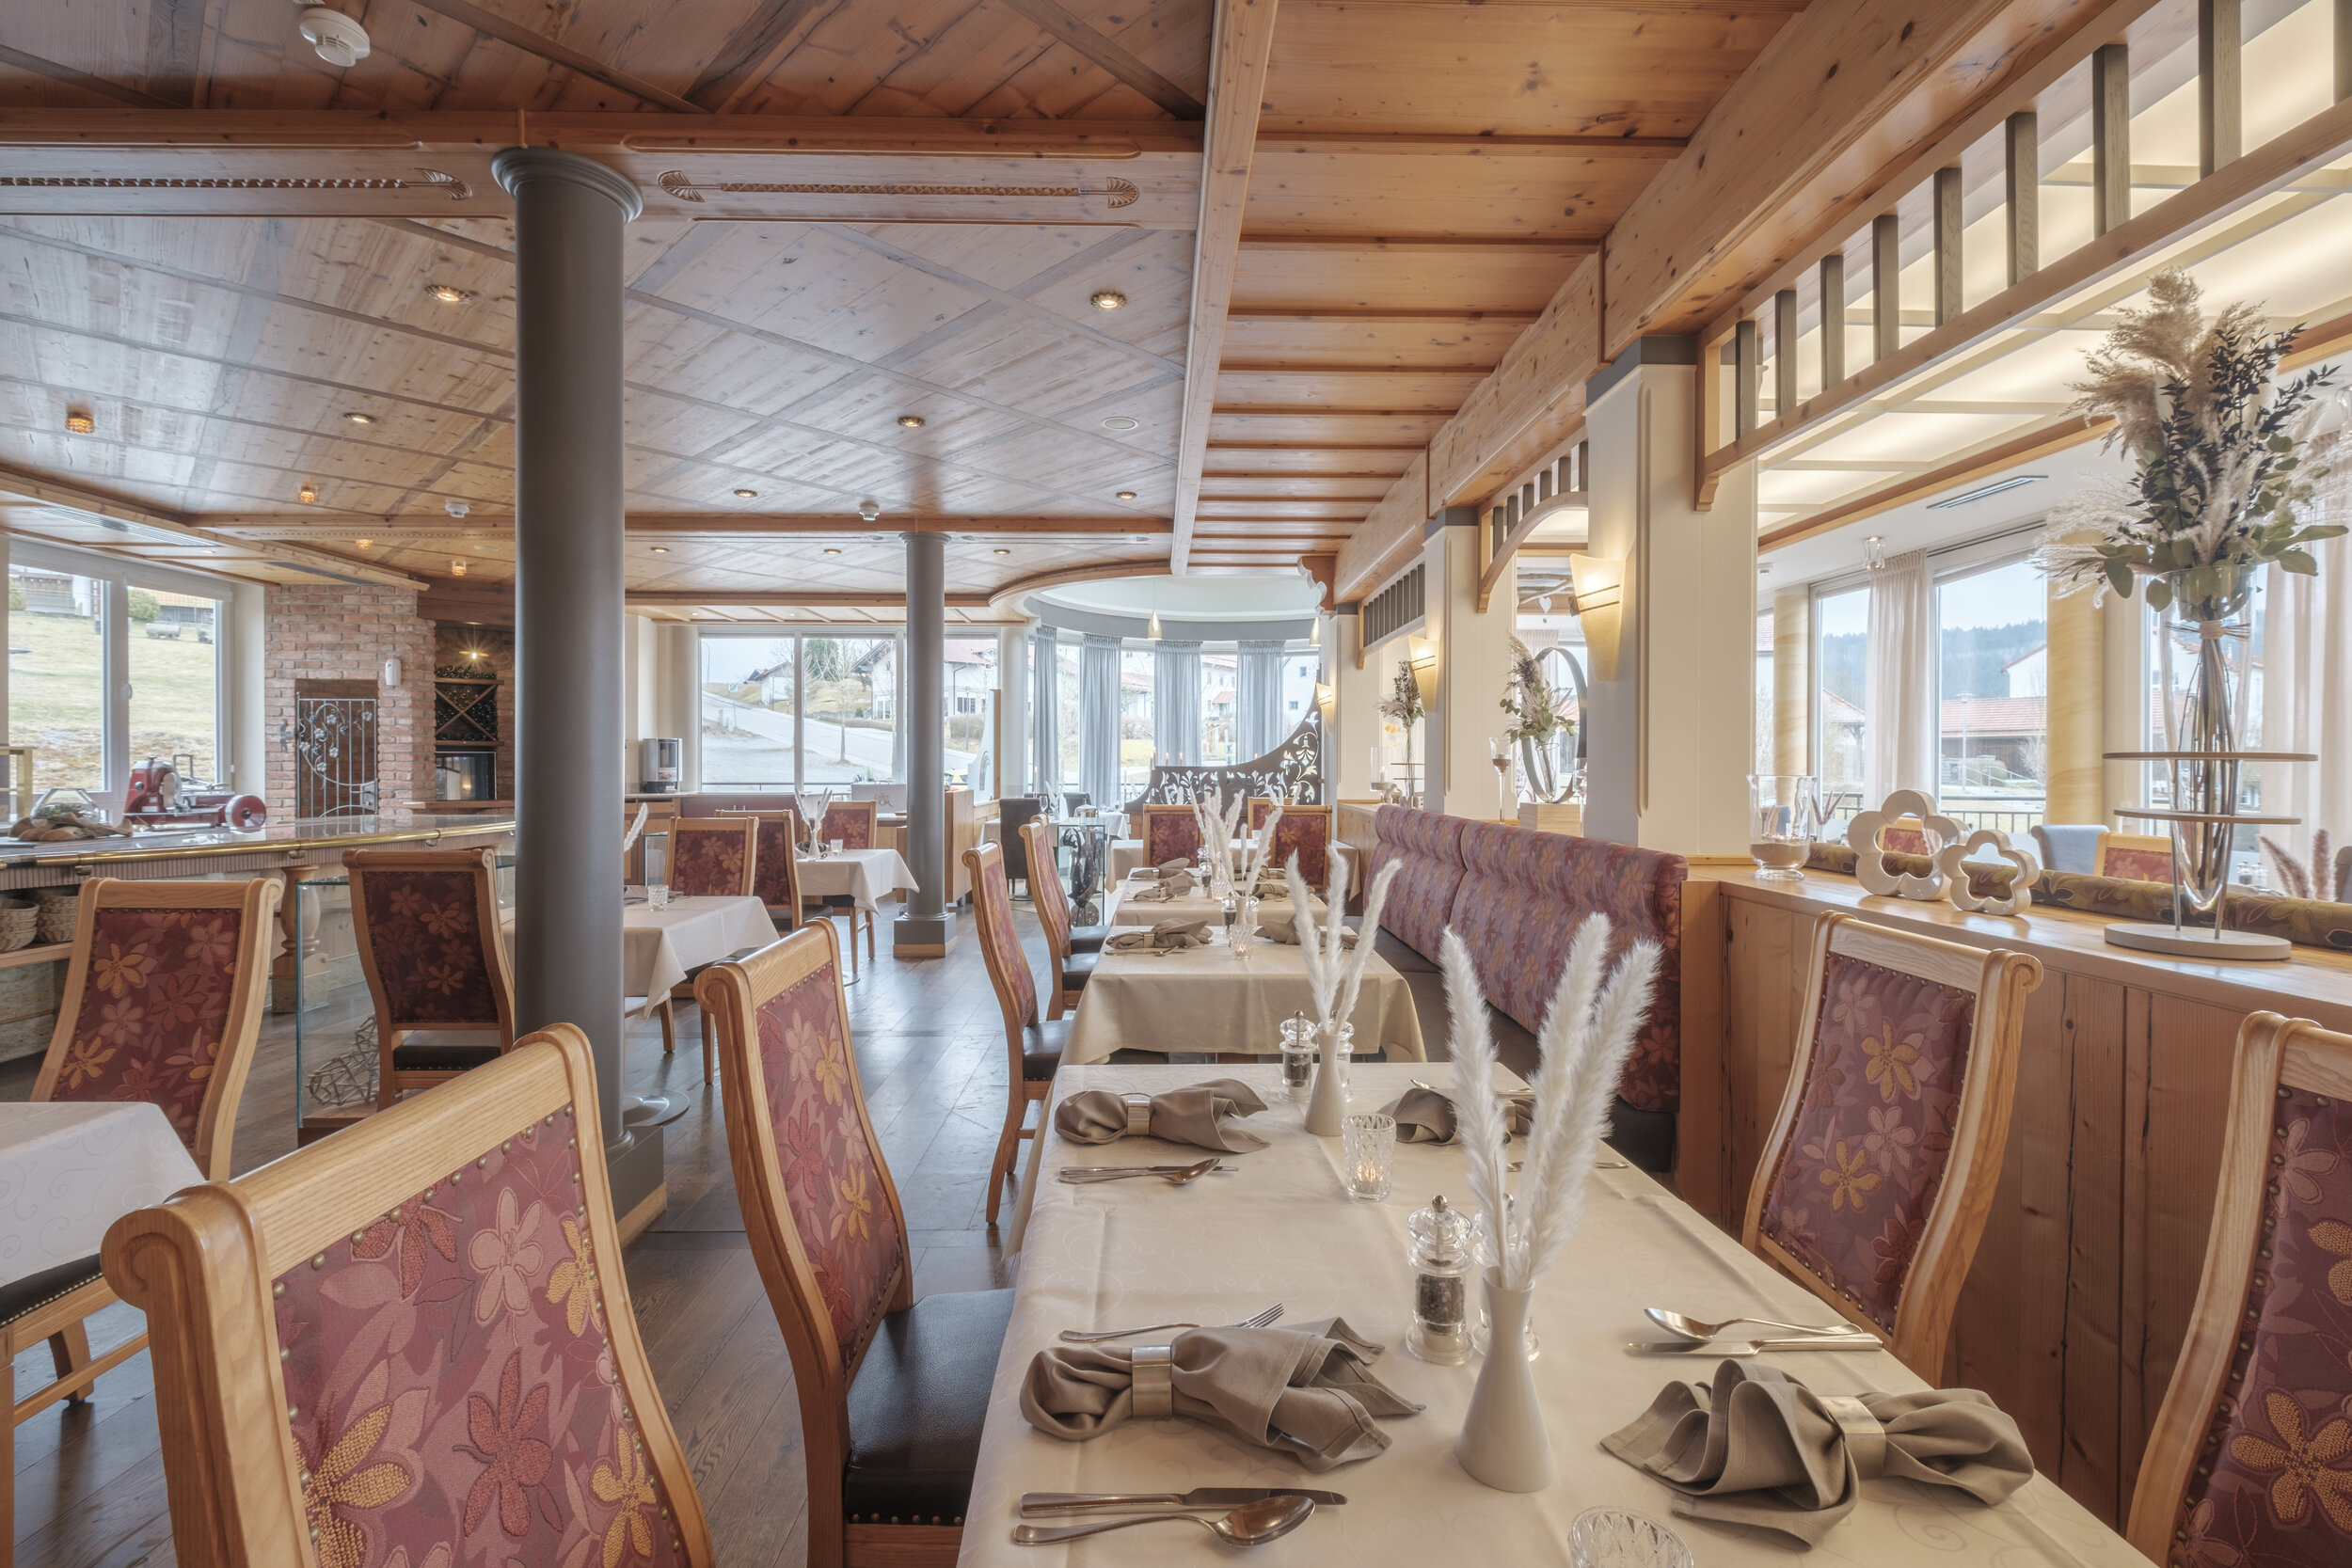
But not every scenario is that simple. There are way more different, more complex and more demanding scenarios in which you have to take way more single pictures. Those will all be layered in Photoshop again to create another well-lit restaurant interior photograph.
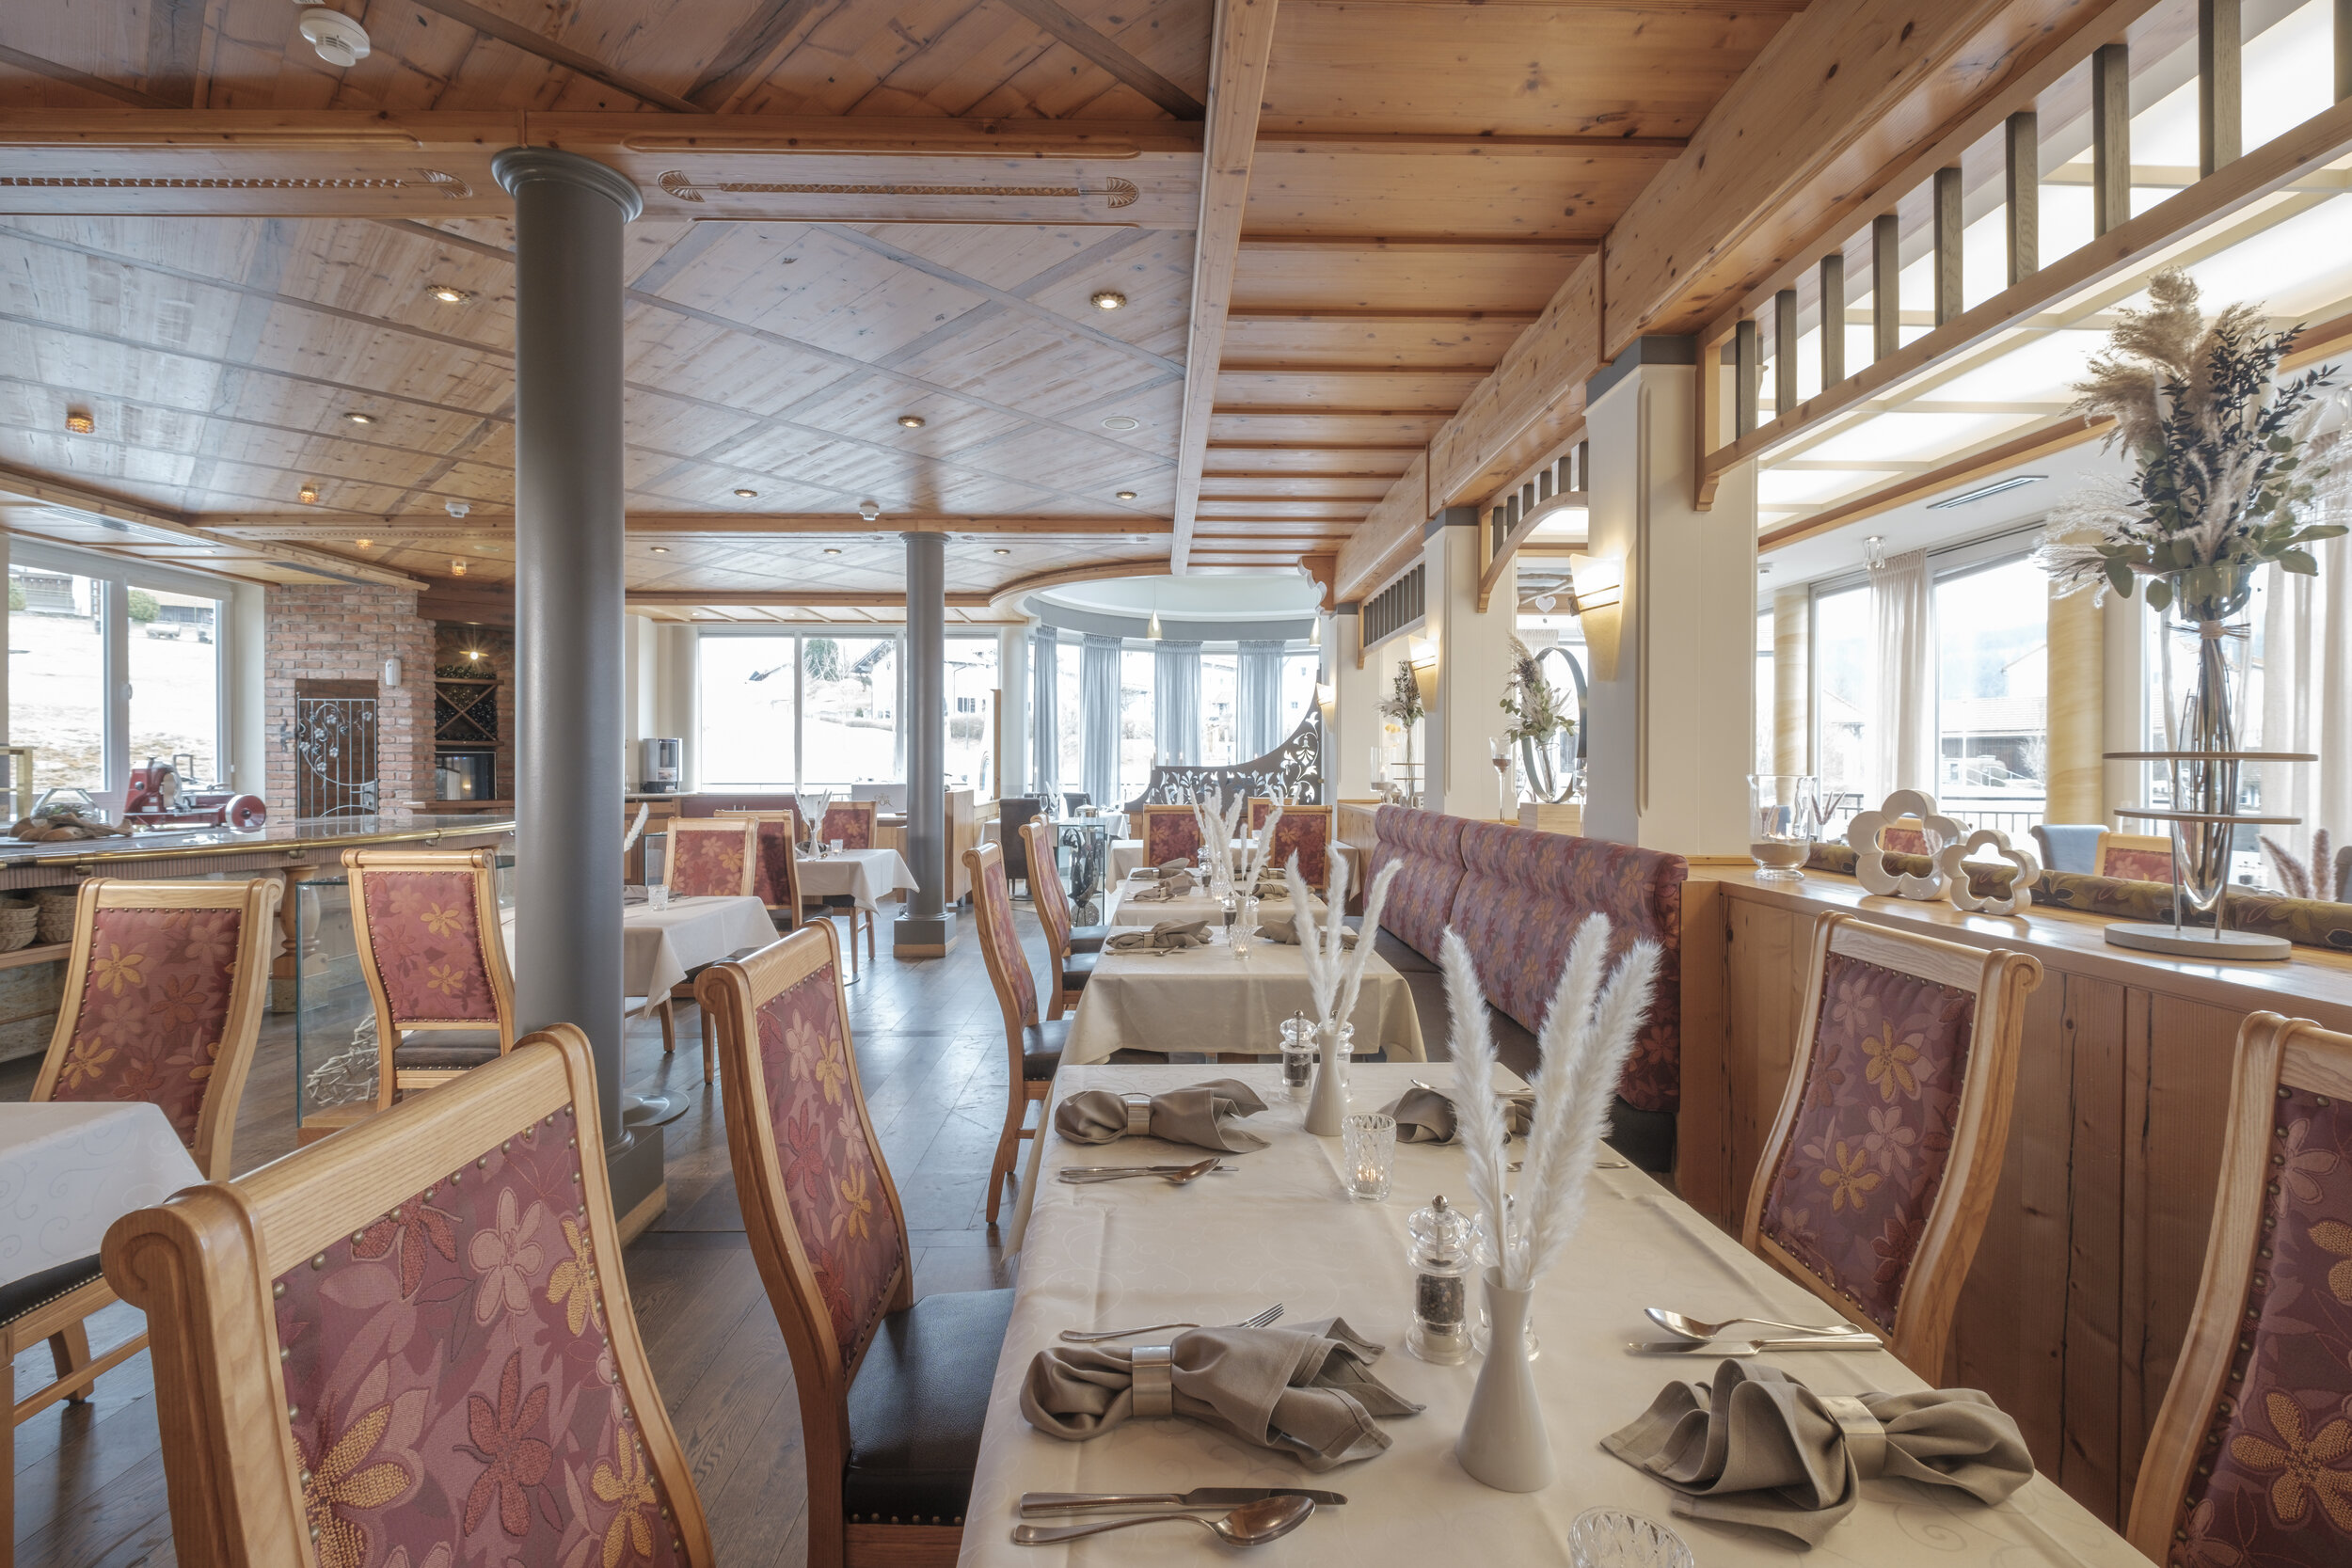
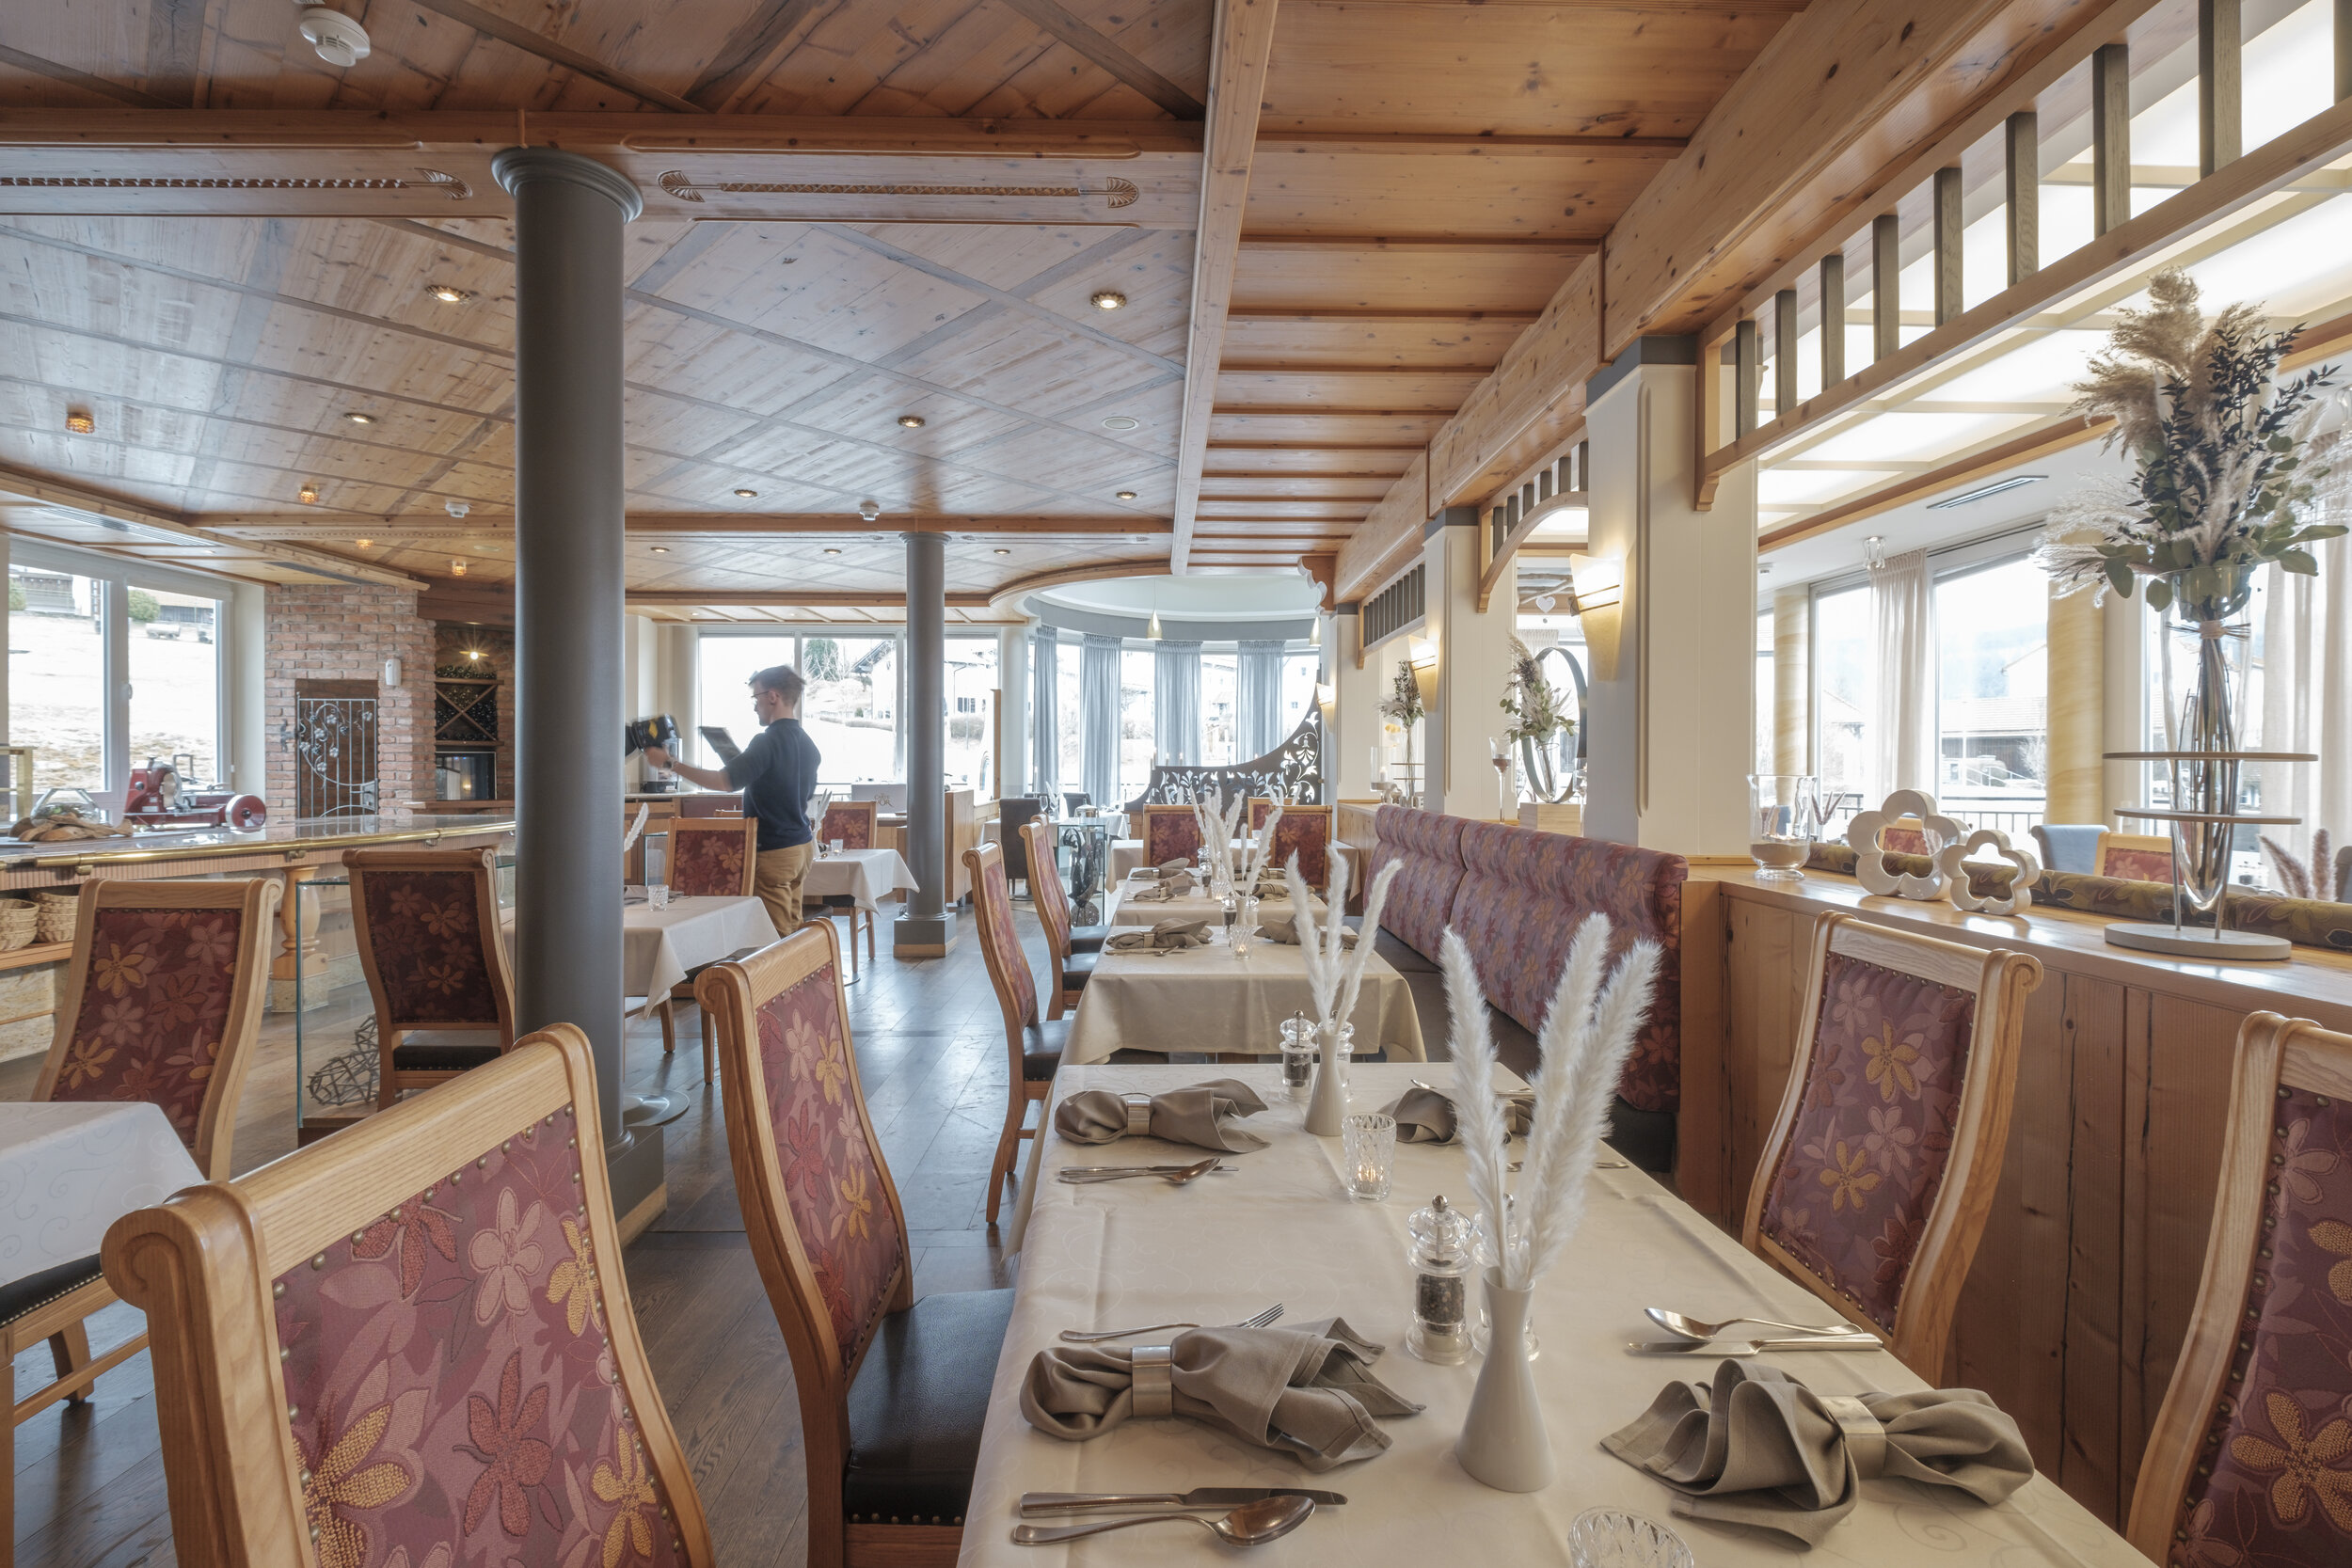
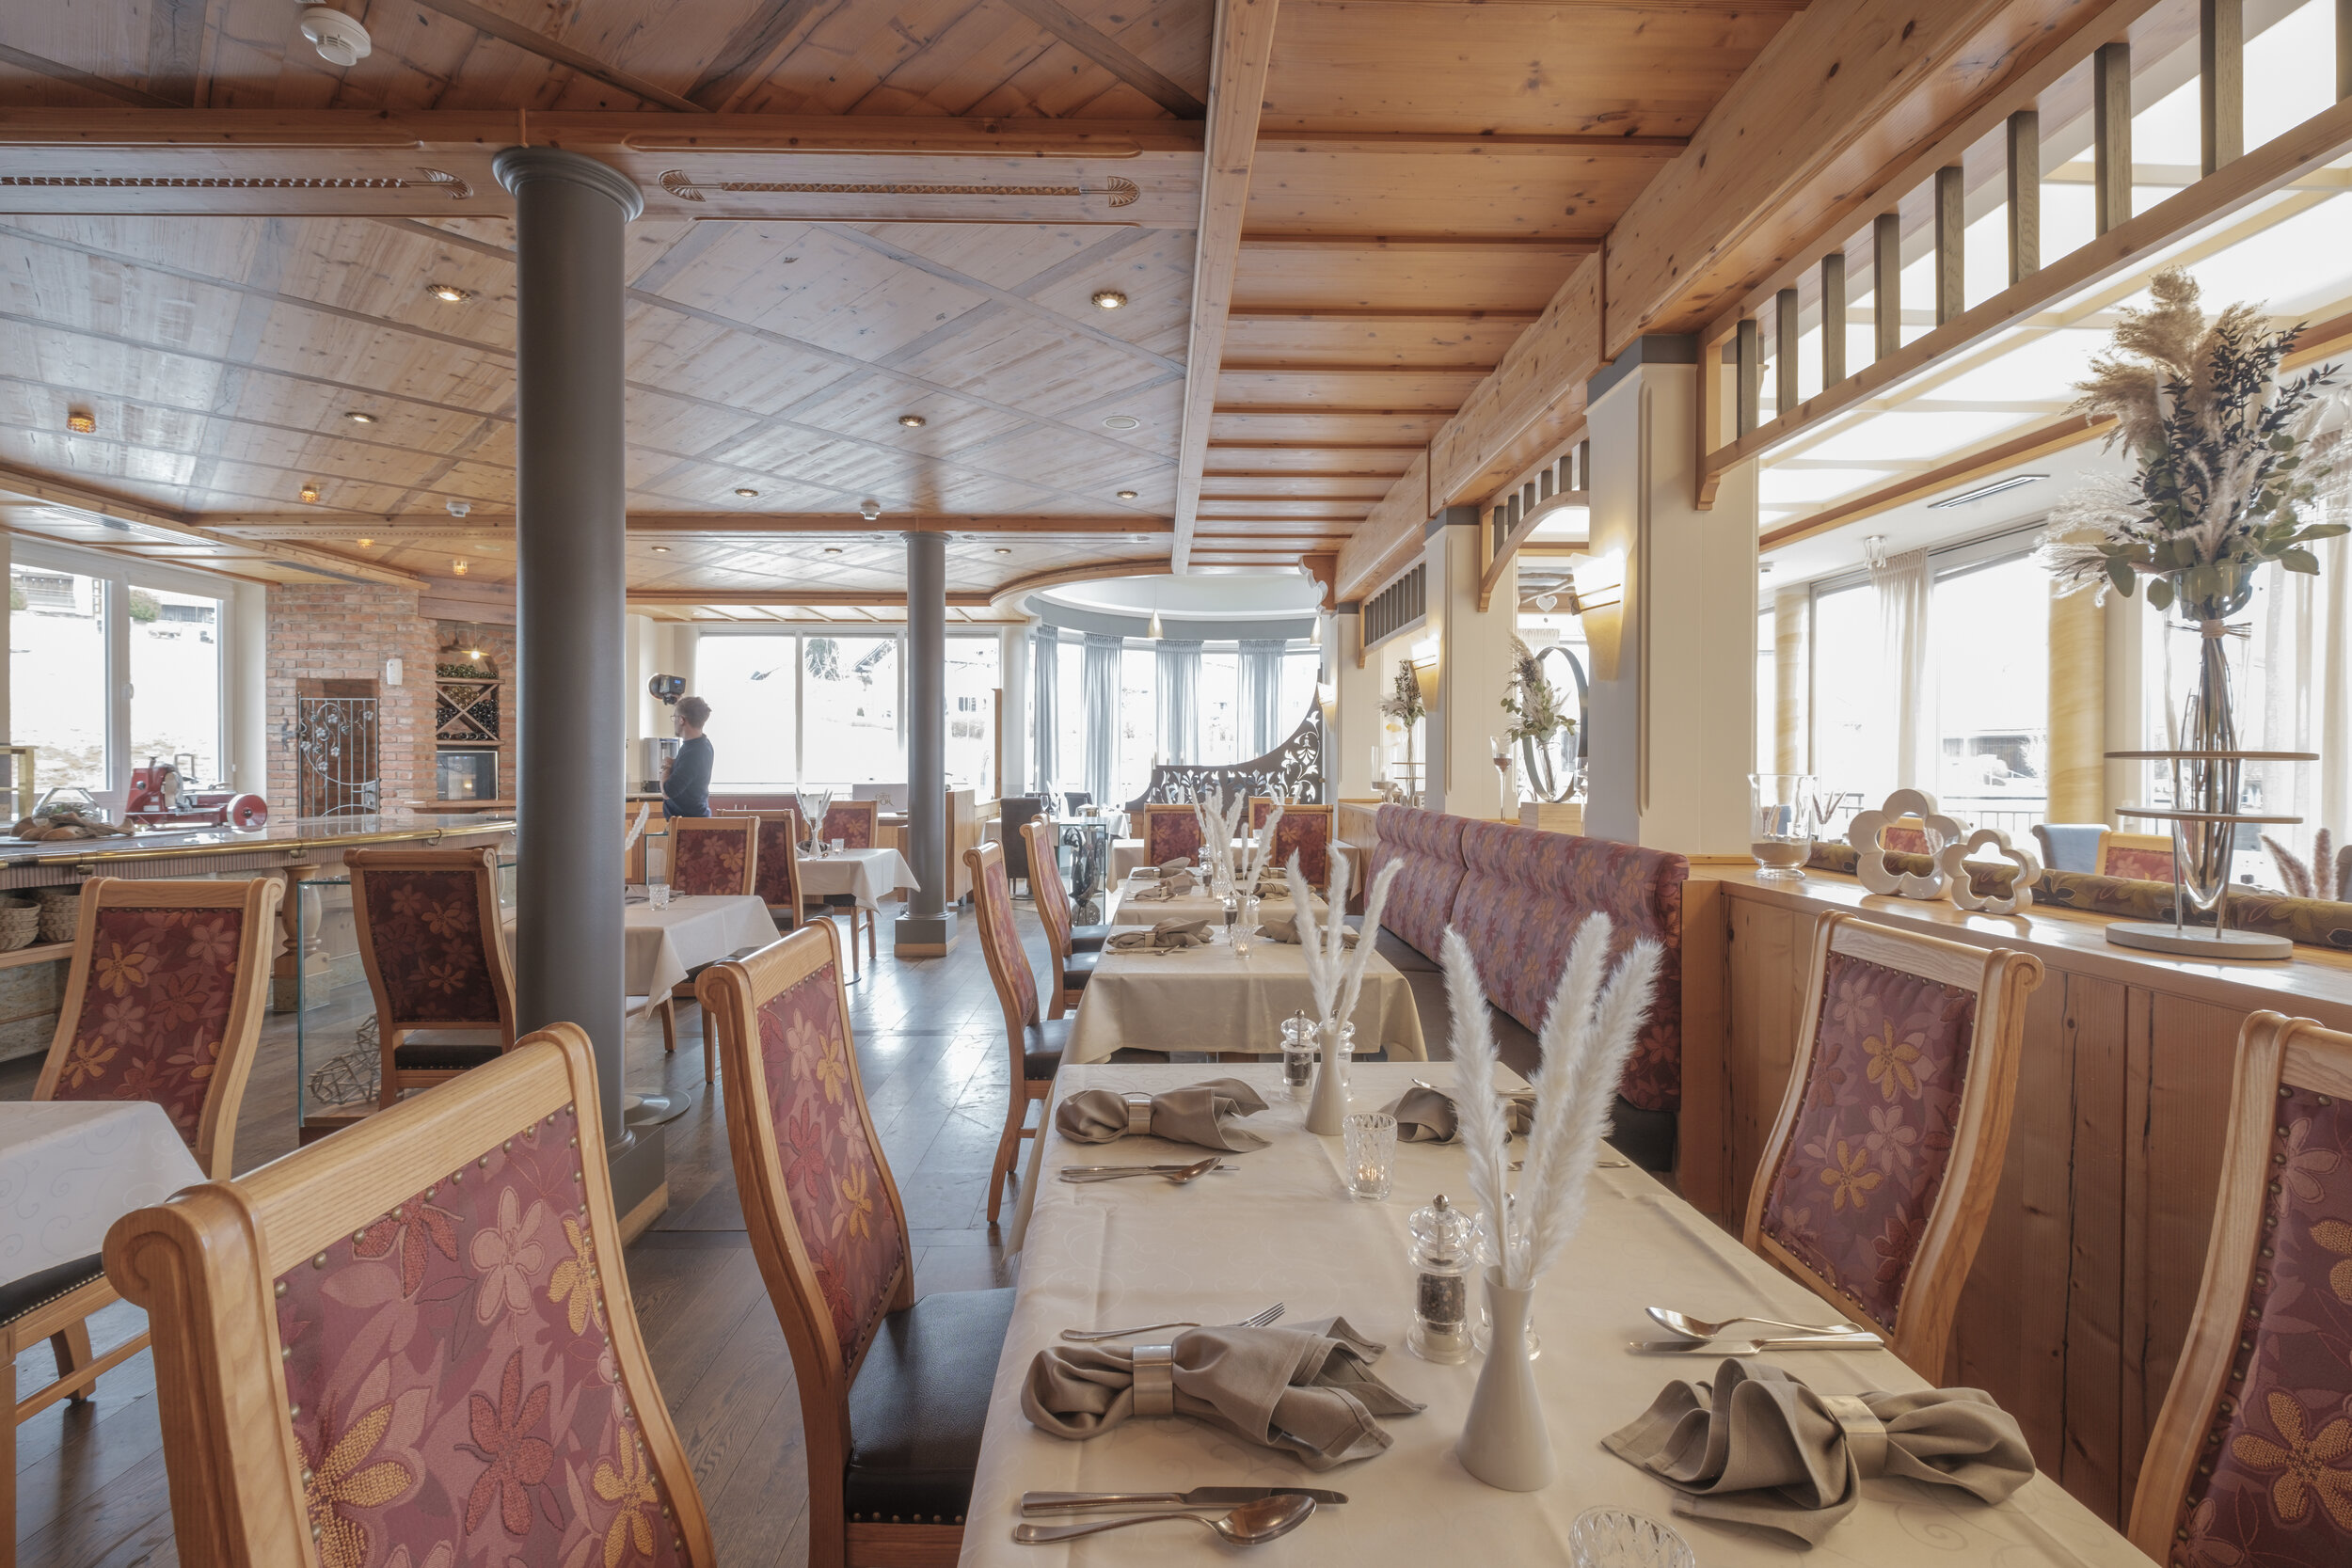
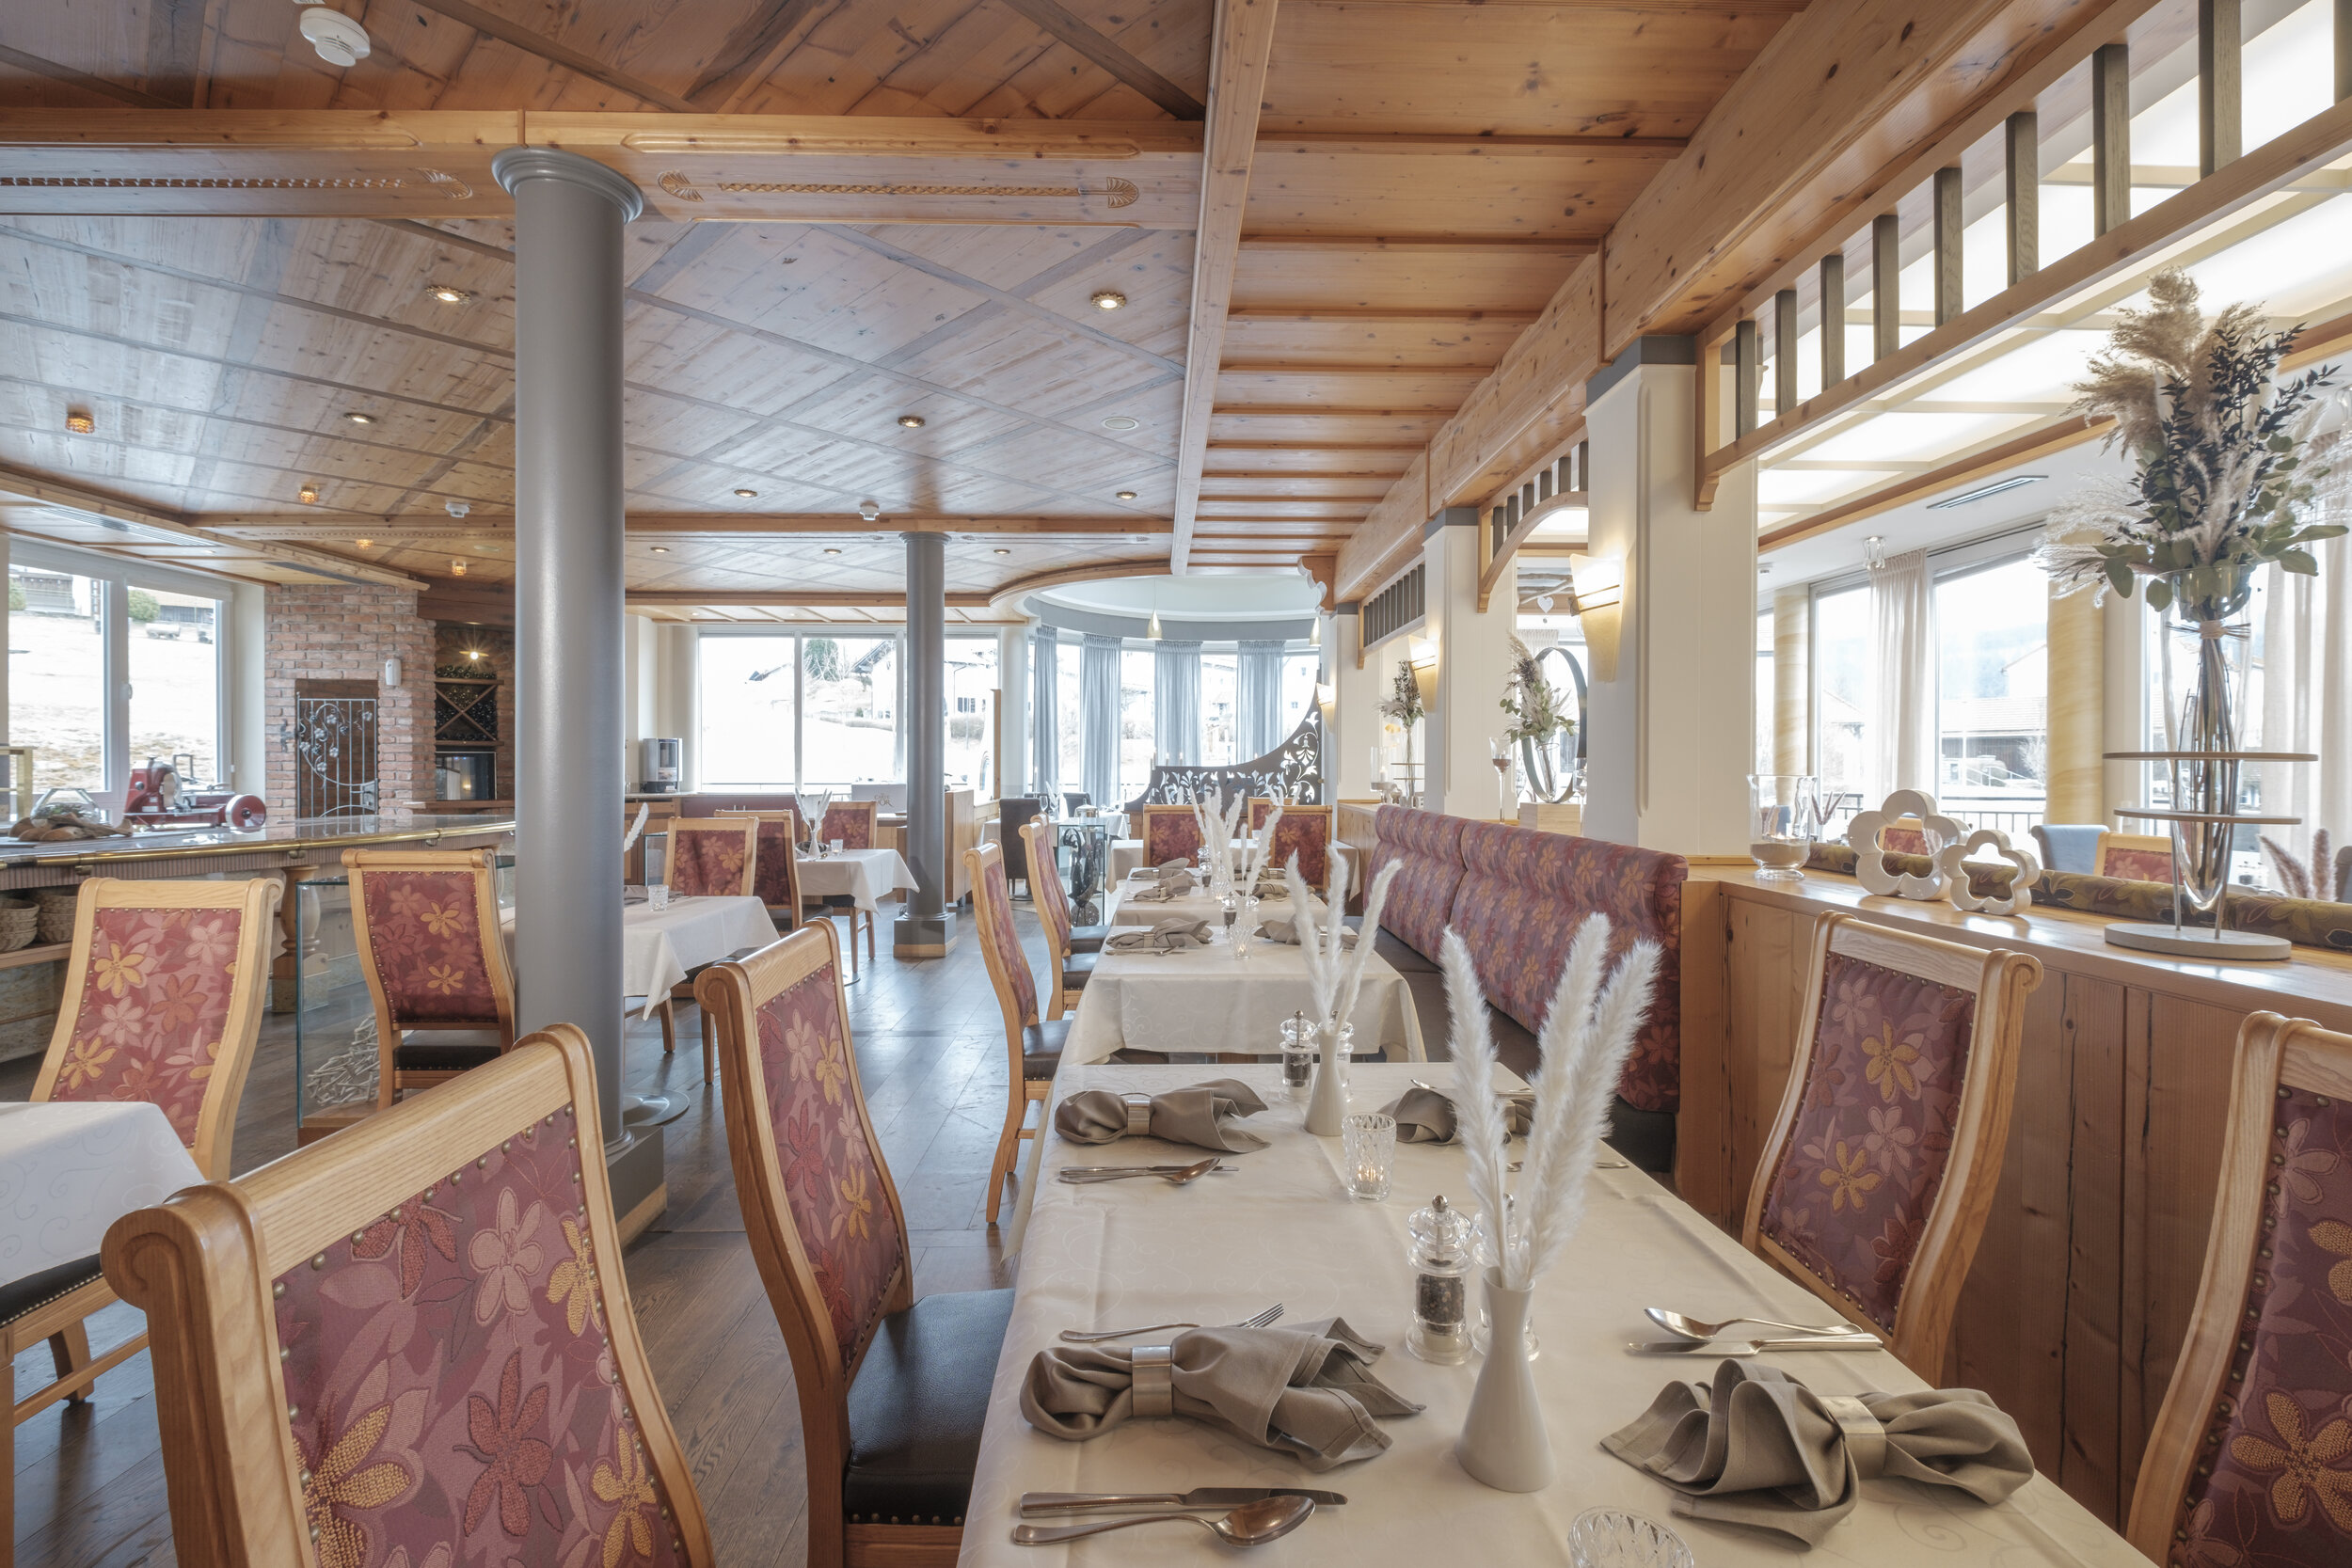
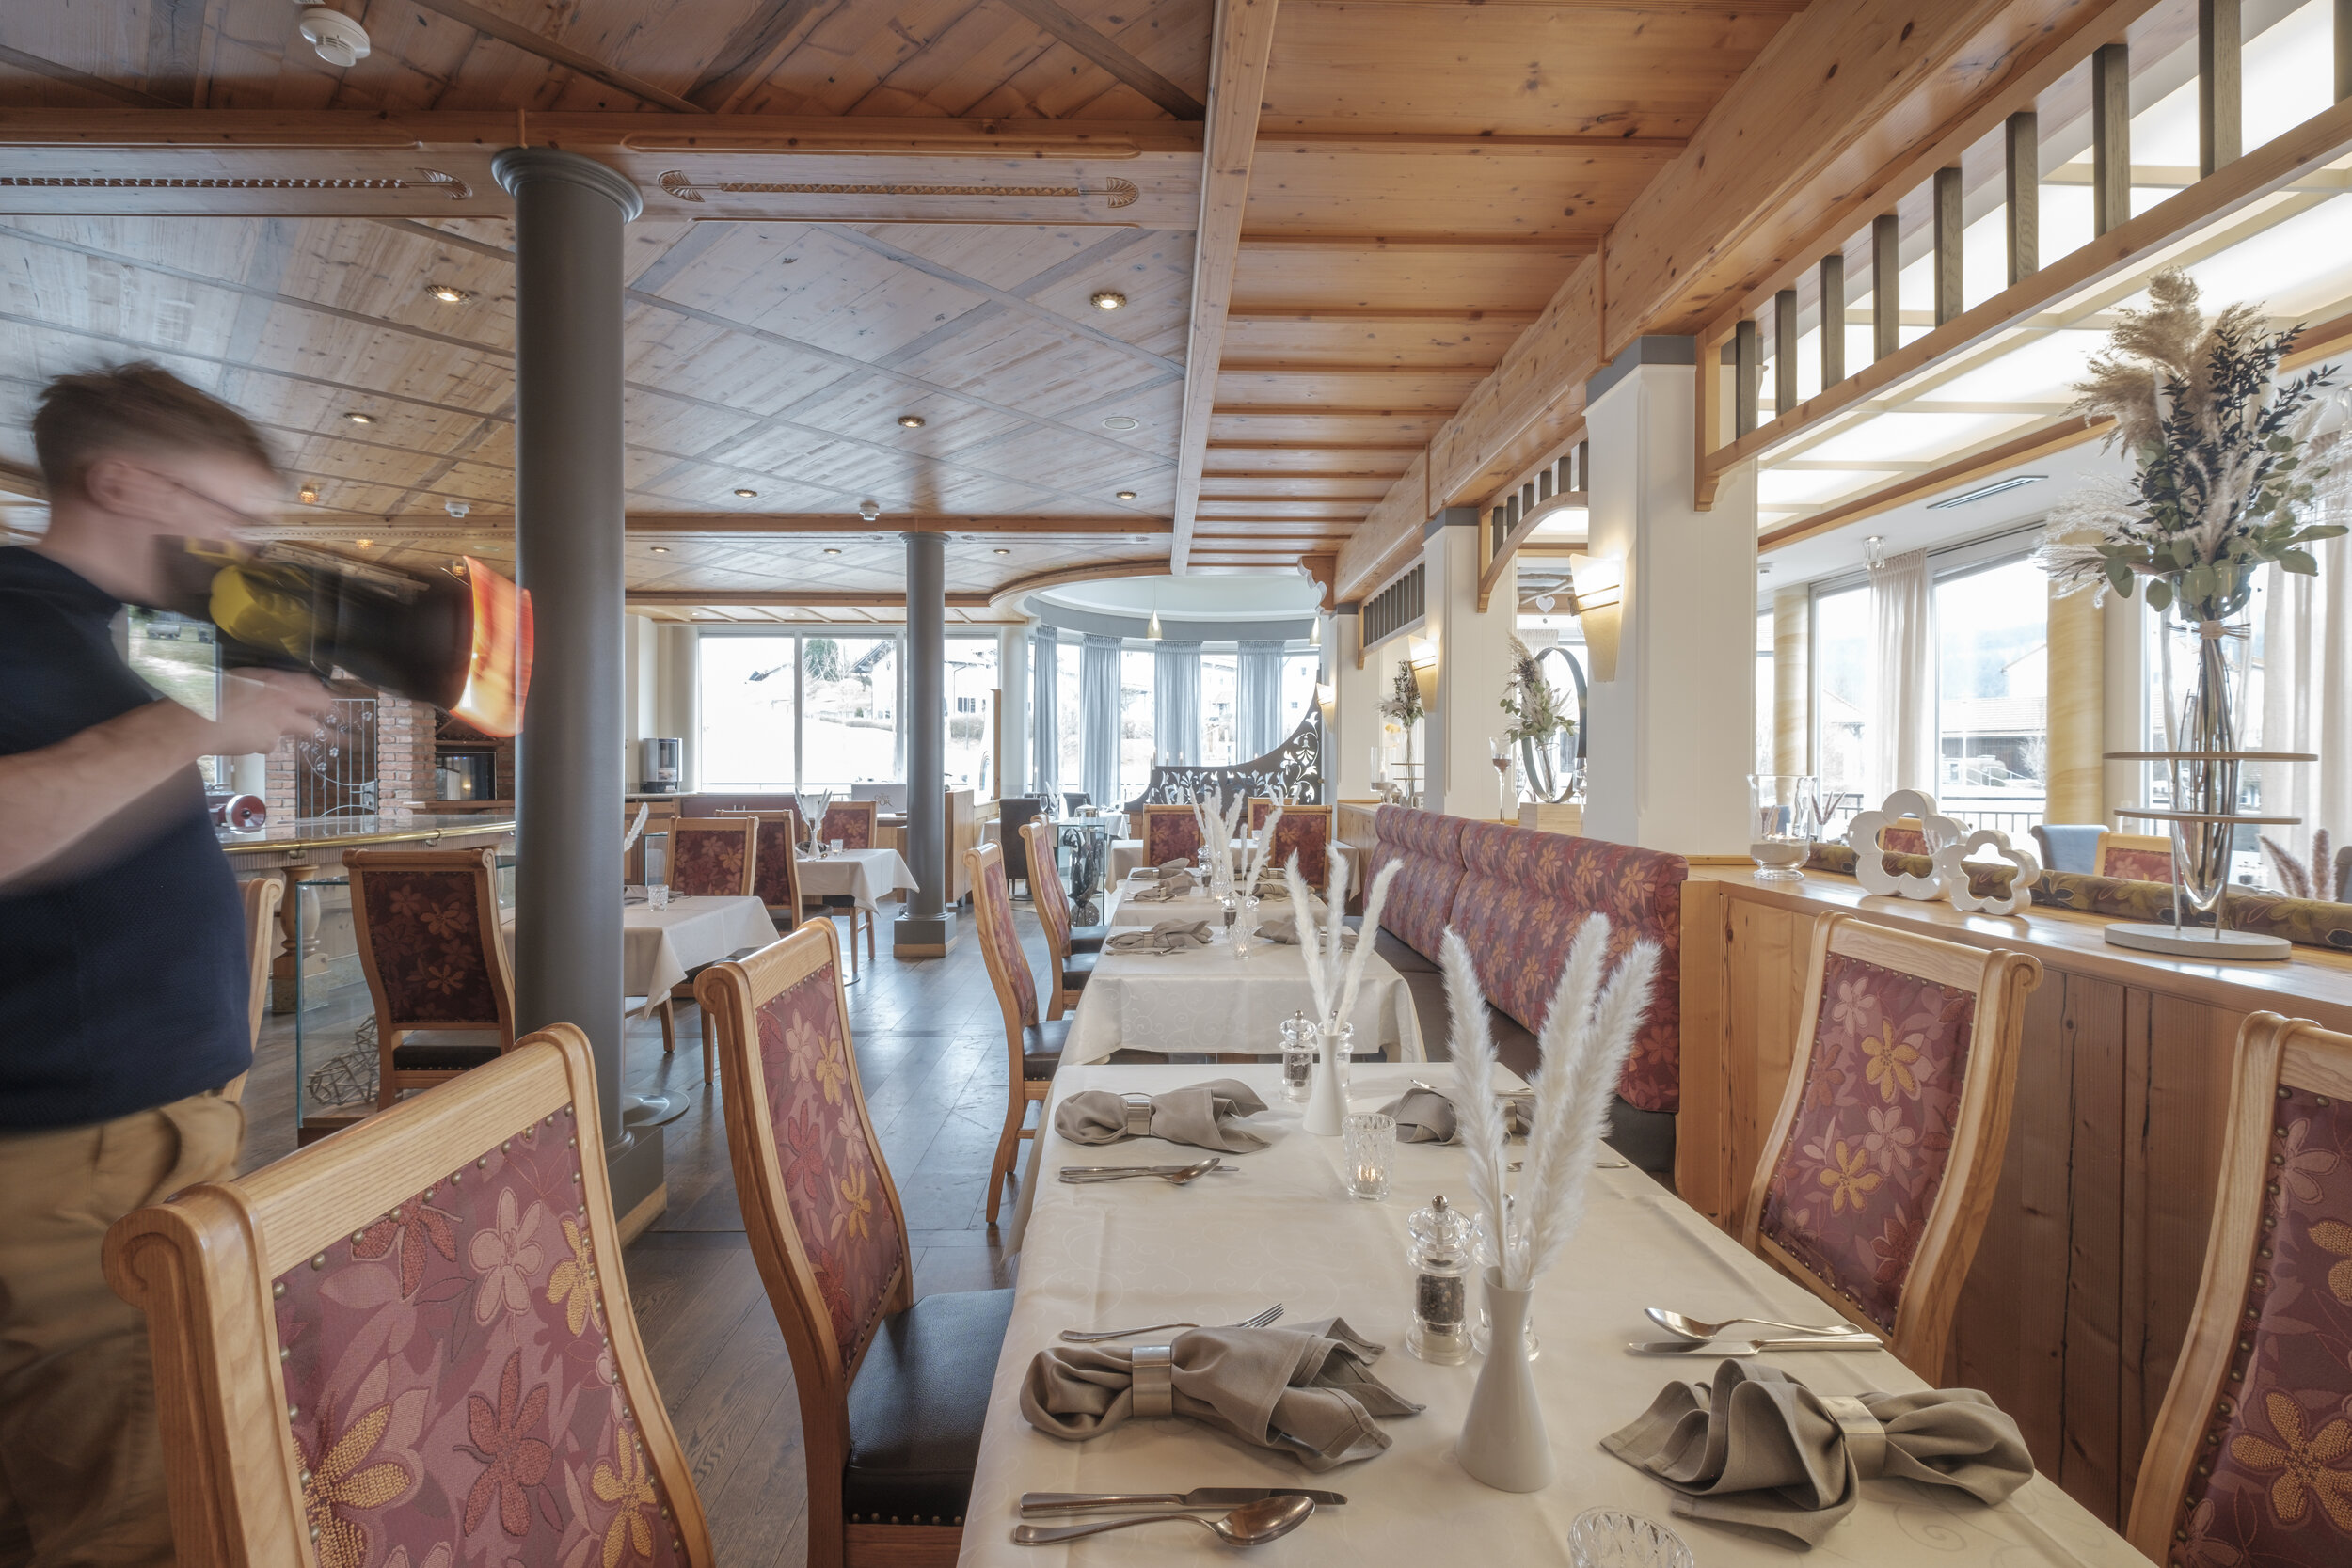
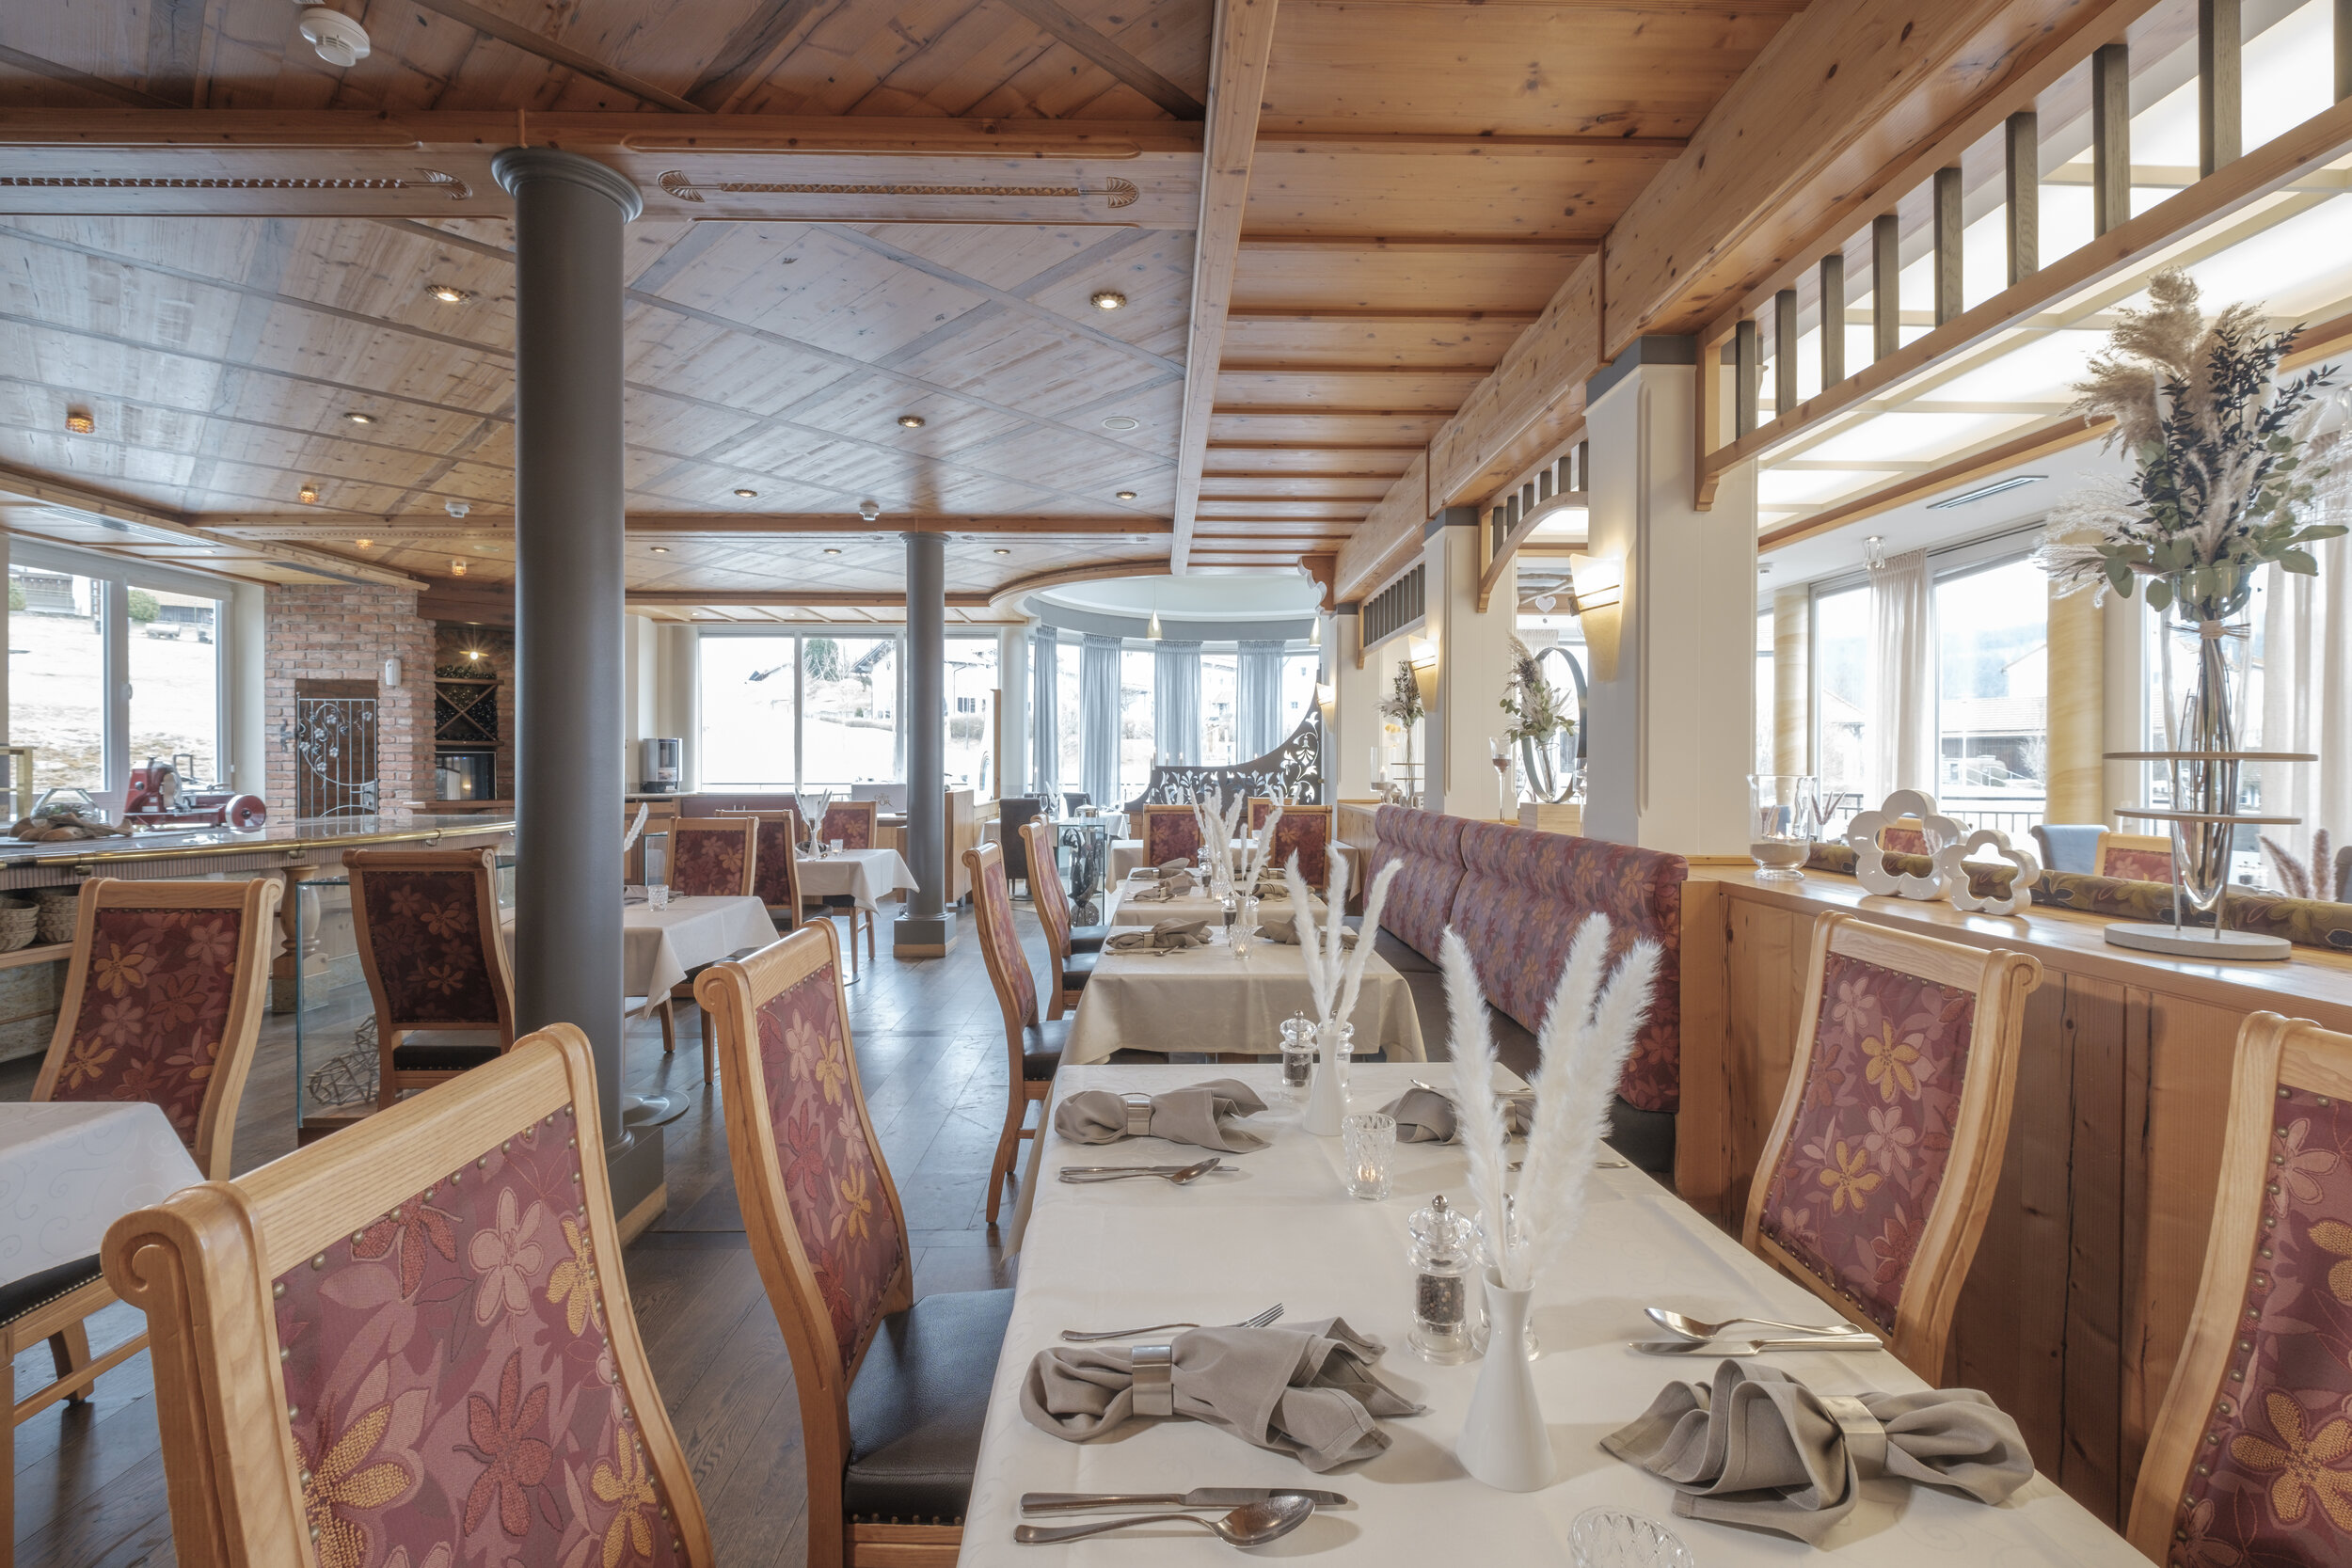
That way, I could improve the image from this basic poorly-lit shot to a well-lit interior photograph, showing all the highlights of the room in detail and in flattering light.
As we can see, it is way more important to plan your shots ahead than carrying many heavy flashes to your shoot. This way, it is much more convenient and time-saving on location as well as lighter and cheaper to light any hotel room you might run into. Layering multiple light-painted images in Photoshop also provides you with more flexibility in post-production to pick the best amount of light for each shot that you mask in to the base exposure.


