light painting

Light painting hotel interiors with a constant light.

As a photographer, it is very important to set yourself apart from other competitors, especially these days, when ordinary people purchase a camera and consider themselves a photographer. Obviously, that is far away from the truth: Spending lots of money on camera gear makes you as much a photographer, as purchasing good expensive kitchen utilities makes you a good cook. ;) But how should ordinary people know the difference? That’s why I find it very important to make my work process as transparent as possible, to exactly show my clients - who aren’t professional photographers - how I work and what to expect from me. it is easy to impress people with a crazily big amount of expensive gear. Instead, I impress my clients in a different way: e.g. “When I heard, you’re arriving by train to the shoot, I really wondered how you would fit in all your gear into your luggage.” but once they see me work, they quickly find it out that it is way more important to bring the gear you really need. They also see that I use many tools, but they are small and handy instead of big and heavy: “Wow, you really know every trick in the book! We had many photographers here, but I have never seen anyone working the way you work. Impressive!”

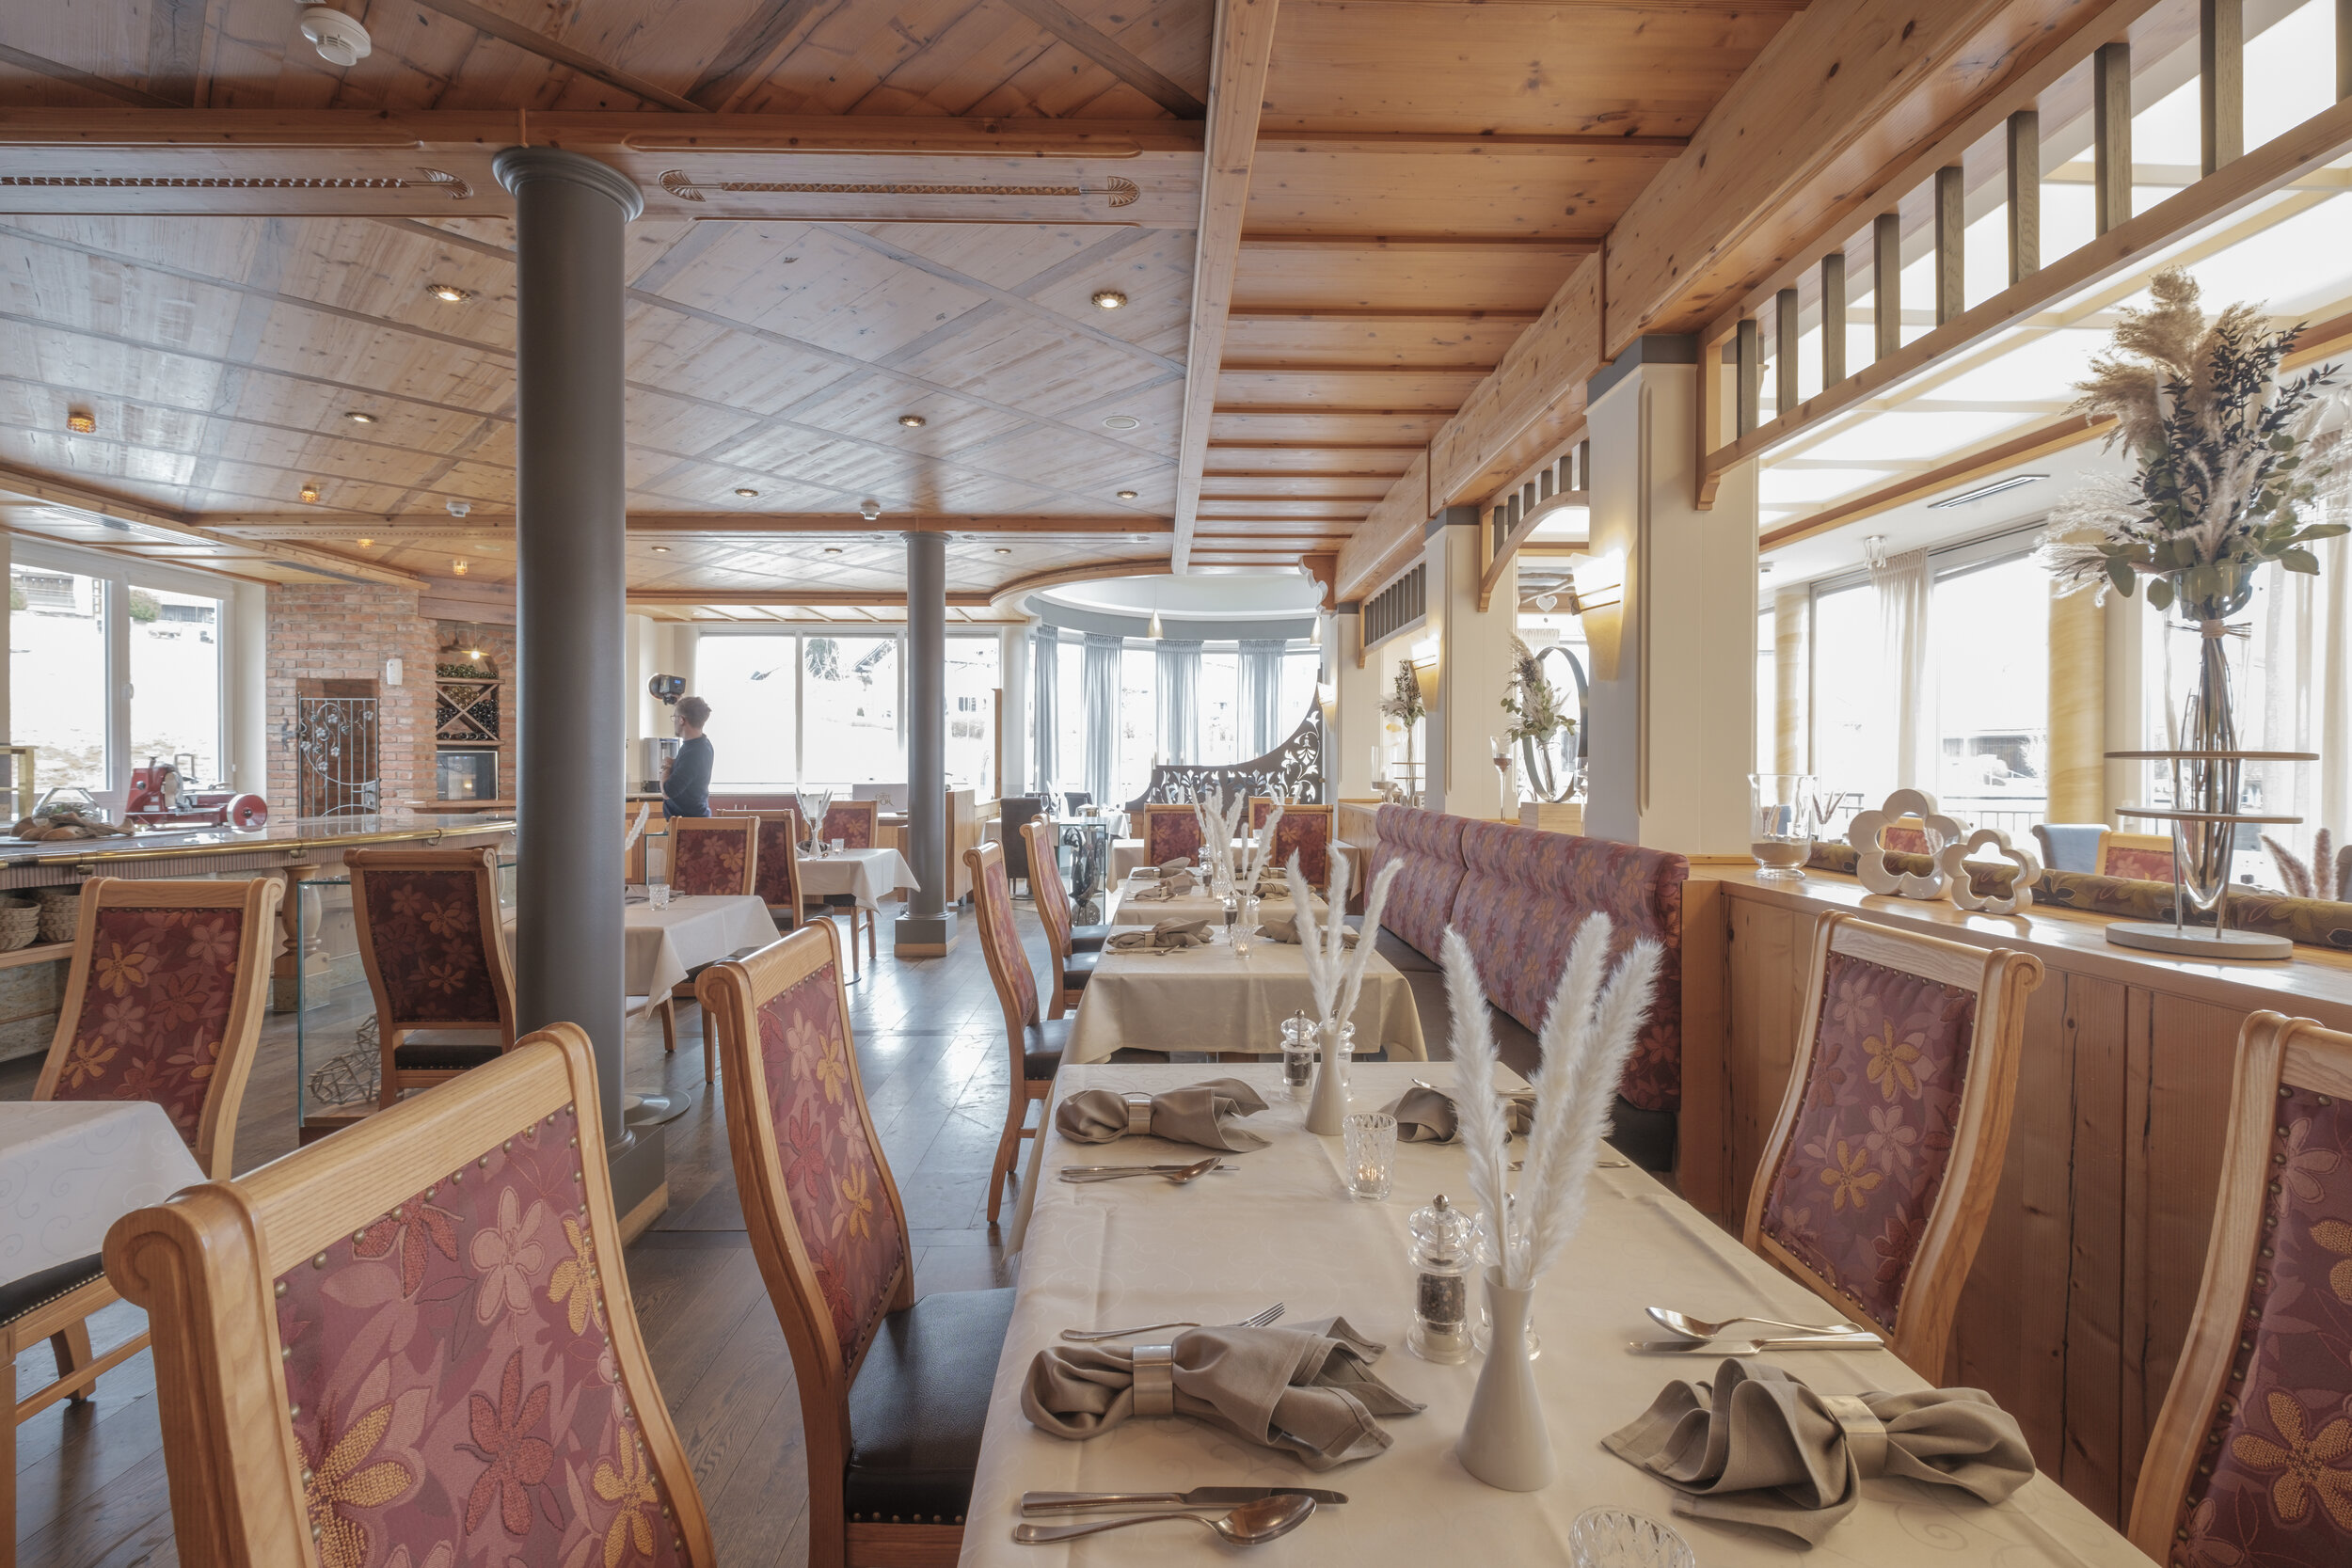
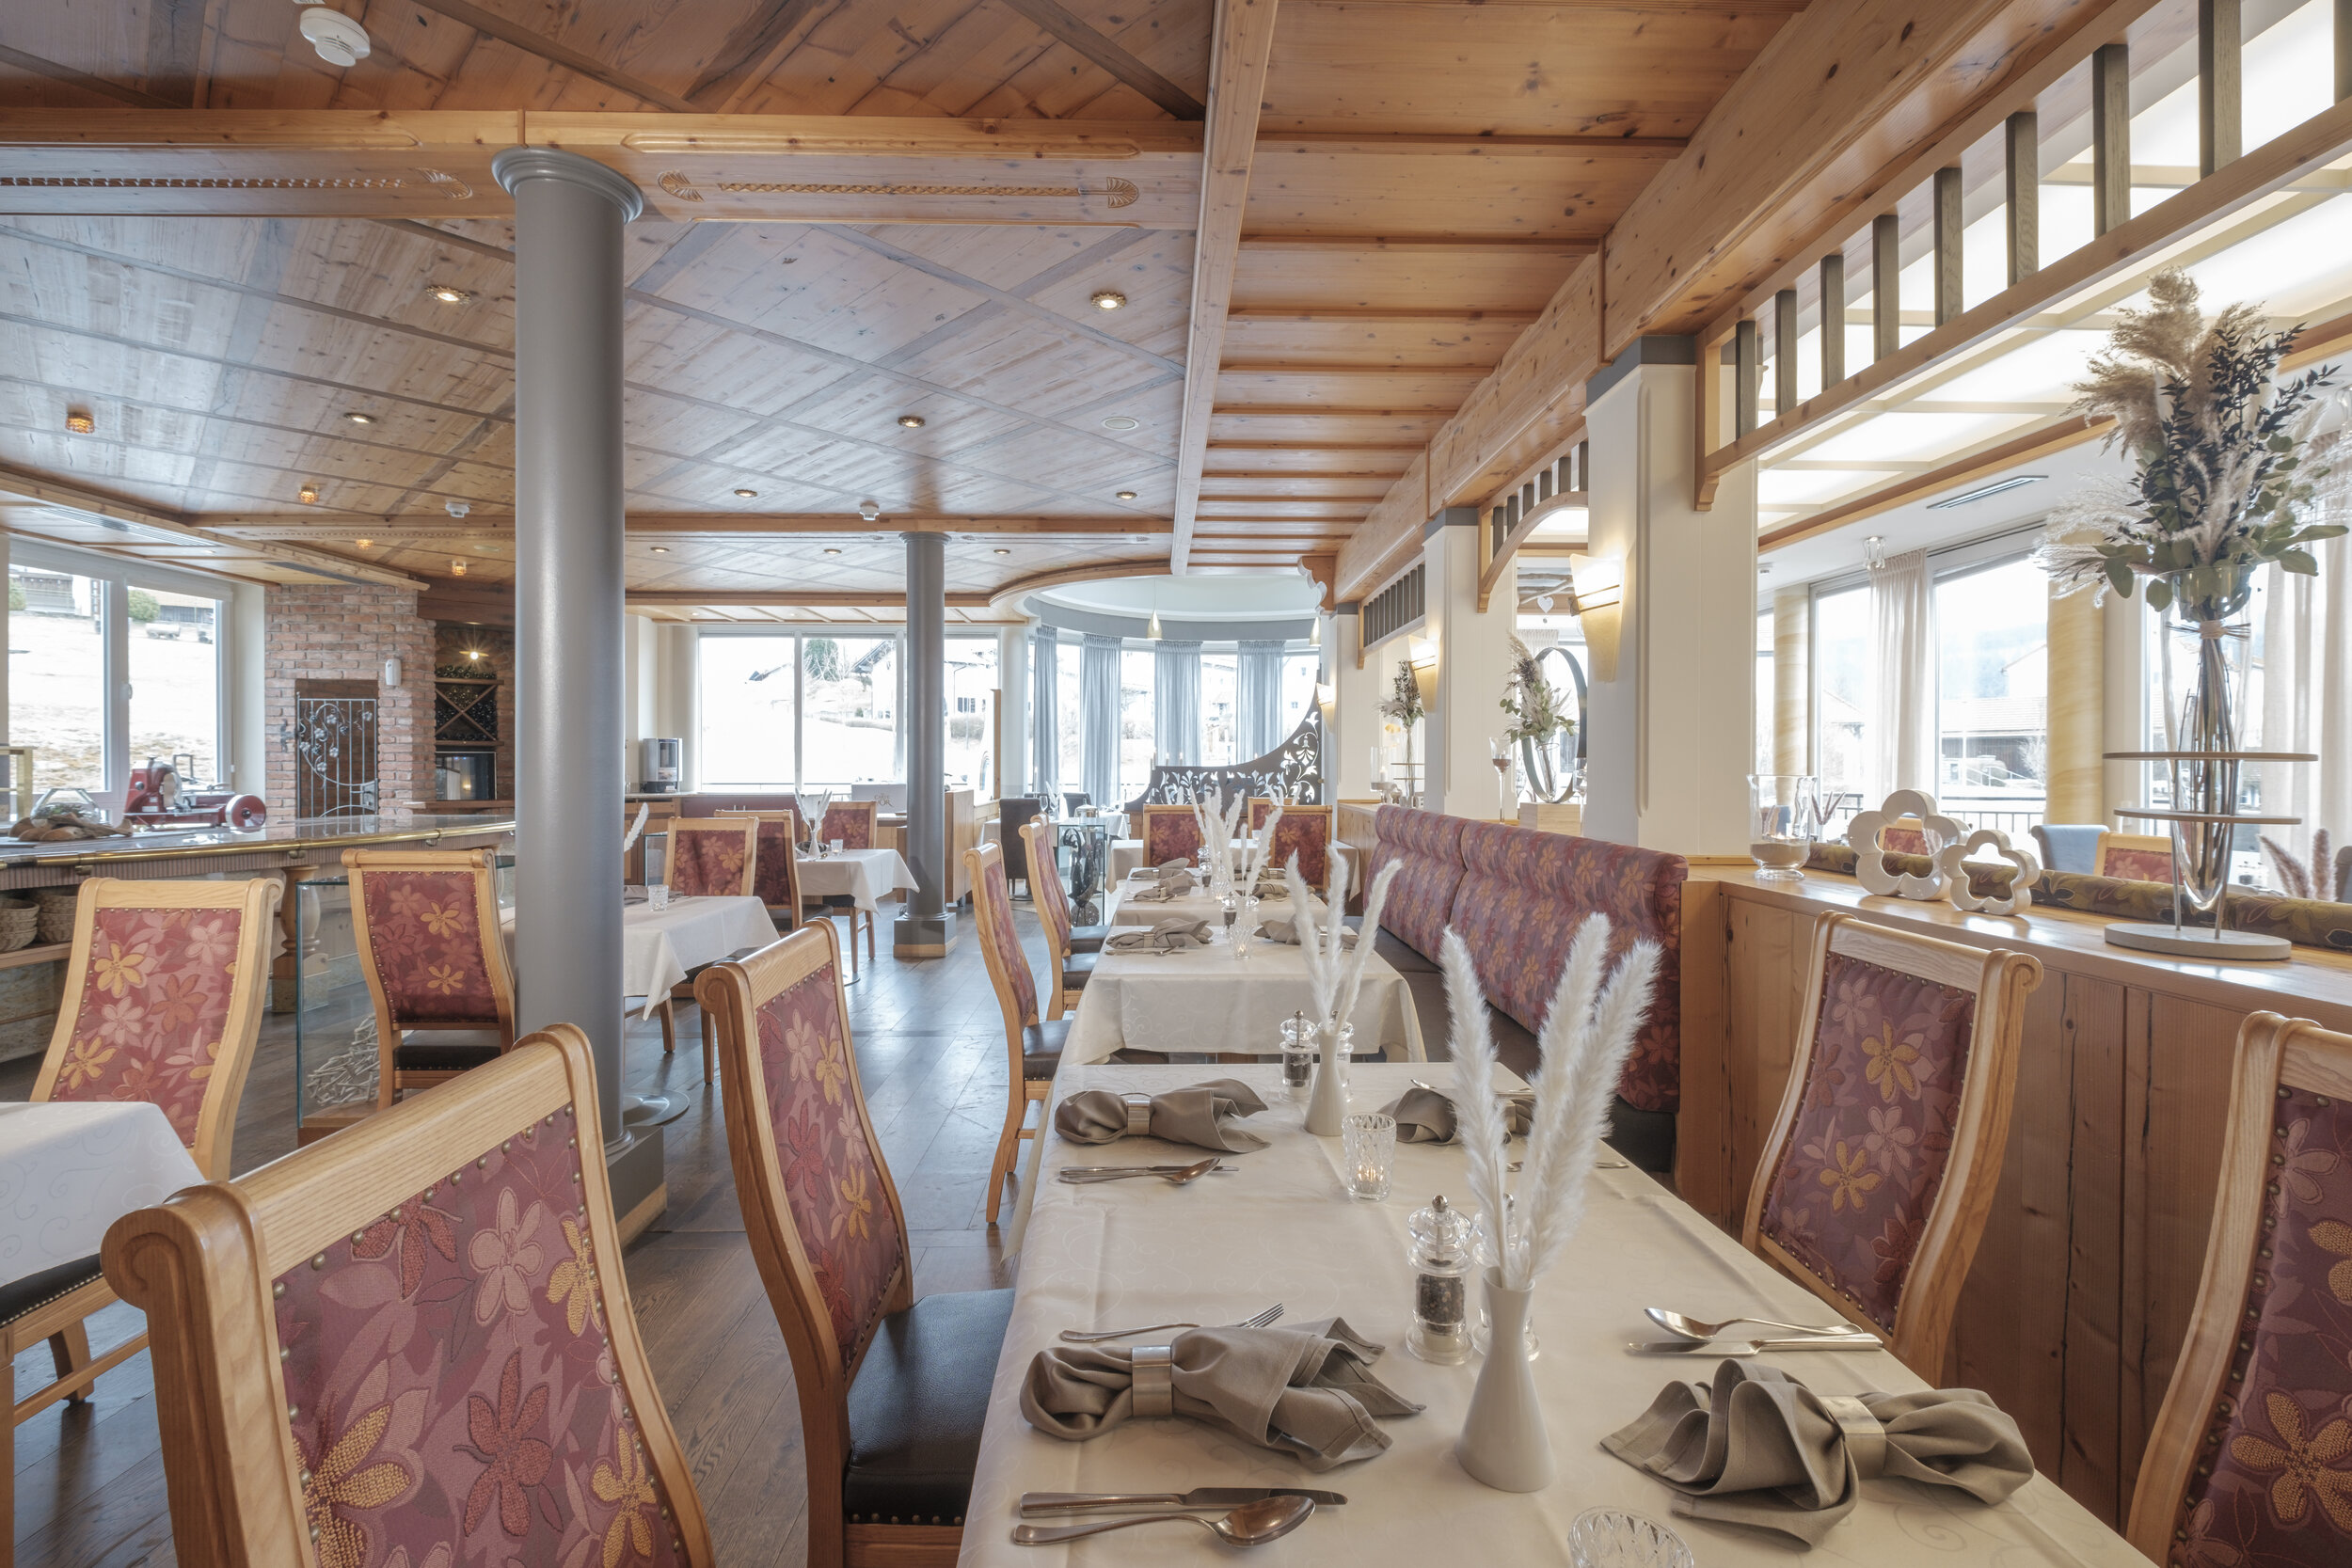
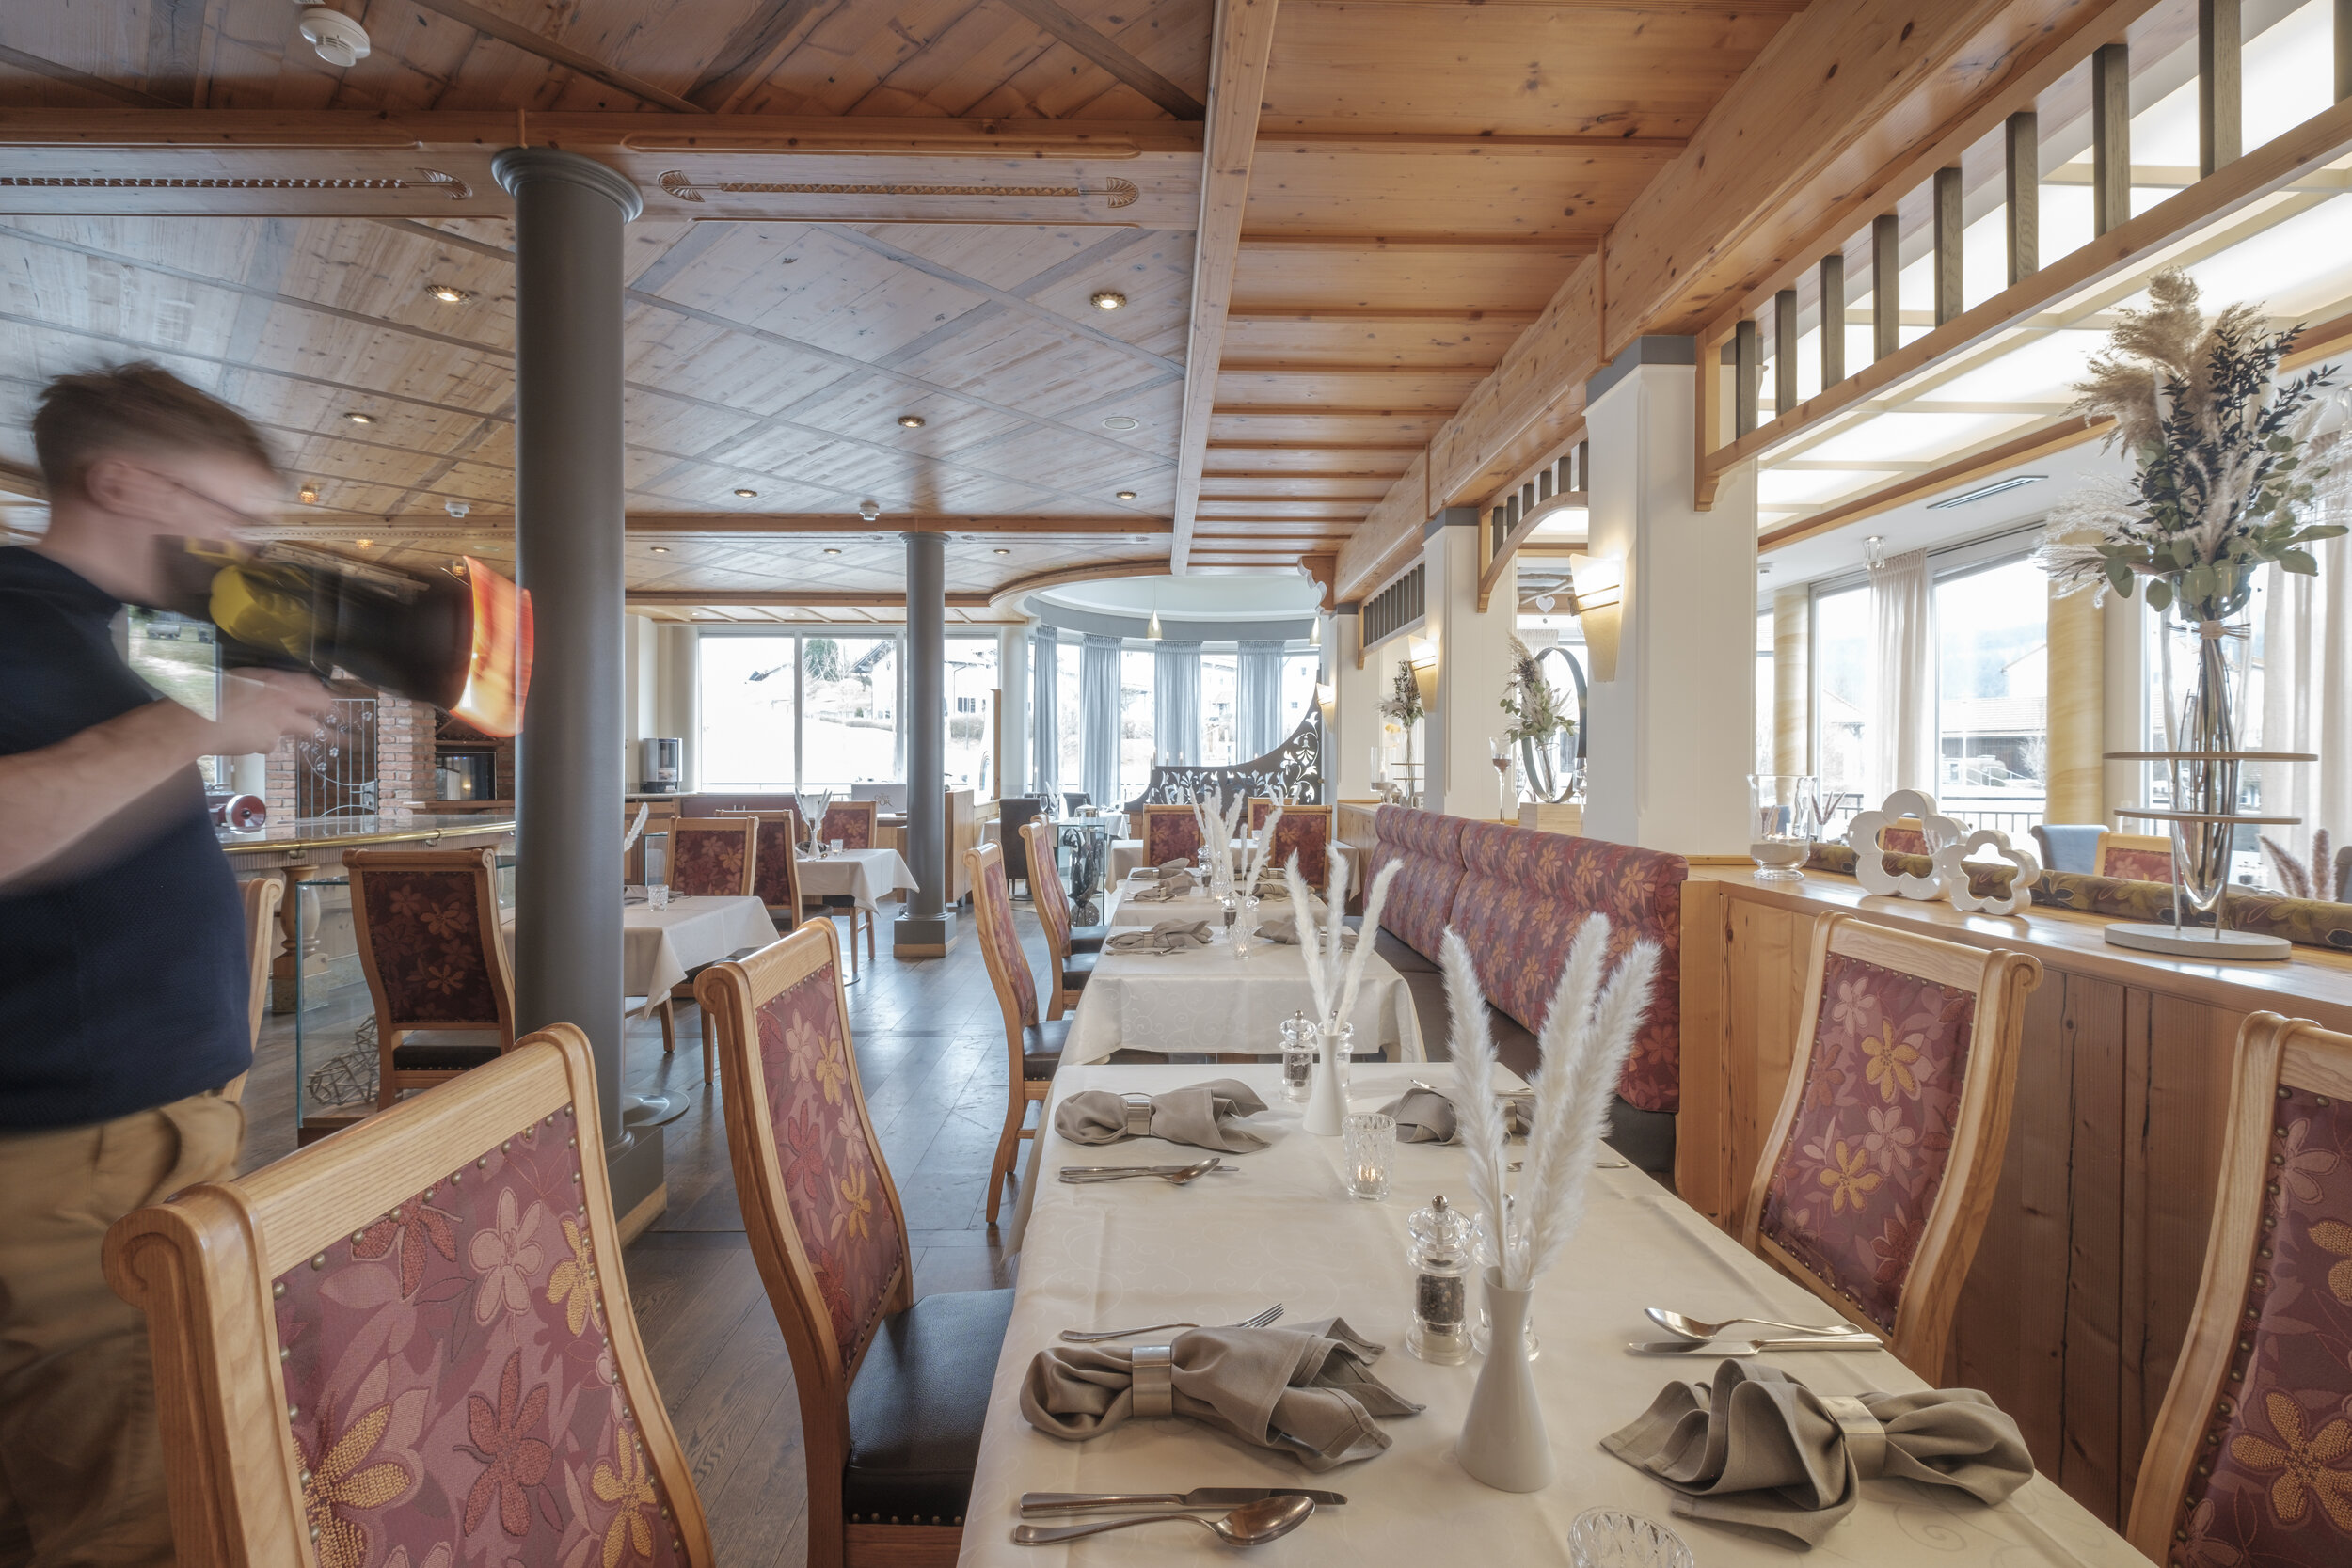
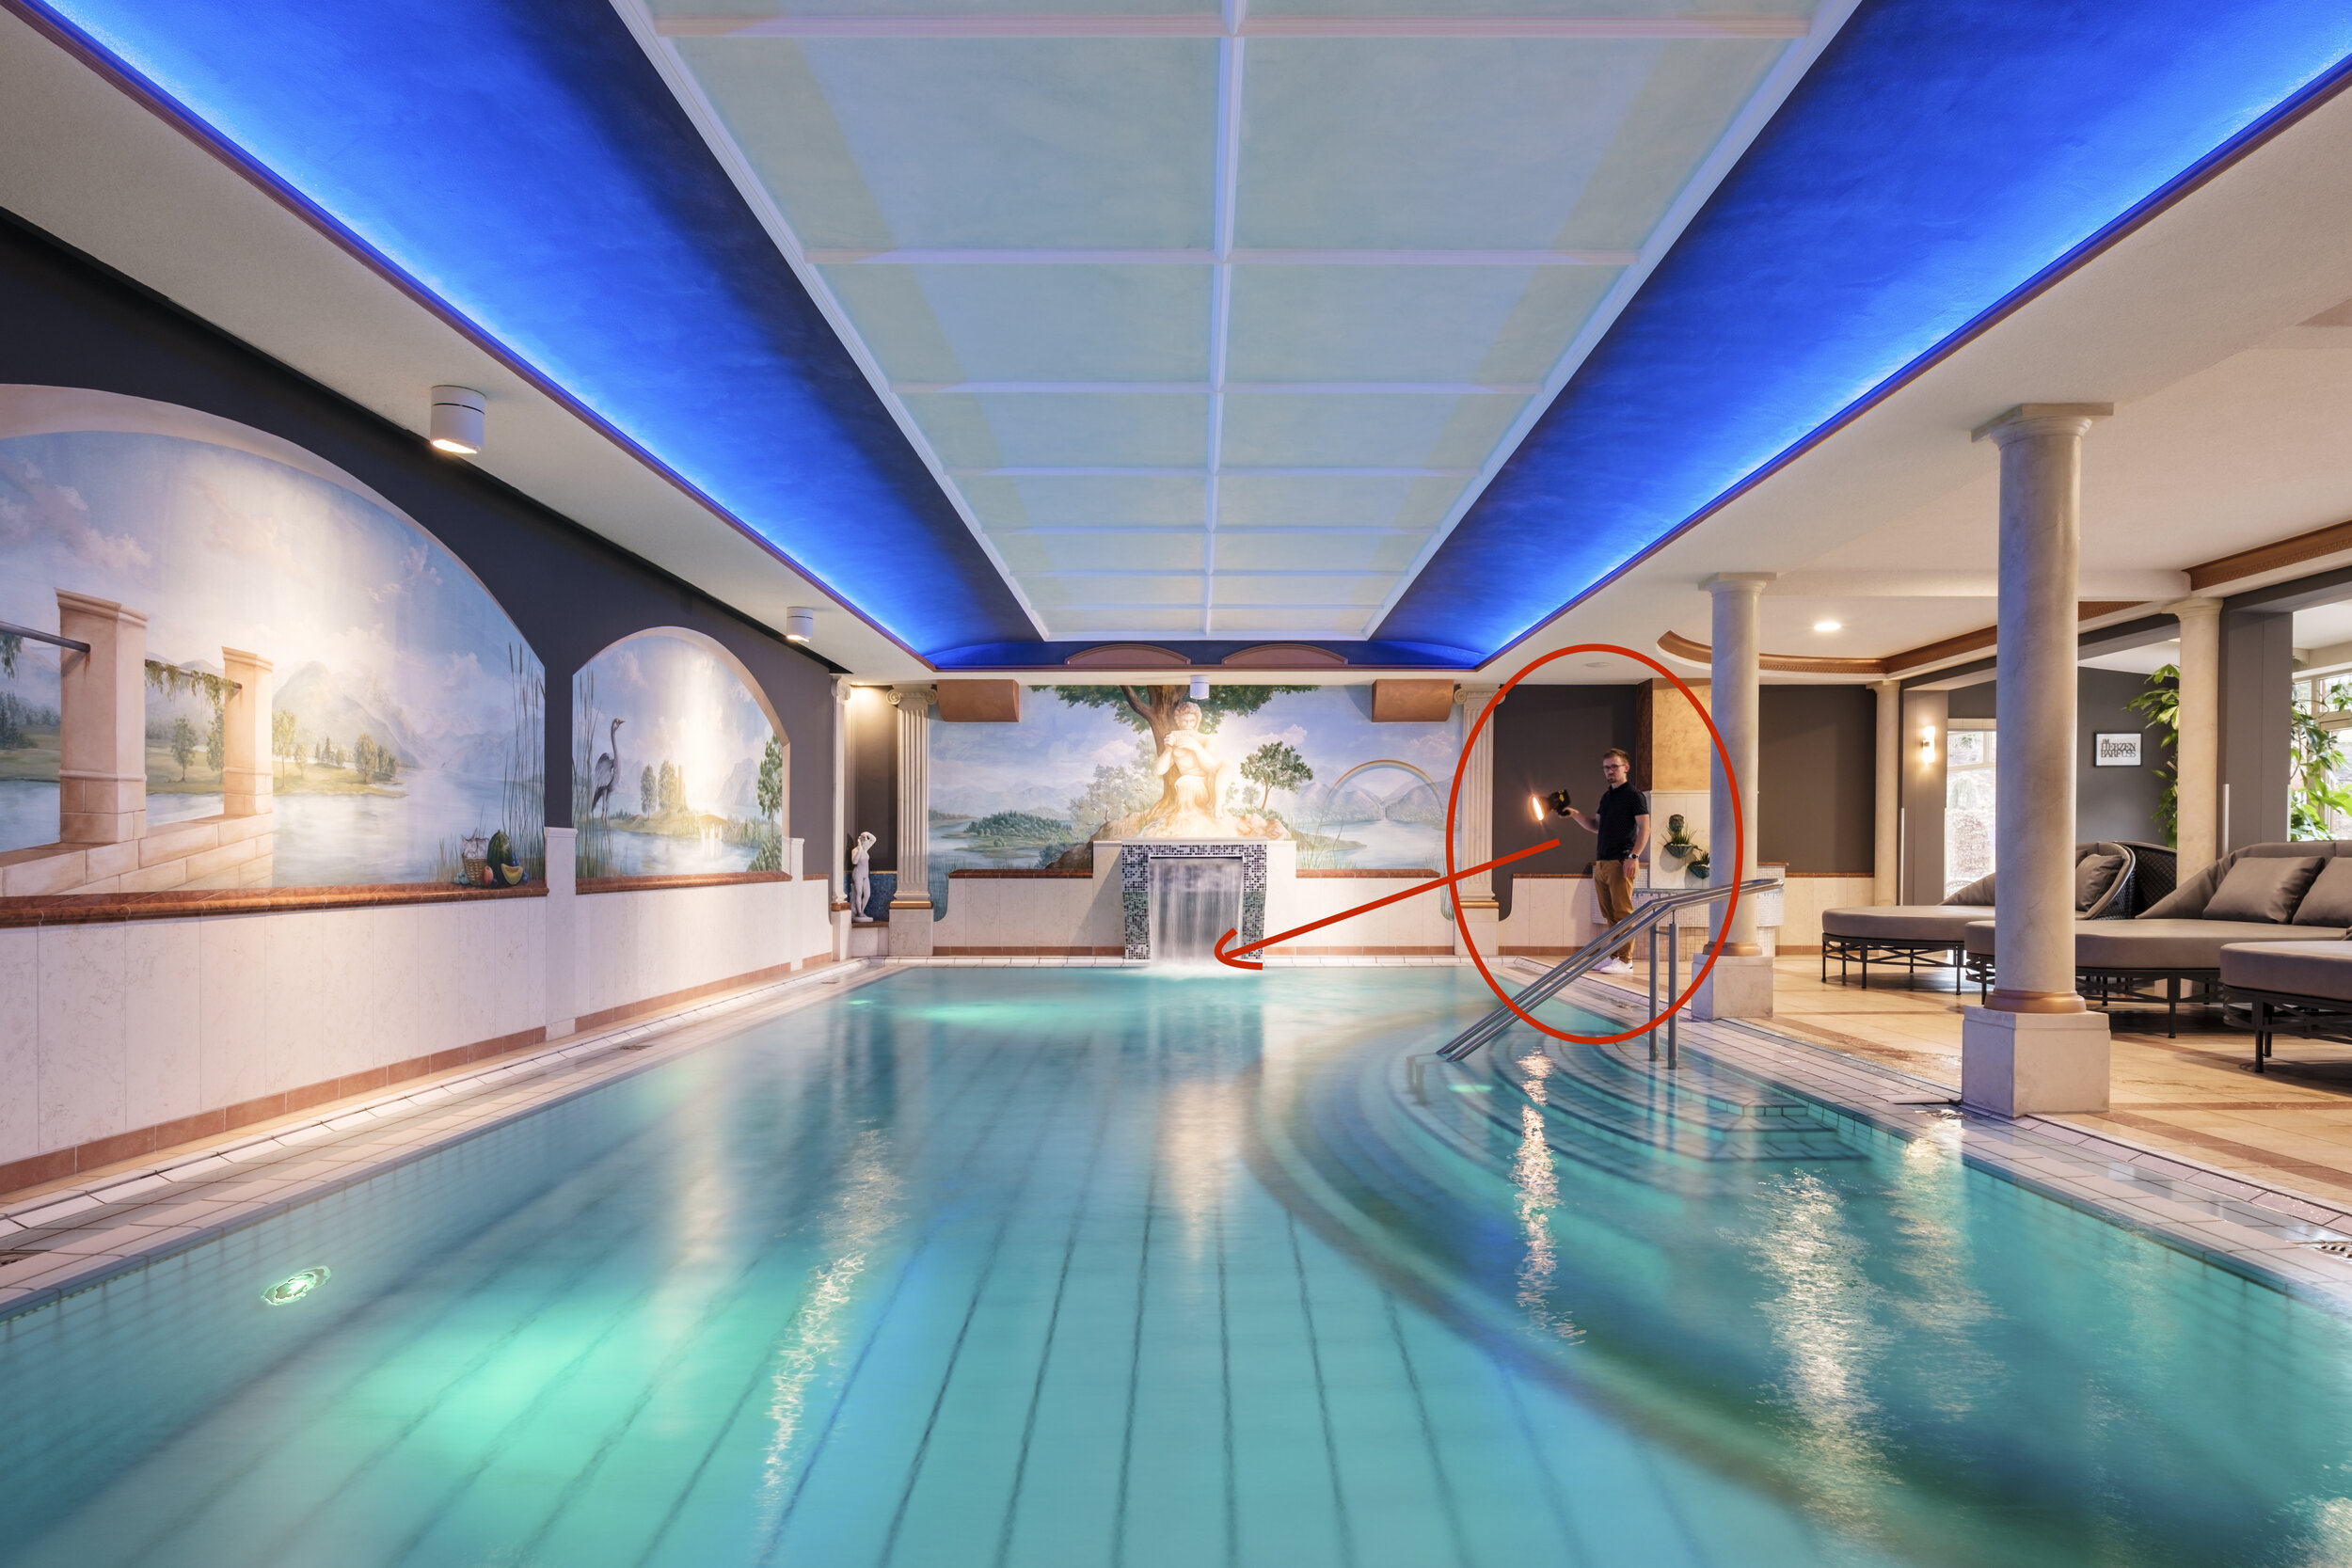
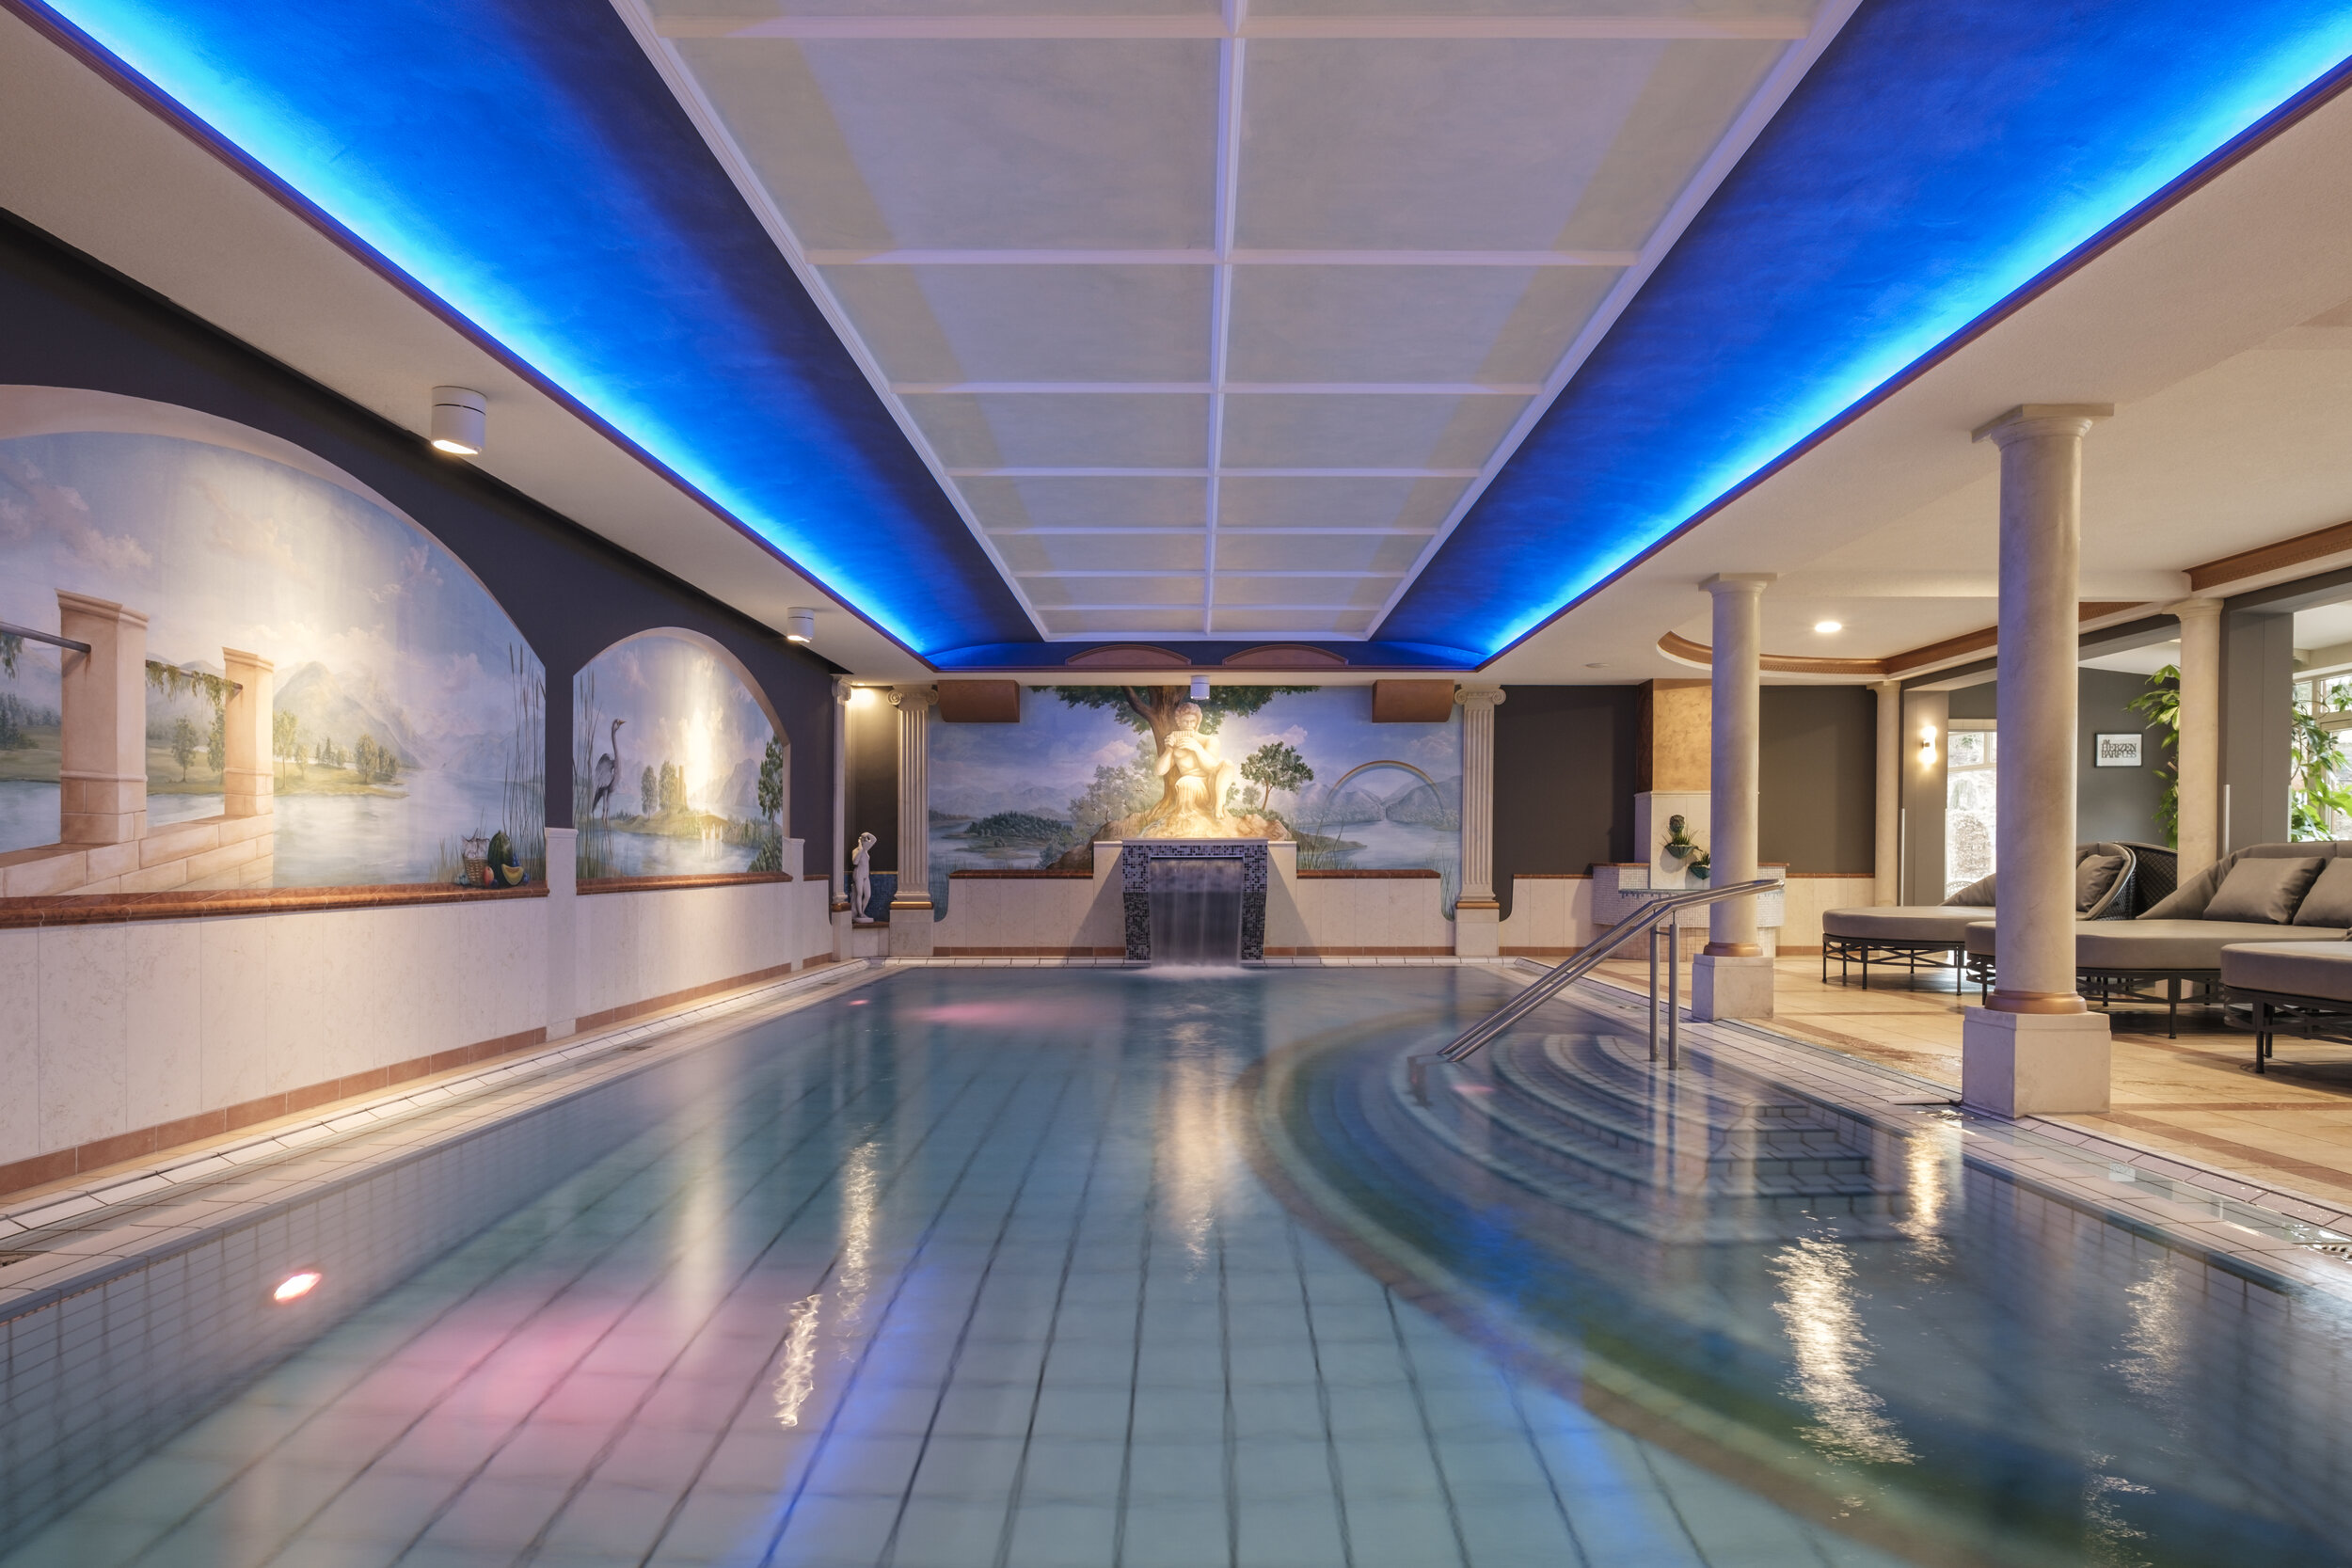
In this article, I am going to show you, how I use an LED-video light to light any sort of room in a luxurious hotel. To this shoot, I brought the Interfit Badger Beam 60w LED Video Lighting Monolight, with a Standard 18cm (7″) Reflector and a yellow CTO gel. The Badger Beam is a compact, light-weight and versatile 60W battery powered video & photo light that perfectly fits into my luggage to travel smart and super lightweight. With its 60 W power output, it provides a big amount of light that can be used in an ambient exposure lighting set-up, to add additional light to the ambient light emphasizing certain design elements of the room.

In this first scenario, I took two different shots:

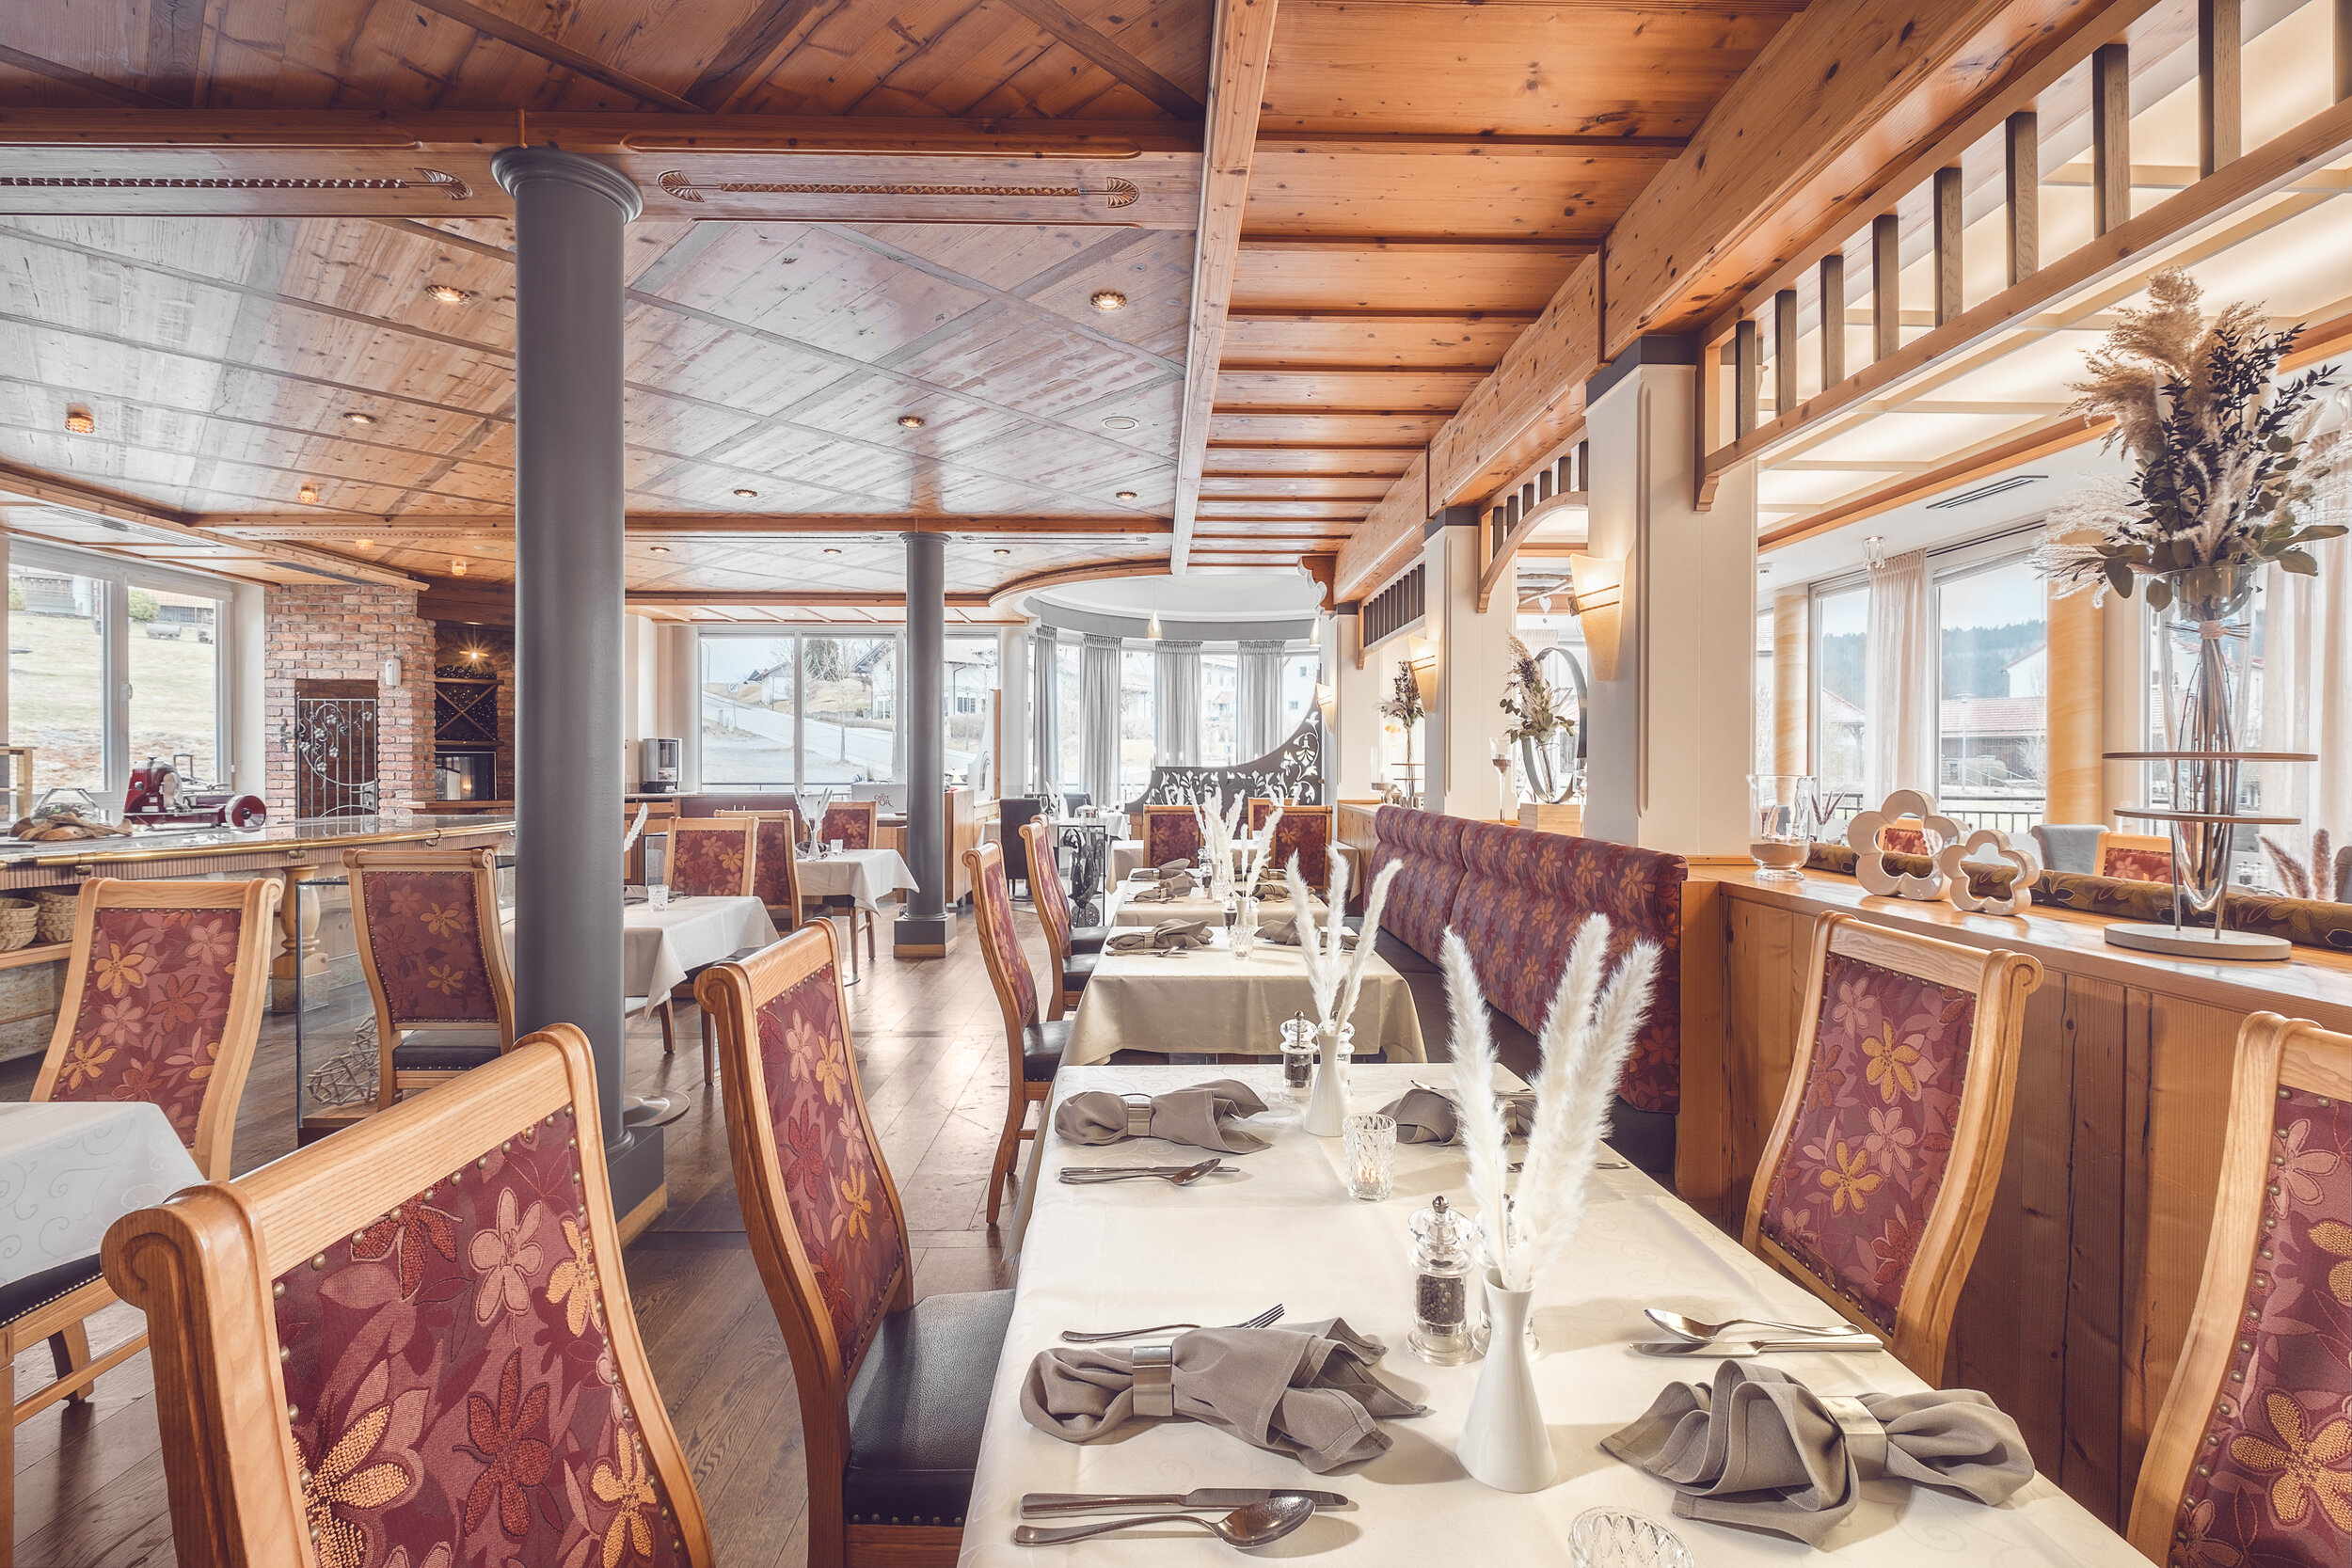
1) An ambient shot with all interior lights turned on
2) A second shot with all interior lights turned on, including myself pointing the Badger beam light at the waterfall.

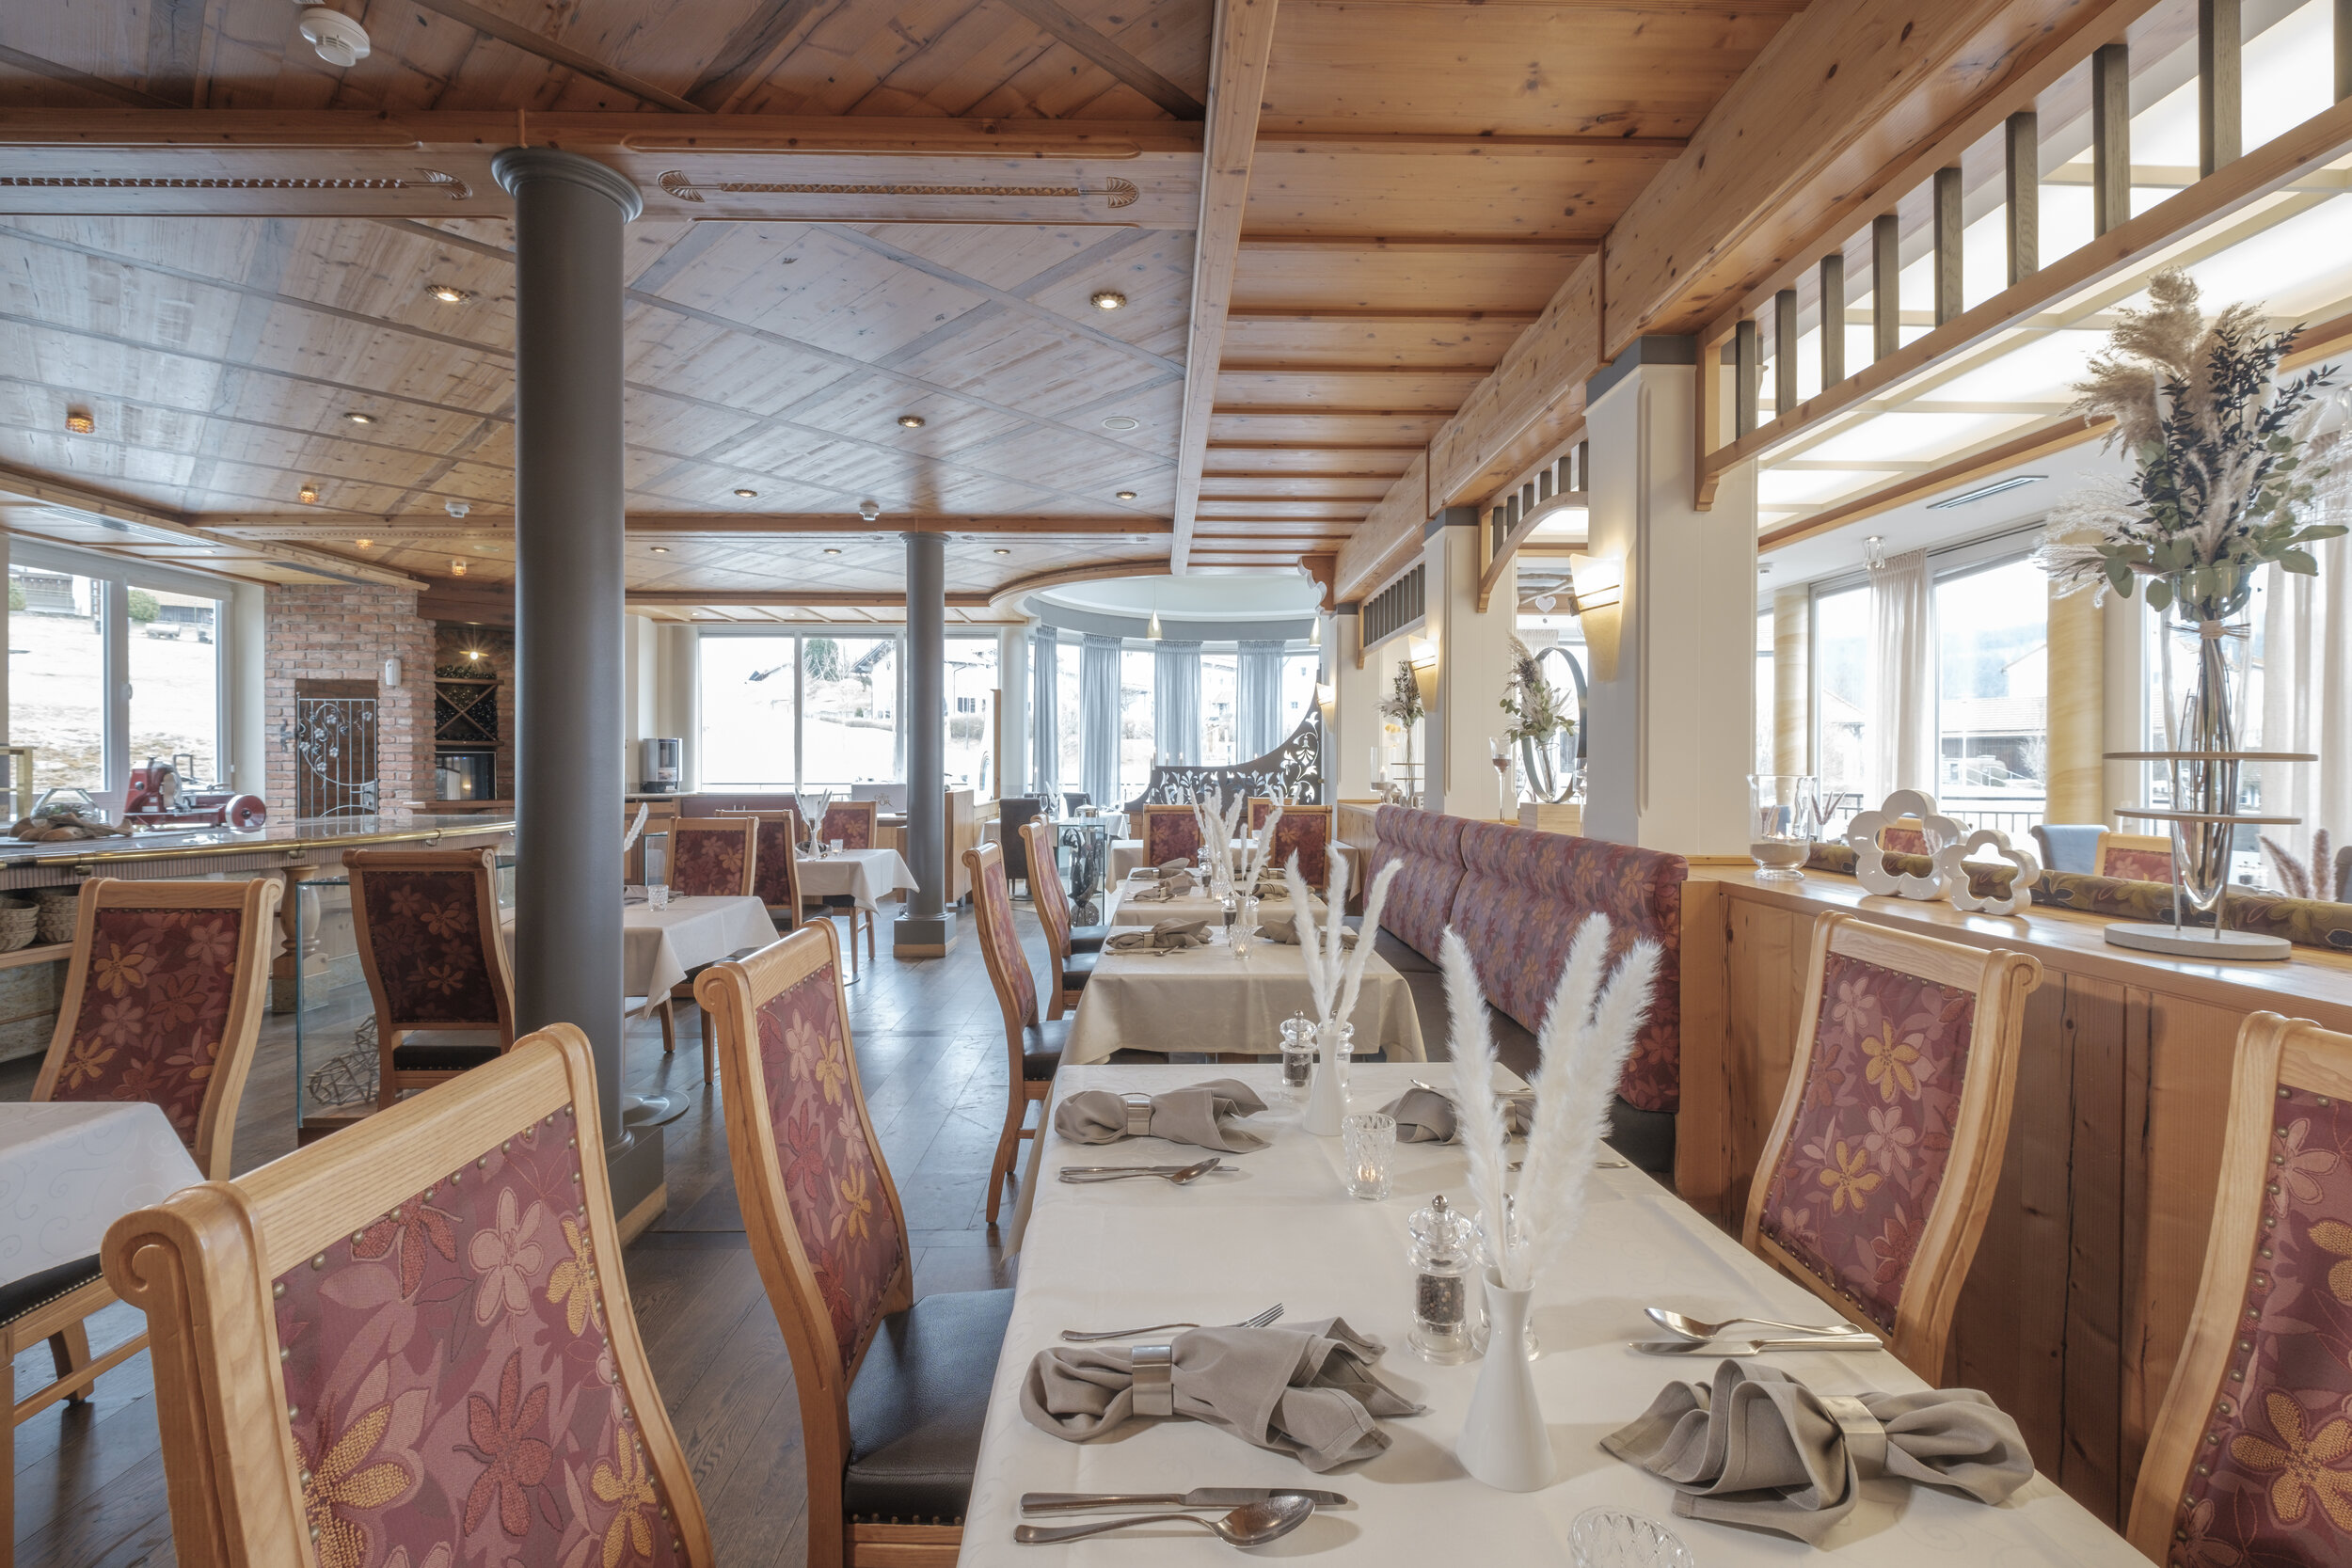
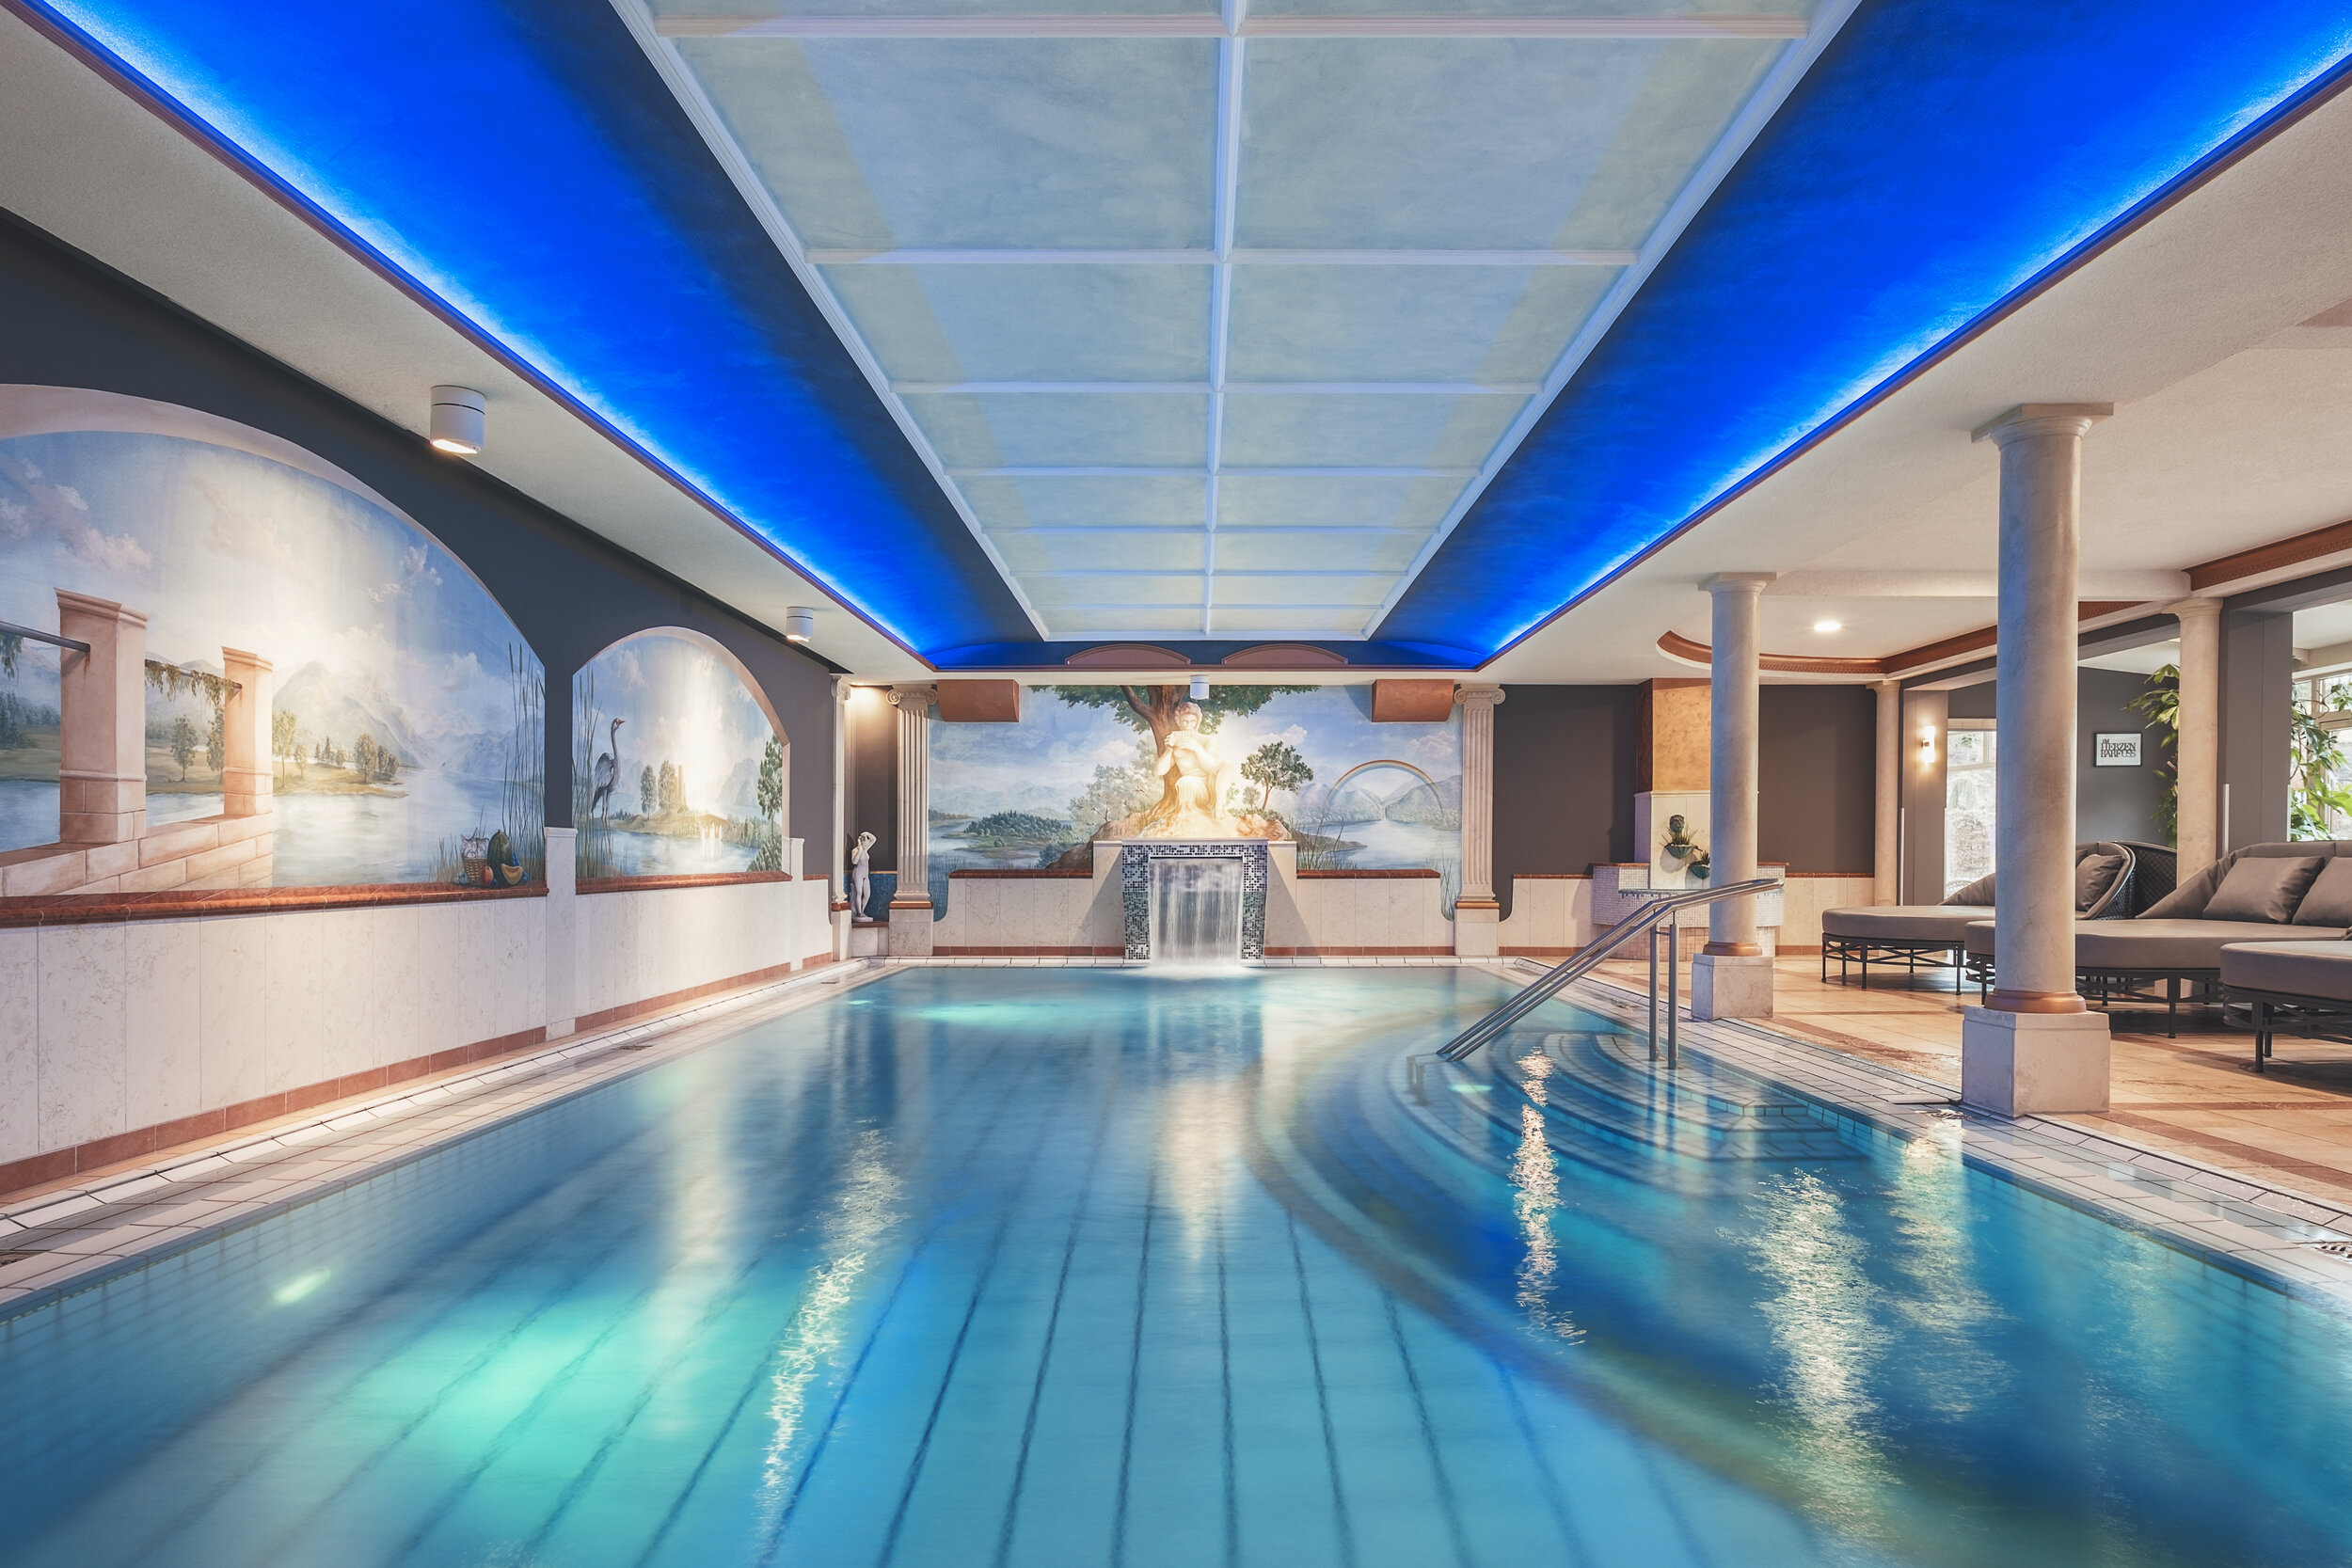
In Photoshop, I combined both images to have a perfectly lit picture, with a clearly visible and well-lit waterfall in the center of the frame that would have been way too dark without any additional light.
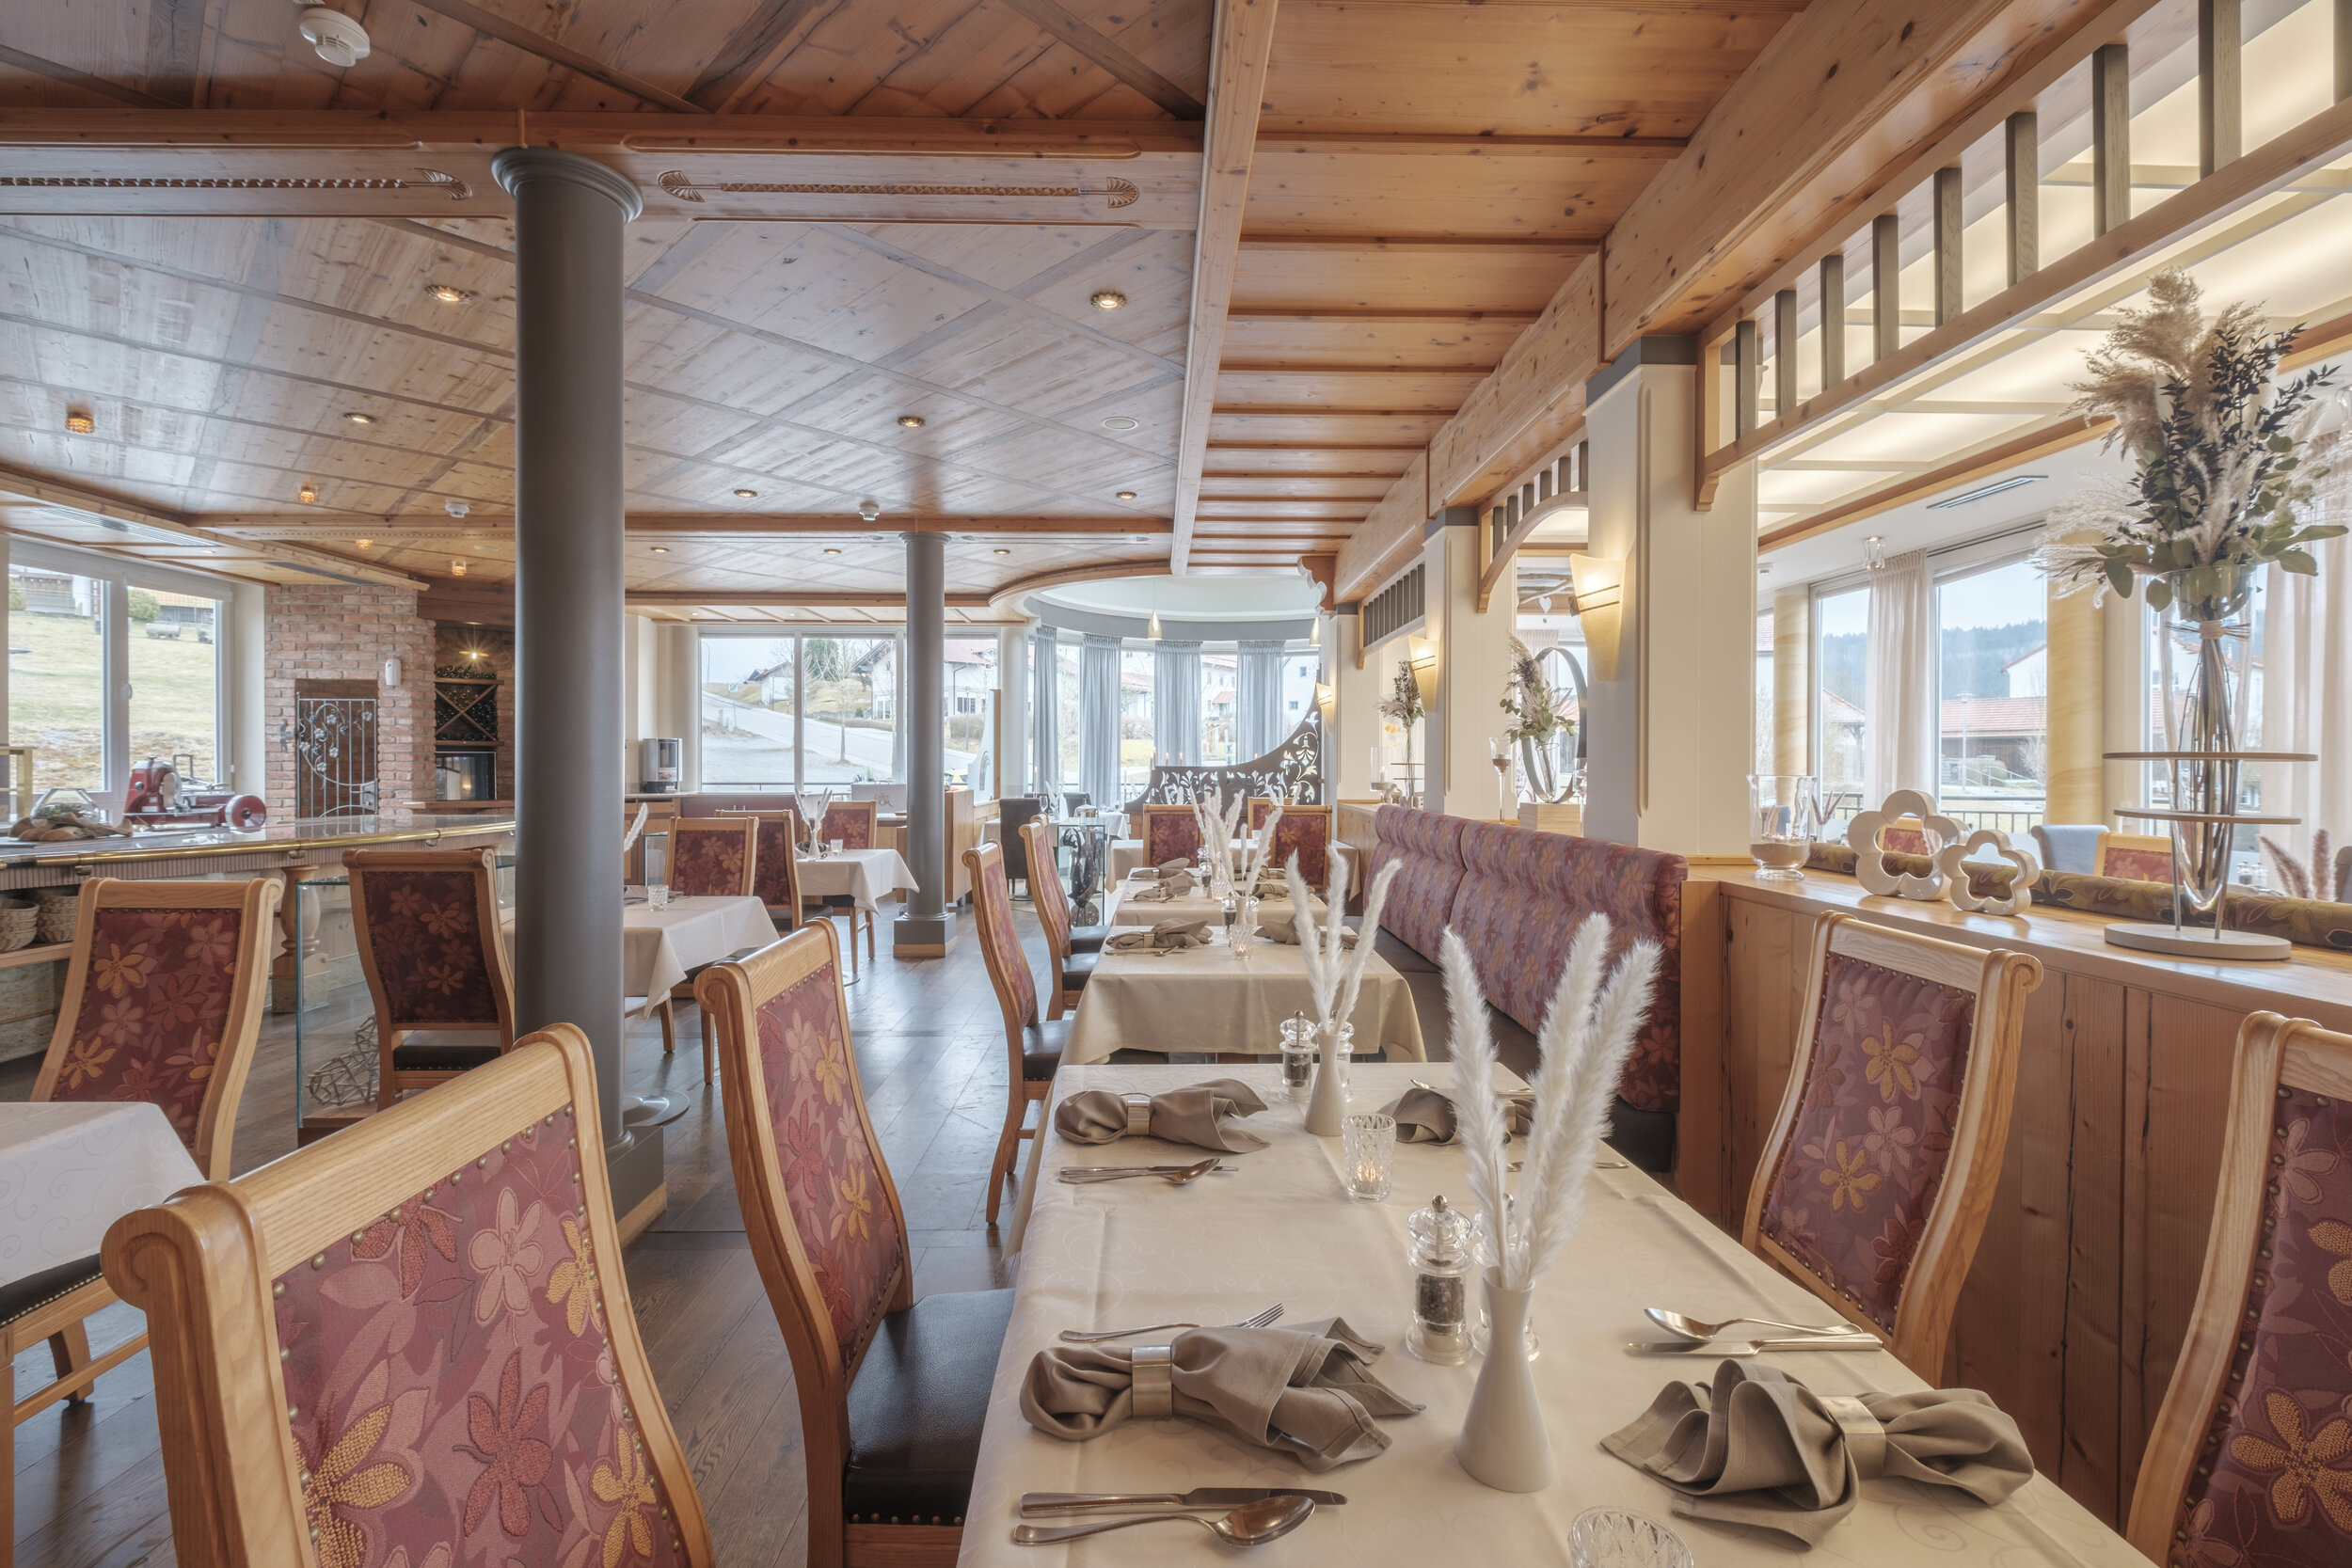
But not every scenario is that simple. There are way more different, more complex and more demanding scenarios in which you have to take way more single pictures. Those will all be layered in Photoshop again to create another well-lit restaurant interior photograph.
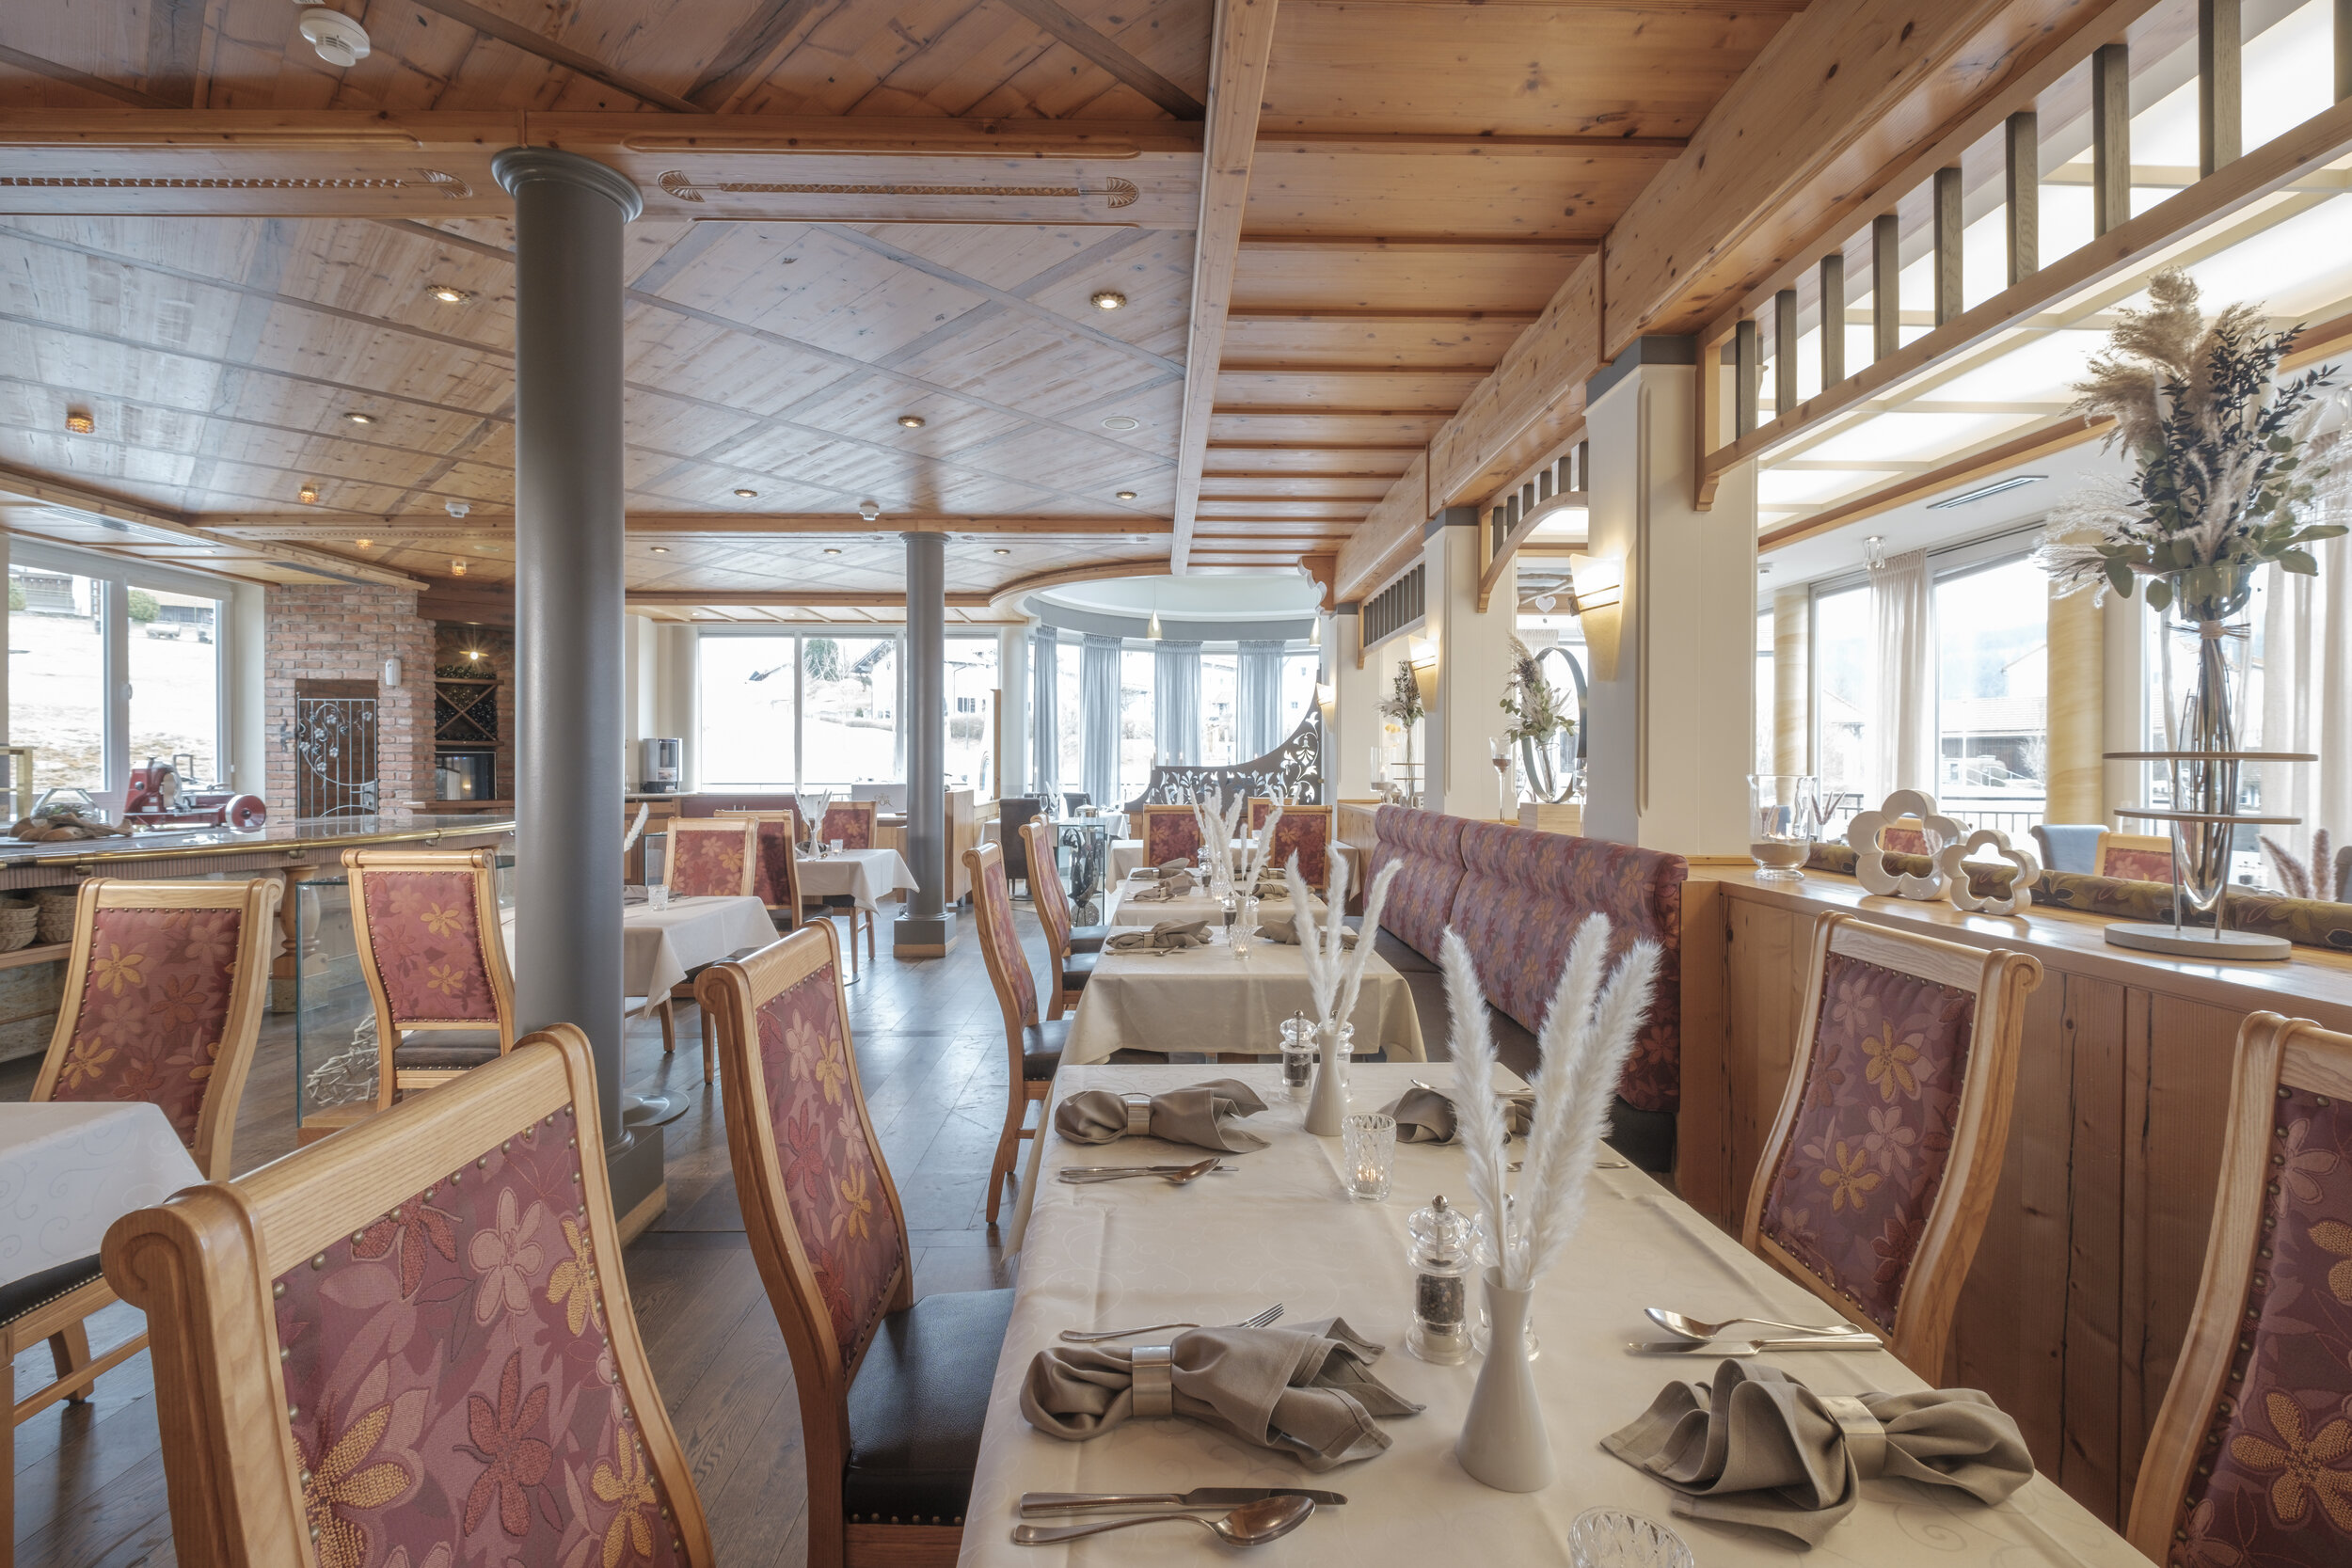
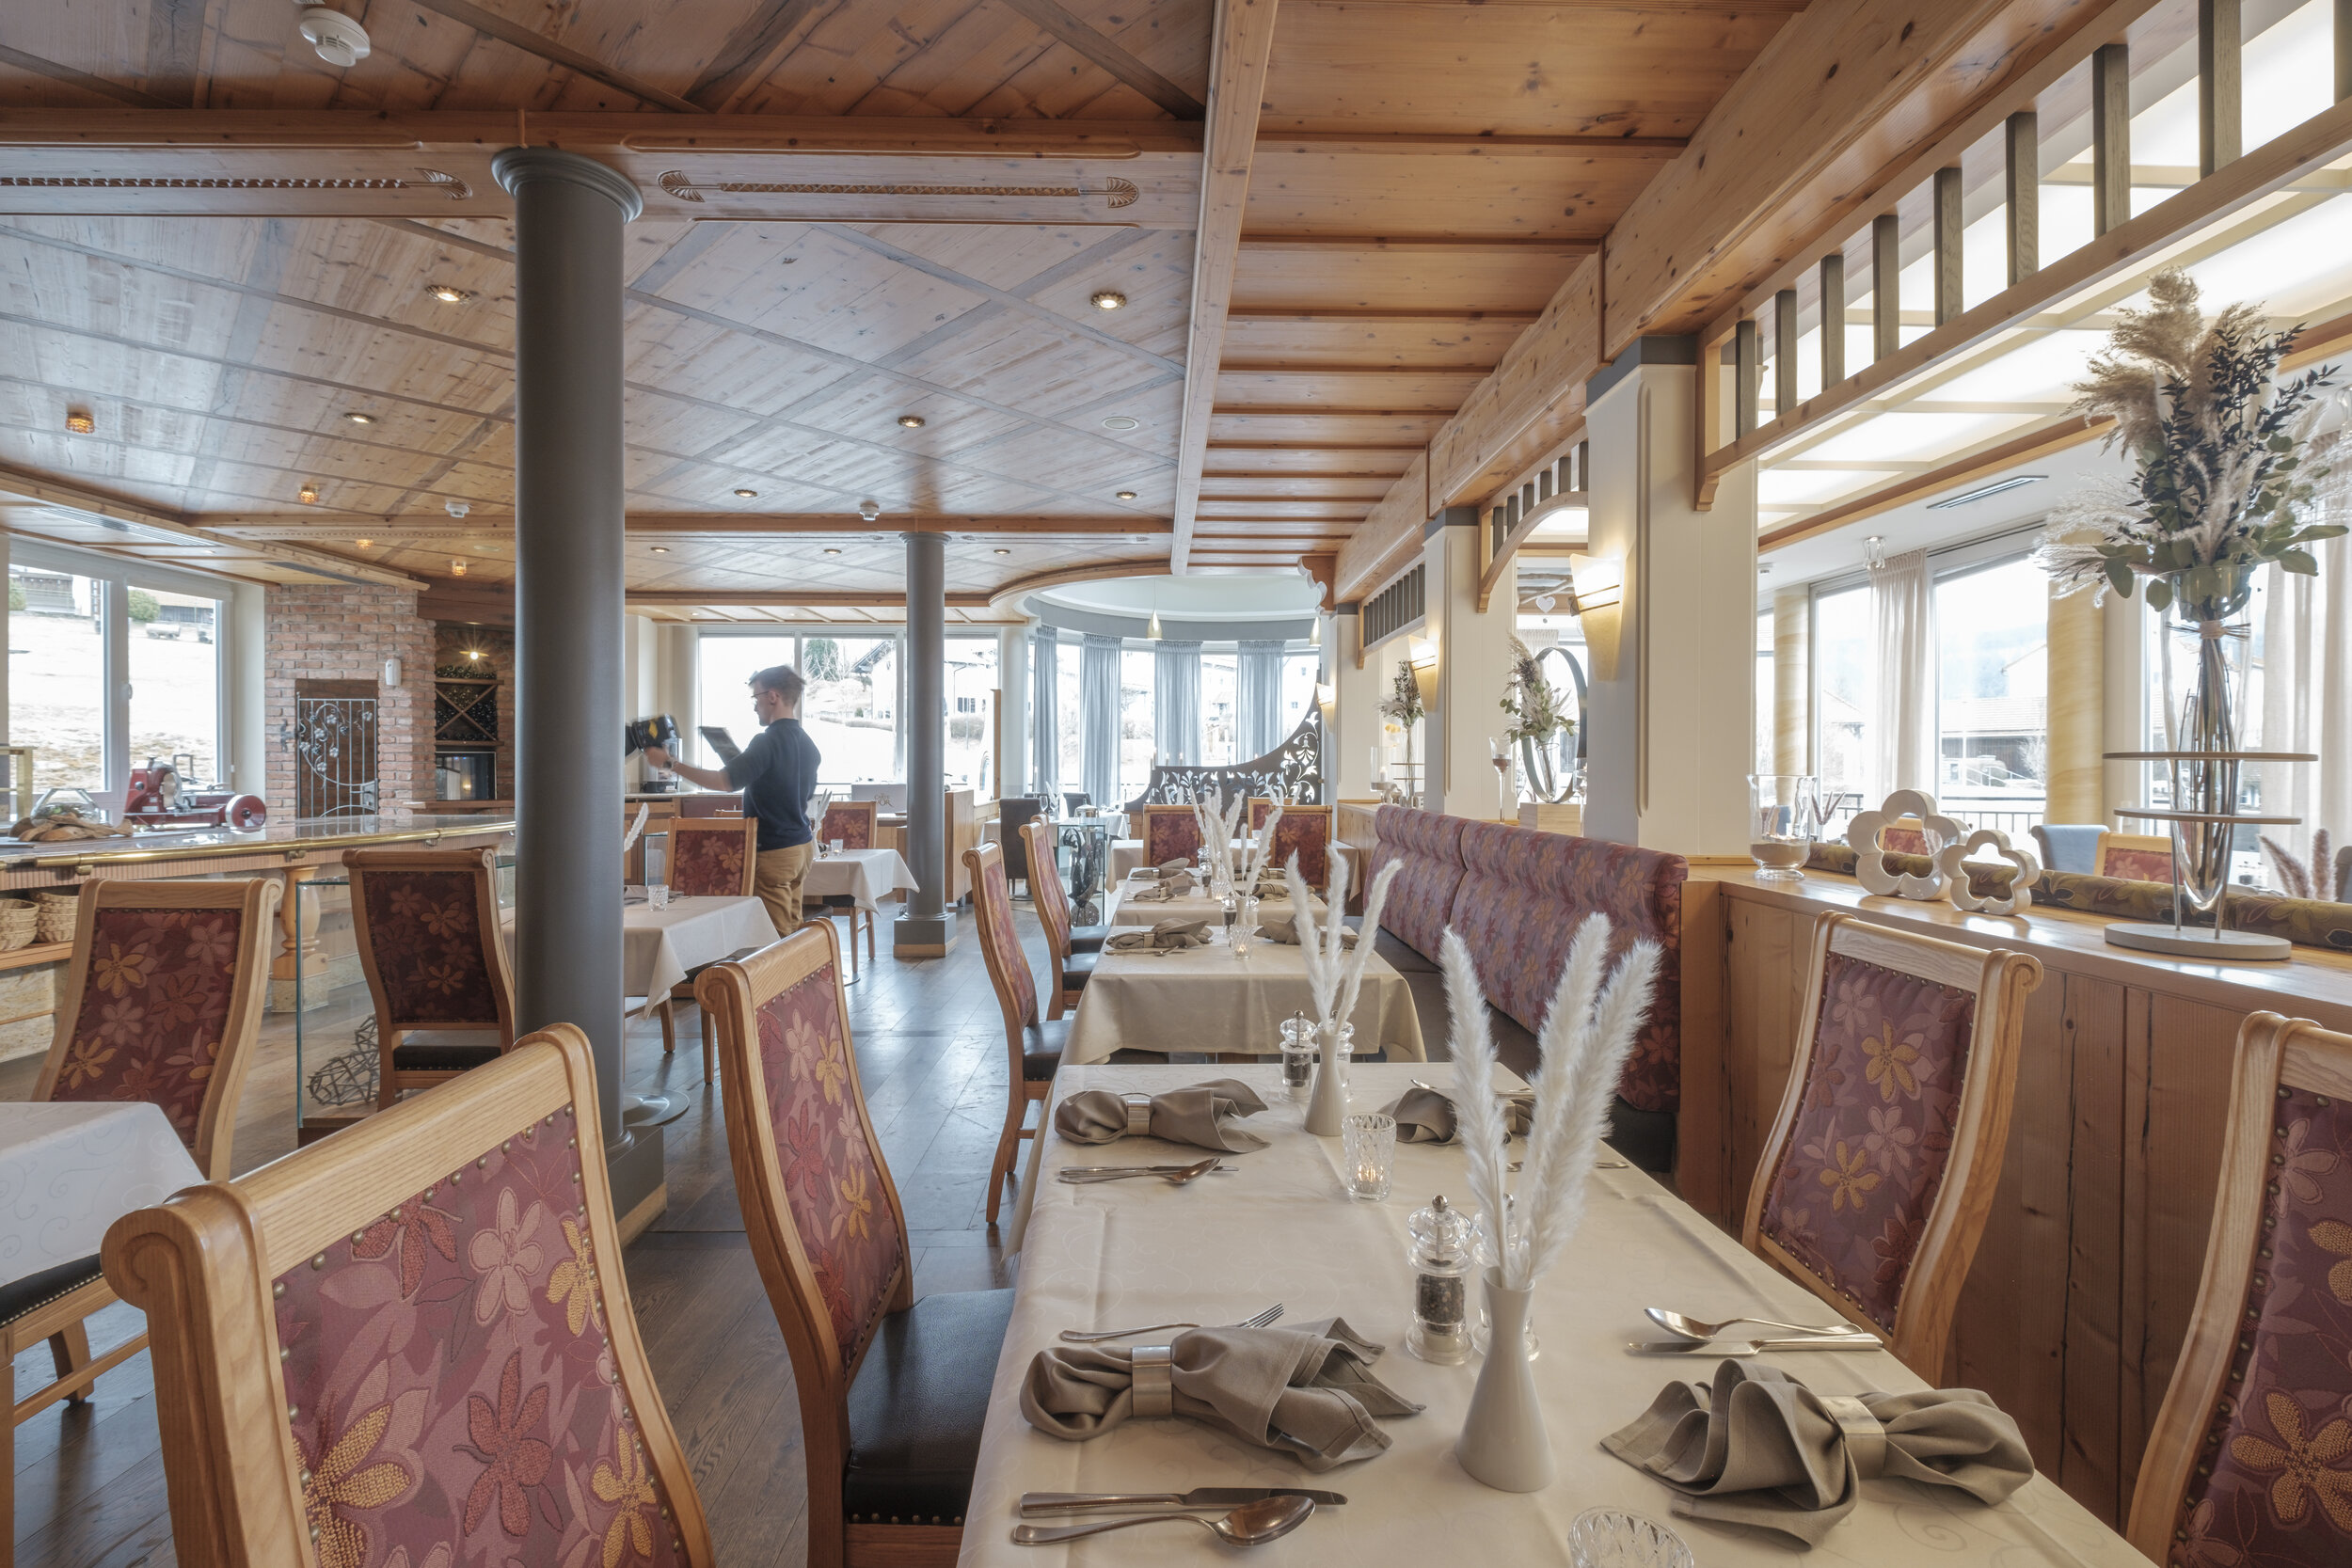
That way, I could improve the image from this basic poorly-lit shot to a well-lit interior photograph, showing all the highlights of the room in detail and in flattering light.

As we can see, it is way more important to plan your shots ahead than carrying many heavy flashes to your shoot. This way, it is much more convenient and time-saving on location as well as lighter and cheaper to light any hotel room you might run into. Layering multiple light-painted images in Photoshop also provides you with more flexibility in post-production to pick the best amount of light for each shot that you mask in to the base exposure.

IMG_5375.jpg

How I photographed a Porsche Carrera 911 S - Behind the scenes.

In the beginning of 2019, I celebrated new year’s eve with some friends and prolonged my stay for a few days there. At that time one of my friend’s was leasing a Porsche Carrera 911S, not to show off - as most would do - but to enjoy the pure pleasure of driving a high-end car, he would be never able to afford. Since I knew that the leasing contract for his rental car was about to expire, I offered him to take pictures of the car so that he can still have some nice memories of his year driving a Porsche - for me it was a cool opportunity to photograph a really expensive car as well, of course :P.

As we all know, January is not the best month to take commercial images. To make things worse, good photo spots are rare in the rural area my friend lives in. Hence, we had to improvise and to wait for a day where it won’t rain in the evening. I wanted to capture the car during blue hour. So it was even more difficult to find a photo spot that looked pretty, unique and was also illuminated to not just vanish in the darkness.

Spontaneously, on our way back from a cart race with two other friends, we took our chance to capture those pictures, as we had a short time window without rain. At first, we had to find and to drive through a car wash, which we did in the next biggest city Pforzheim. After the sun had already set, from there, we immediately drove to the only spectacular photo spot this area had to offer: The Gasometer Pforzheim.

Searching for an elevated position, we first drove into a nearby car park, but to our great disappointment the way up to the top of the building was blocked. Leaving the car park again, some of the poles right in front of the Gasometer had been removed in the meantime, allowing us to park the car right in front of the Gasometer. To make things even better, the big gate that blocked the view had been opened as well.
From there, I directed my friend to precisely navigate the Porsche so that I could compose the shot. Having decided for the composition, I had to lock it down in my camera mounted onto my tripod so that I could take several pictures and stack them together in Photoshop. Finally, I plugged in my remote trigger to avoid any sort of camera shake while pushing the trigger on my camera manually.

At first, I took bracketed exposures all the way up and down from EV-5 to EV+5 to be more free in post-production to get a clean base exposure, without clipping any shadows or highlights. After that, I equipped my friend with an LED video light, adjusted the colour temperature of the light and let him illuminate / light-paint the car, while I was taking long exposures.

At home, I blended everything together to get nice details with an even and subtle lighting of the car.
Having done that, I started to remove all specs and reflections, the light has caused on our not perfectly polished car. Additionally, I removed glare from the lights in the background, cleaned up the street and removed signs along the fence. That clean-up took about 2 hours. Overall I spent 3-4 hours on one final image. and blended together more than 10 pictures each.


Details matter.

Cheers!

Top